









 New Code Sent!

How to install a built-in microwave: A step-by-step guide
As with any major appliance, you’ll want to make sure you install your built-in microwave properly before you start using it. This means measuring the cabinet opening, installing a trim kit and connecting the electrical hookup. Use this guide, along with the instructions provided by your product manual, to learn how to install a built-in microwave.
If you’re concerned about installing your appliance on your own, contact professional help such as KitchenAid Service and Support. You can schedule an appointment with a technician that can help you complete your installation so you can start cooking your favorite recipes.

Before you install a built-in microwave
Before you begin your microwave oven installation, prepare the installation site and assemble your trim or spacer kit (if applicable), then proceed to hooking up and securing your appliance. Always refer to your product’s installation manual for model-specific tools, parts and instructions.
Tools
The tools required for built-in microwave installation may vary depending on the model and installation instructions provided in your user manual. Typically, you’ll need:
- Phillips screwdriver
Measuring tape
Level
Drill (for wall cabinet installations)
1/8 inch (3mm) drill bit (for wall cabinet installations)
1 inch (2.5cm) drill bit (for wall cabinet installations)
Remove an existing built-in microwave
If you’re replacing an existing built-in microwave, you’ll first need to remove the old appliance from the cutout with the help of another person. To uninstall your previous model, you may need to consult your owner’s manual to remember how it was installed. Directions may vary by model, but in general, you will be doing the following:
Unplug the microwave from the outlet. You may also need to turn off the electrical line from the breaker.
Using a drill, unscrew the support screws while another person supports the weight of the appliance.
With the help of another person, carefully remove the appliance from the cutout and set the appliance aside.
Using a drill, remove any additional mounting hardware and trim.

1: Measure the cabinet opening
For proper microwave installation, you need to ensure your cabinet cutout is the correct size for your new appliance as this may impact the fit of the installation and performance of your appliance. Typically, the cabinet opening will need to be 28 ½ inches wide, with a recommended height of 17 ⅝ inches. A minimum depth of 21 ⅞ inches is often required, along with 2 and 3/16 inches of clearance above the opening and a 1 inch clearance below.
Specific cabinet opening measurements may vary depending on the model of your microwave and its ventilation needs. Consult your user manual for model-specific measurements.
2: Confirm model-specific fit, trim kit and ventilation requirements
Consult your user manual to find model-specific fit, trim kit and ventilation requirements for your appliance. You’ll want to confirm:
The measurement of your appliance
The measurement of the cabinet opening
The measurement of any trim or spacer kits
The model-specific ventilation requirements for your microwave
3: Confirm the electrical supply
The electrical supply for the appliance is commonly 240V at 60Hz. A dedicated circuit is required. Be sure to verify these requirements with your product manual and any local code before you begin.
4: Assemble and install the spacer kit
A microwave spacer or filler kit is an accessory designed to securely mount a smaller microwave into a larger space as a built-in appliance. These kits must be compatible with your appliance for proper installation. Follow the specific directions for your corresponding spacer kit. In general, they might look similar to the following:
First, assemble and install the provided spacer kit, if applicable. With the flange facing outward, align a spacer bar on the bottom trim and secure it with two 3/8 inch washer screws from the provided microwave filler kit.
Do the same to align and secure the opposite spacer bar. Now center the spacer assembly against the lower front edge of the cabinet opening.
Using a 1/8 inch diameter drill bit, drill through the mounting holes in the spacer bars to create pilot holes.
Use a Phillips head screwdriver to thread and tighten the 4 ¾ inch flathead screws from your microwave installation kit to secure the spacer assembly. Avoid overtightening the screws.

5: Unpack and move your built-in microwave oven
WARNING: Excessive Weight Hazard. Use two or more people to move and install the microwave oven. Failure to do so can result in back or other injury.
Remove any packaging materials from the microwave oven, as well as the glass tray, support and any other accessories, if applicable, as they may get damaged during installation. Resting the appliance on a piece of cardboard, have someone help you to set the microwave on a cart or countertop adjacent to the cabinet opening.
6: Connect the microwave wiring
WARNING: Electrical shock hazard. Disconnect power before servicing. Replace all parts and panels before operating. Failure to do so can result in death or electrical shock.
Before making any electrical connections, make sure the power supply to the junction box is turned off. If necessary, remove the junction box cover.
Use a UL listed or CSA approved half inch diameter conduit connector to connect the flexible cable conduit from the microwave oven to the junction box.
Tighten the screw or screws to secure the conduit.
Now join the black wires together and secure them using an approved, UL listed wire nut. Do the same to secure the two red wires together, and the two white wires.
Finally, join the green or bare grounding wire or wires to the bare grounding wire from the microwave oven and secure them with a wire nut. With all of the wires positioned inside the junction box, replace and secure the cover.
If your chosen installation location is not electrically equipped or if you’re not comfortable handling the electrical wiring yourself, schedule an appointment with a licensed technician for assistance.


Steps for Installing a built-in microwave
Once you’ve prepared your installation location, your appliance is ready to be installed. Use the general steps below in addition to the instructions in your user manual to install your new built-in microwave, as models may vary.
7: Installing your built-in microwave
Using two or more people, align the microwave oven on the spacer bars, if applicable.
Open the microwave oven door and push against the front frame of the oven to fully insert the appliance into the cabinet.
Confirm the appliance is centered, then use a 1/8 inch diameter drill bit to drill pilot holes, using the holes in the side mounting brackets as templates.
Align the plastic washers with the holes in the mounting brackets, then thread and tighten the two 3/4 inch flathead screws to secure the appliance to the cabinet. Avoid overtightening.
Replace the glass tray support and the tray as well. Turn the power supply back on, and the microwave oven should be ready for use.
If you’re looking to upgrade your kitchen with seamless integration while enhancing your meal preparation, a KitchenAid® Built-In Microwave may be right for you. Whether you need to reheat, steam or fully cook a meal, a built-in microwave oven can bring versatility and extra cooking space to your kitchen.
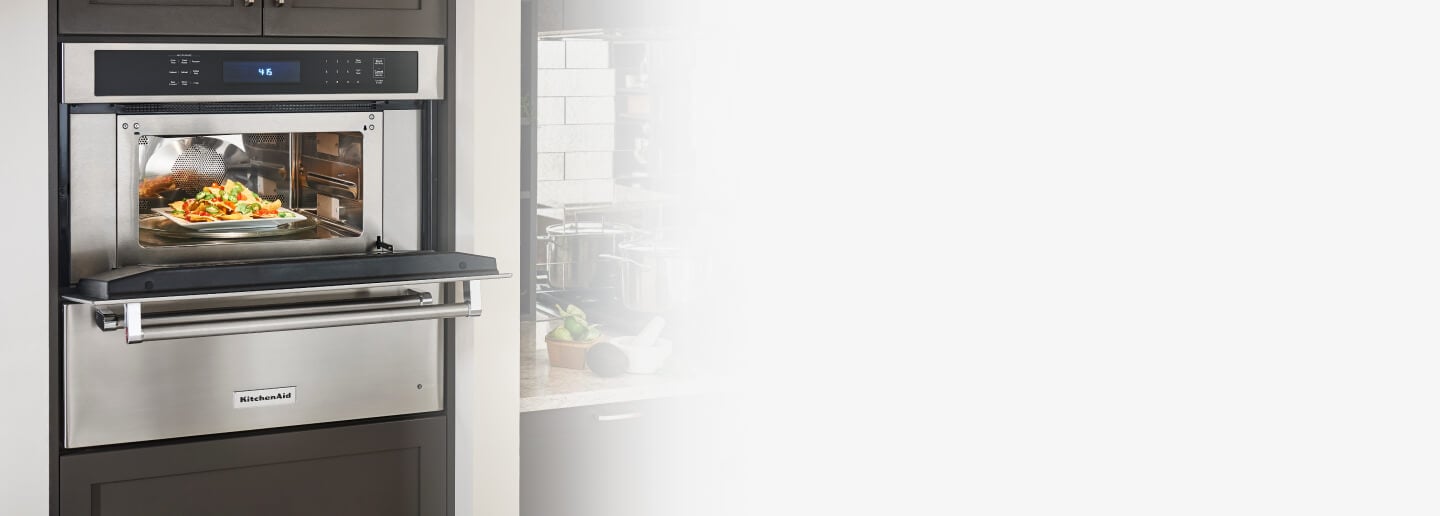
KitchenAid® built-in microwaves
Seamless integration and professional design
Whether you need to reheat, steam or fully cook a meal, KitchenAid® built-in microwaves provide a versatile cooking space without taking up your counter space

Built-in microwave installation tips
To help you install your built-in microwave so you can enjoy its streamlined look and enhanced cooking capabilities in your kitchen, read the installation tips below.
Consider sizing and measurements: Before committing to any drill holes in your kitchen walls, be sure to find the exact measurements and ventilation requirements of the appliance to ensure a correct fit for your microwave oven installation. Also, note the distance of your intended electrical outlet and your microwave power cord length.
Keep replacement microwave hardware: If you are replacing your current appliance, keep the cabinet screws and mounting brackets after you remove the built-in microwave. The old parts may be used for future repairs for your new unit if your user manual confirms they are compatible.
Troubleshoot common fit and setup issues: Once you’ve finished installation, take a step back and inspect the appliance. If you notice it isn’t flush with the cabinets, the mounting holes aren’t aligned, the door is rubbing against the cutout or the vents appear blocked, you may need to backtrack and make some adjustments.
Consider professional help from a technician: An expert can manage the electrical work, measurements and heavy lifting required for installing a built-in microwave. However, if you are set on installing your appliance yourself, keep in mind that the job will take two to three people.

Built-in microwave installation FAQs
Installing a built-in microwave can be a big task to handle on your own. For help understanding some of the elements of an installation, read answers to the frequently asked questions below.
A built-in microwave oven model is designed to fit comfortably into kitchen cabinets or fixed walls to free up counter space, so you should take advantage of these areas when considering the location for your microwave oven installation.
When choosing an install location, you have to consider the ventilation needs of your microwave, especially if it’s enclosed. It’s also important to ensure that the location you’ve chosen is in close proximity to the required electrical supply for your model. You should also consider the height of your chosen install location, as placing it too high or too low can make accessibility to the appliance a challenge.
You do not necessarily need to use a trim kit when installing a built-in microwave. However, if you’re trying to convert a countertop microwave into a built-in model, a trim kit will help you achieve the same seamless and integrated look as a built-in model. Trim kits must be compatible with the microwave model you plan to install, so be sure to consult your product manual for compatibility requirements.
While you may be able to complete most of the installation on your own, professional service will ensure your built-in microwave is wired and installed properly. A professional can assist with cabinet modifications and clearance measurements so you can get creative with the placement of your built-in microwave to complement your unique kitchen layout without worrying about appliance malfunctions due to improper installation.
If you’re planning on installing your microwave by yourself, be sure to consult your installation instructions first. In addition, ensure that you have all the necessary components available before attempting installation.
If you’re looking to achieve a seamless microwave oven installation for your built-in model, a licensed electrician will provide the level of professional care you need to confirm or modify the dedicated circuit needed for installation.
If you’ve selected a professional service such as installation as part of your built-in microwave order, prepare for your appointment by ensuring your new home appliance will fit between all entryways, cabinetry and wall spaces. On the day of your appointment, the delivery team will set up your appliance and make sure all components are running properly.
Built-in microwaves do require adequate ventilation to function properly. The space needed for proper ventilation may vary depending on the model, but typically you’ll need between 15-22 inches of space for depth in the cutout, although models vary, so check your model-specific instructions to be sure.
Whether you choose a built-in, countertop or over-the-range microwave, KitchenAid brand has microwave options with features designed for versatility.


Your subscription was successful
Thank you for signing up. Keep an eye on your inbox for our next newsletter.
Stay Connected – Join the List
Enjoy articles like this? Get helpful guides and appliance care tips sent straight to your inbox.

