


Your seasonal ice cream shop isn’t the only place you can find rich and creamy frozen desserts. When you learn how to make ice cream at home, you can choose your base, customize the flavor and decide whether you want soft-serve texture right away or a firmer scoop after extra time in the freezer.
This guide walks through a homemade ice cream recipe, the core steps for mixing and churning, four different methods for making ice cream and flavor ideas to help you start creating your own frozen desserts.
How to make ice cream: methods, recipes & tips
How to make ice cream: methods, recipes & tips

Homemade ice cream recipe
Ice cream recipes can vary widely from traditional custard bases to dairy-free and vegan varieties, but most start with a simple base you can customize. Once you understand the core process, you can fold in mix-ins like chocolate chunks, toasted coconut, chopped nuts, fruit compotes, crushed cookies, caramel swirls or fresh herbs to create your own flavor combinations.
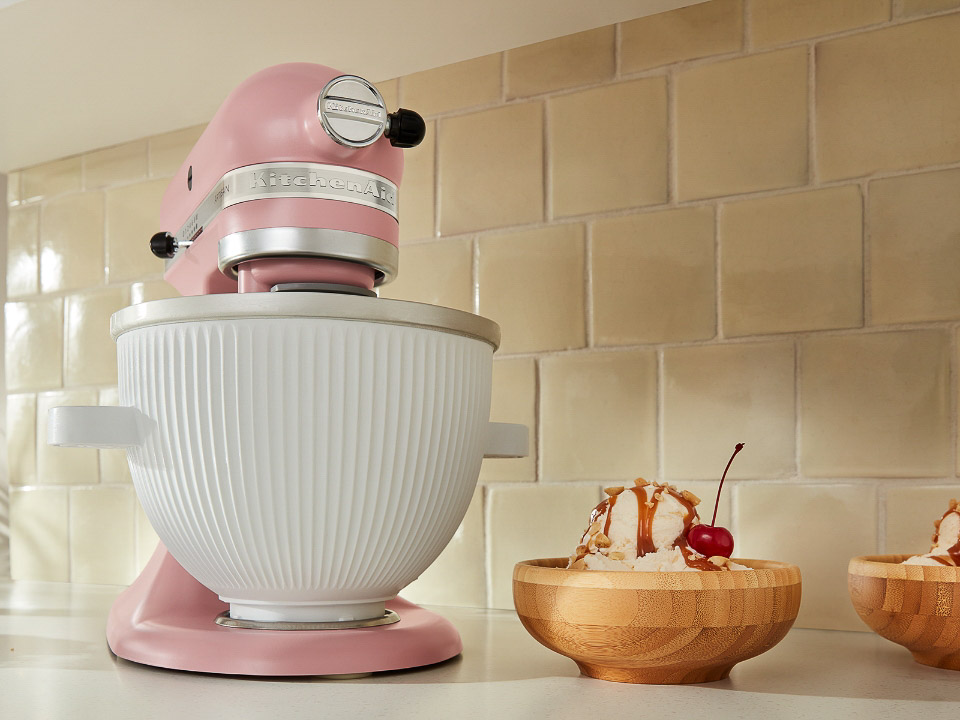
This homemade vanilla ice cream recipe uses a cooked custard base, then churns in a KitchenAid® stand mixer with the KitchenAid® Ice Cream Maker Attachment, sold separately. Keep the recipe simple with vanilla, or use it as a starting point for experimenting with texture, flavor and toppings.
Yields
1 quart (about 4 to 5 large scoops)
Ingredients
1¼ cups half-and-half
4 egg yolks
½ cup (100 grams) sugar
1¼ cups whipping cream
2 teaspoons vanilla extract
Pinch of salt
Optional mix-ins: Chocolate chunks, chopped fruit, jam, toasted coconut, chopped nuts, herbs or other add-ins
Tools
KitchenAid® Ice Cream Maker Attachment, sold separately
Flat beater
Saucepan
Large bowl
Spatula
Freezer-safe airtight container
Prep Time
10 minutes, not including the 24 hours needed to freeze the KitchenAid® Ice Cream Maker Attachment before starting.
Cook Time
10 minutes
Total Time
5 hours 40 minutes, including cooking, chilling, churning and 3 hours of hardening time. Freeze longer if you prefer a firmer texture.

1. Freeze the bowl ahead of time
For this recipe, use the KitchenAid® Ice Cream Maker Attachment with a compatible KitchenAid® stand mixer. Place the freeze bowl in the freezer at least 24 hours before use. Leave the freeze bowl in the freezer until your ice cream base is fully chilled and ready to churn.

2. Warm the half-and-half
Heat the half-and-half in a medium saucepan over medium heat, stirring often, until bubbles form around the edge of the pan. Do not boil the mixture. Remove from heat.

3. Mix the egg yolks, sugar and half-and-half
Attach the flat beater to your KitchenAid® stand mixer, then mix the custard base in stages.
Blend the yolks and sugar: Place the egg yolks and sugar in the stand mixer bowl and beat on low for about 1 minute, or until well blended and slightly thickened.
Add the warm half-and-half gradually: With the mixer on low, slowly add the warm half-and-half and continue mixing until blended.
Go slowly to protect the texture: Adding the warm liquid gradually helps the egg mixture combine smoothly before it returns to the saucepan.
4. Cook the custard until thickened
Return the mixture to the saucepan and cook over medium heat, stirring constantly until small bubbles form around the edge and the mixture is thickened and steamy. Do not boil.
5. Finish the custard base
Transfer the custard base to a large bowl. Gently stir in the whipping cream, vanilla and salt until combined.
6. Chill the custard base
Cover and refrigerate for 2 hours, or until fully chilled. The base should be cold before churning so it can freeze properly in the Ice Cream Maker Attachment.
7. Churn the ice cream to soft serve
Once the custard base is fully chilled, assemble the Ice Cream Maker Attachment and churn the mixture.
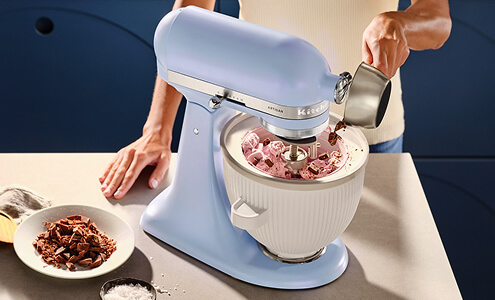
Assemble the attachment: Attach the frozen KitchenAid® Ice Cream Maker freeze bowl, dasher and drive assembly to your stand mixer according to the attachment instructions.
Start the mixer first: Turn the mixer to Stir or speed 1 before adding the cold ice cream base.
Pour while running: Do not pour ice cream batter into the freeze bowl until all parts are assembled and the mixer is running. Pouring batter into the freeze bowl before starting the stand mixer may cause the batter to freeze prematurely and lock the dasher.
Churn to soft-serve texture: Pour the cold mixture into the bowl with the mixer running. Allow the mixer to stir the ice cream mixture for 15 to 20 minutes, or until it reaches the consistency of soft-serve ice cream.
Add mix-ins near the end: If you’re adding solid mix-ins like chocolate pieces, nuts, cookies or fruit, add them during the last 1 to 2 minutes of churning so they stay evenly distributed without overmixing.
8. Freeze until scoopable
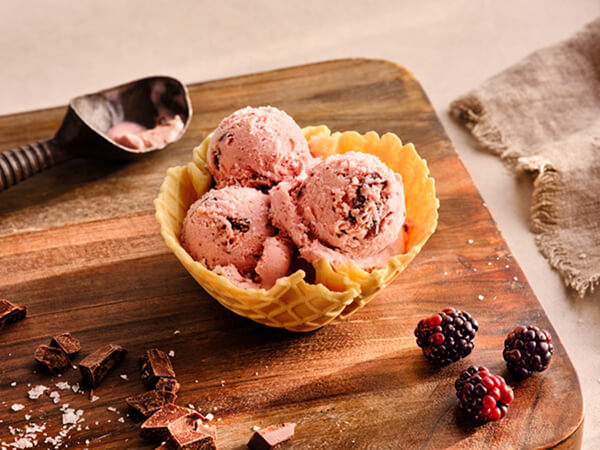
If you prefer soft-serve, you can enjoy your ice cream as soon as it finishes churning. For a firmer, more scoopable texture, transfer the ice cream to a freezer-safe airtight container and freeze for 2 to 4 hours.
Use a shallow container: A shallow, freezer-safe container can help the ice cream freeze more evenly.
Protect the surface: Press wax paper or parchment against the surface before sealing to help reduce freezer burn.
Check the texture early: If you prefer a softer scoop, check the ice cream after about 2 hours.
Soften before serving if needed: If the ice cream becomes too firm, let it sit at room temperature for a few minutes before scooping.
5 ways to make ice cream
Once you’ve mixed your liquid ice cream base, you can turn it into a frozen dessert in a few different ways. A stand mixer ice cream maker attachment offers the most hands-off churning, while plastic bag, freeze-and-stir, no-churn, blender and food processor methods can work when you want a different approach.
Method | How it works | Best for | Texture notes |
Stand mixer ice cream maker attachment | A frozen bowl and dasher churn and freeze the base while the stand mixer runs | Creamier homemade ice cream, gelato and sorbet with less hands-on stirring | Soft-serve texture after churning; firmer texture after freezer hardening |
Plastic bag method | A sealed bag of ice cream base is shaken inside a larger bag filled with ice and salt | Small batches, quick cravings and hands-on kitchen projects | Soft and scoopable after shaking; can be frozen longer for firmness |
Freeze and stir method | The base freezes in a container and is stirred at intervals to break up ice crystals | No-machine ice cream with basic kitchen tools | Less smooth than churned ice cream, but stirring improves texture |
No-churn method | A whipped cream and sweetened condensed milk base is frozen without churning | Easy homemade ice cream without specialized equipment | Rich and creamy, though typically denser than churned ice cream |
Blender or food processor method | A frozen base is broken into chunks, then blended or processed | Frozen fruit desserts, no-churn bases and thicker mixtures | Blender results are often smoother; food processor results may be thicker or slightly more textured |
1. Stand mixer ice cream maker attachment
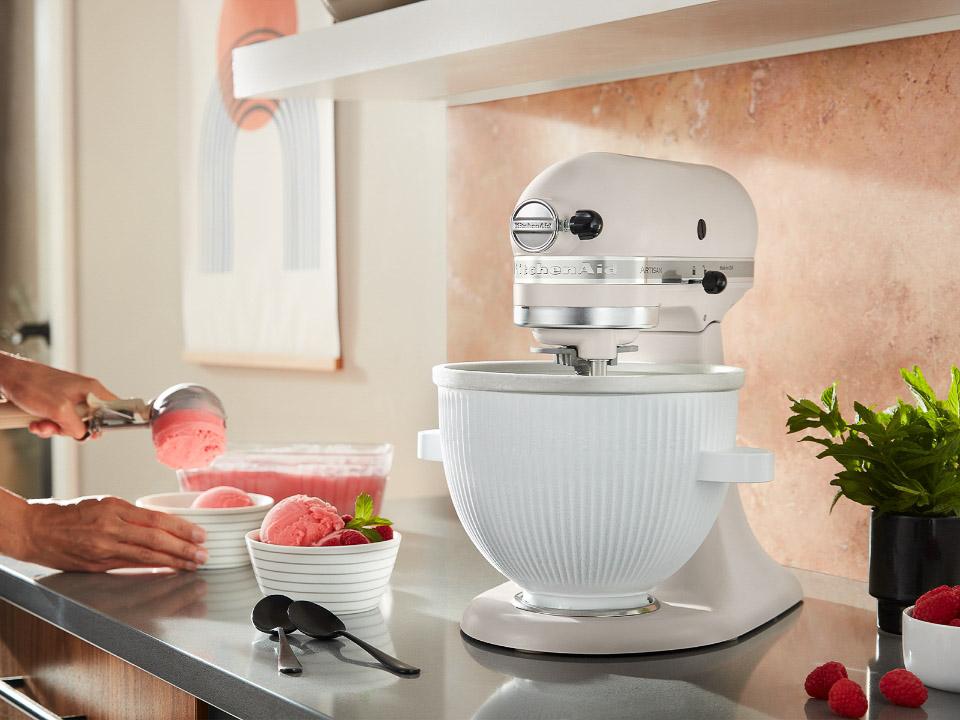
The easiest way to make ice cream is with a tool that churns, aerates and freezes your mixture for you. If you have a compatible KitchenAid® stand mixer, you can use the KitchenAid® Ice Cream Maker Attachment to make up to 2 quarts of ice cream, gelato or sorbet after the bowl is fully frozen.
Freeze the bowl first: Place the freeze bowl in the freezer 24 hours before you plan to churn.
Prepare and chill the base: Cooked custard bases should be completely cold before they’re added to the frozen bowl.
Assemble the attachment: Attach the freeze bowl, dasher and drive assembly according to your owner’s manual.
Start the mixer before pouring: Turn the mixer to Stir or speed 1, then pour in the cold base while the mixer is running.
Churn to soft-serve texture: Mix until the base thickens, usually about 15 to 30 minutes depending on the recipe.
Harden if desired: Transfer the ice cream to an airtight container and freeze for 2 to 4 hours for a firmer scoop.
This method takes some planning, but keeping the freeze bowl in the freezer makes it easier to start when inspiration strikes. It can also be helpful when you’re preparing ice cream for desserts like homemade mochi. Learn more about how to use the KitchenAid® Ice Cream Maker Attachment.[1]
1. Sold separately.
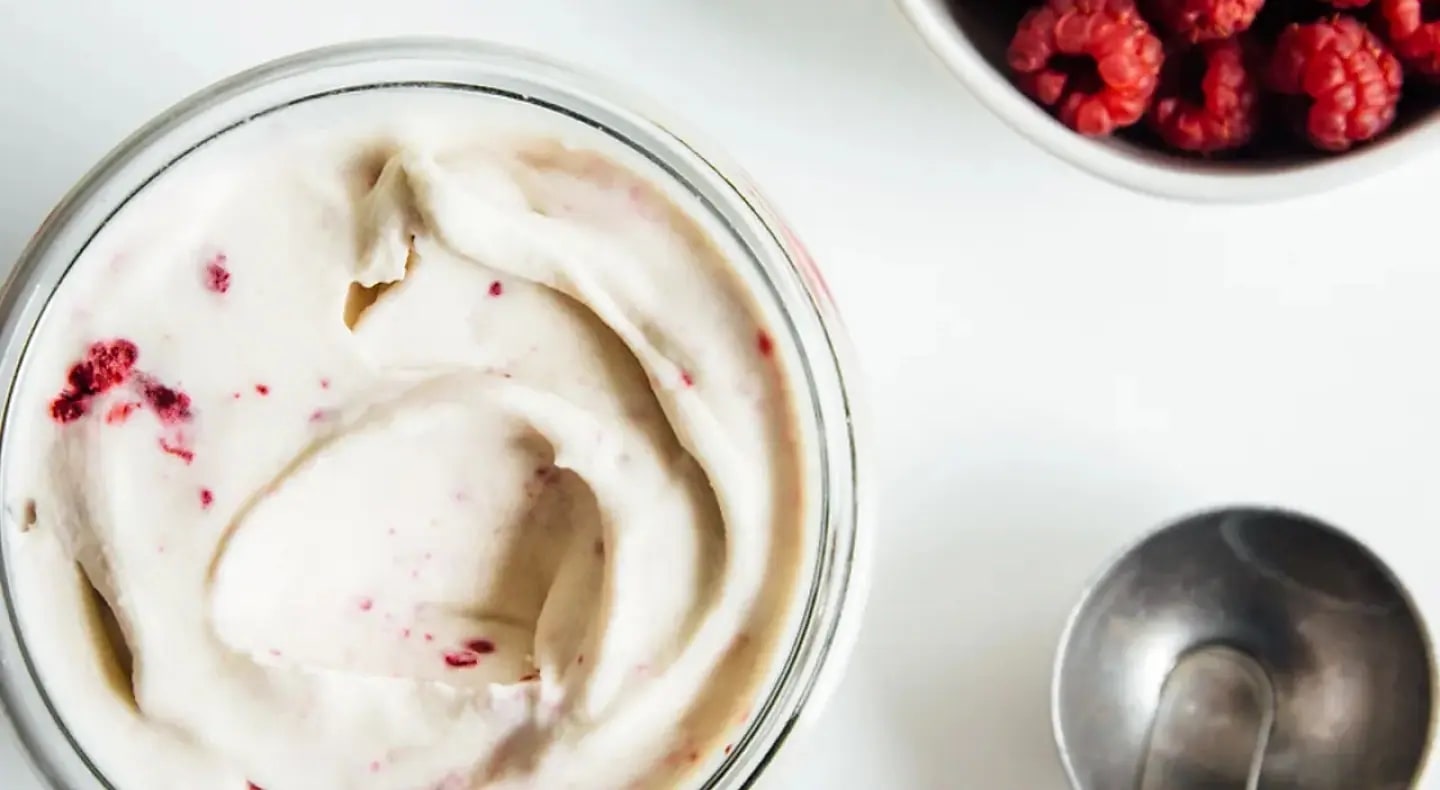
2. Plastic bag ice cream method
If a craving for ice cream hits more spontaneously, try this quick hands-on method. The salt helps lower the temperature of the ice surrounding the smaller bag, while shaking agitates the base as it freezes.
Seal the base: Pour your chilled ice cream mixture into a quart-sized freezer bag, removing as much air as possible and seal tightly. For extra protection, place it inside a second quart bag.
Prep the ice bag: Fill a gallon-sized freezer bag with crushed ice and about 1 tablespoon of kosher salt per cup of ice.
Shake vigorously: Place the sealed quart bag inside the gallon bag, seal and shake for 7 to 10 minutes. Wrap the bag in a towel or wear gloves to protect your hands from the cold.
Check the texture: The mixture is ready when it thickens to a soft, slushy or soft-serve texture. Eat it right away or transfer it to a freezer-safe container to firm up.

3. Freeze and stir method
The freeze and stir method works by freezing your ice cream base in stages, then stirring regularly to break up ice crystals before they become too large. It requires more attention than churning, but it can be done without an ice cream maker.
Choose a shallow container: Pour the chilled base into a freezer-safe airtight container. A shallow shape exposes more surface area and can help the base freeze more evenly.
Freeze, then stir: Place the container in the freezer for about 30 minutes, then stir vigorously, scraping the sides and bottom where crystals form first.
Repeat at intervals: Continue stirring every 30 minutes until the mixture moves from liquid to slushy to scoopable, which can take about 2 to 3 hours.
Use a tool if needed: A hand mixer or immersion blender can make the stirring process easier once the mixture begins to thicken.
Frequent stirring is what helps reduce iciness. If you notice larger crystals forming around the edges, break them up with firm mixing before returning the container to the freezer.

4. No-churn ice cream method
No-churn ice cream starts by combining a rich ice cream base, then freezing it directly in a container without using an ice cream maker. Most no-churn recipes rely on whipped cream and sweetened condensed milk to create a creamy texture that mimics churned ice cream without specialized equipment. This method can work well when you want an easy homemade frozen dessert with minimal prep and cleanup.
Prepare the base: Combine sweetened condensed milk, flavorings and any mix-ins according to the recipe you want to follow.
Whip the cream: In a separate bowl, whip cold heavy cream until stiff peaks form. A stand mixer fitted with the wire whip can make this step faster and more hands-off.
Fold the mixture together: Gently fold the whipped cream into the condensed milk mixture until fully combined and airy.
Transfer to a container: Pour the mixture into a loaf pan or airtight freezer-safe container and smooth the top.
Freeze until firm: Cover and freeze for several hours or overnight until the ice cream is scoopable.
Serve and enjoy: Let the ice cream sit at room temperature for a few minutes before scooping if needed.
The whipped cream in a no-churn recipe helps incorporate air into the mixture, while sweetened condensed milk helps reduce the formation of large ice crystals during freezing. Together, they create a rich, creamy texture without the need for continuous churning.
No-churn ice cream can be a great option for flavors that include mix-ins like chocolate chips, cookie pieces, swirls, fruit preserves or candy. While the texture is often slightly denser than churned ice cream, it can still be smooth, creamy and easy to customize with your favorite ingredients.

5. Blender or food processor ice cream
Blender or food processor ice cream starts by mixing your ice cream base, freezing it flat, then blending or processing the frozen base until smooth and spoonable. This method can work well for no-churn recipes, frozen fruit desserts or ice cream bases that benefit from a smoother texture after freezing.
Mix the base: Prepare your ice cream base in a blender, food processor or mixing bowl, depending on your recipe.
Freeze it flat: Seal the mixture inside a freezer bag and lay it flat in the freezer so it freezes in a thin, even layer.
Break into chunks: Once frozen, break the base into pieces small enough for your blender or food processor to process.
Blend or process: Work in batches if needed, stopping to scrape down the sides until the mixture becomes smooth and creamy.
Serve or freeze until firmer: Enjoy right away for a softer texture, or transfer to an airtight container and freeze until more scoopable.
Blending or processing the frozen base after it sets can help smooth out icy pieces and create a creamier, more uniform texture. You can also pour the mixture directly into an airtight container and freeze it, but the final texture may be slightly less smooth without this post-freeze step.
A food processor can work well for thicker mixtures that need more room to move around the work bowl, while a blender can be a good fit when your mixture includes frozen fruit, ice or smaller frozen pieces that benefit from a smooth blended finish. Select KitchenAid® blenders feature a special Ice Crush or Icy Drinks setting that can help process frozen ingredients like ice.
Learn how to make ice cream with a blender from start to finish. Plus, discover ice cream sundae bar ideas for your next party.
Shop KitchenAid® blenders and food processors
KitchenAid® blenders and food processors can support ice cream-inspired recipes from fruit-based frozen desserts to toppings, sauces and mix-ins. Explore KitchenAid® food processors for chopping nuts, processing fruit and preparing thicker mixtures, or browse KitchenAid® blenders for smooth frozen blends, icy drinks and purees.
Select KitchenAid® Pure Power Blender models include features like Precision Speed Control Knob + Pulse, Ice Crushing and Smoothie presets and a Heat Release Vent for supported recipes.

Ice cream recipe ideas
Once you’ve learned the basic ice cream-making process, you can start experimenting with flavors, mix-ins and frozen dessert styles. A simple vanilla base can become chocolate, strawberry, keto-inspired, gelato-style or fruit-blended ice cream with a few thoughtful adjustments.
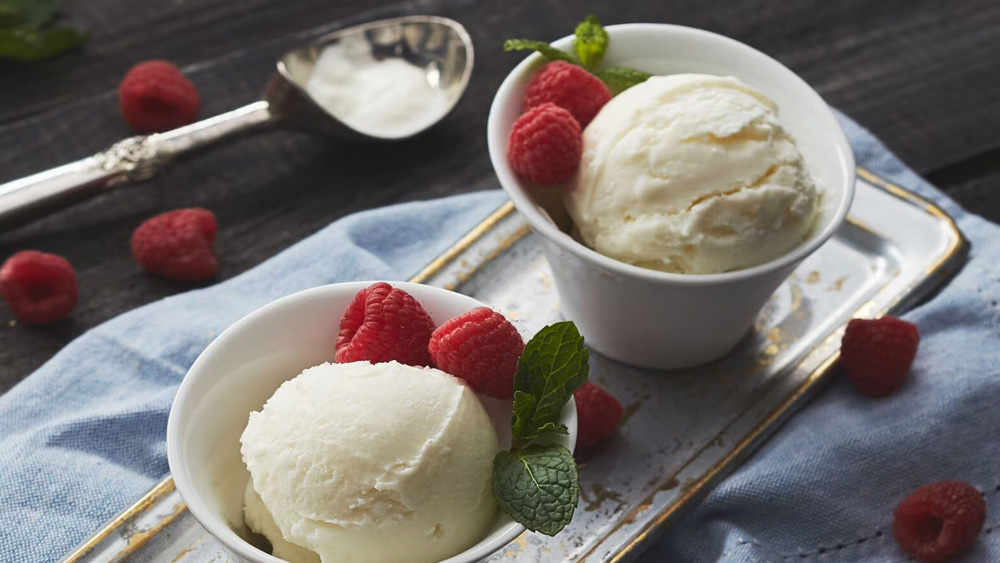
Vanilla ice cream
Vanilla ice cream is a comforting classic with warm, mellow flavors that can be dressed up with toppings or enjoyed on its own. Add vanilla extract to a basic ice cream mixture, or simmer whole vanilla beans in a custard base for a more aromatic vanilla flavor. Learn more tips and tricks for how to make vanilla ice cream at home.
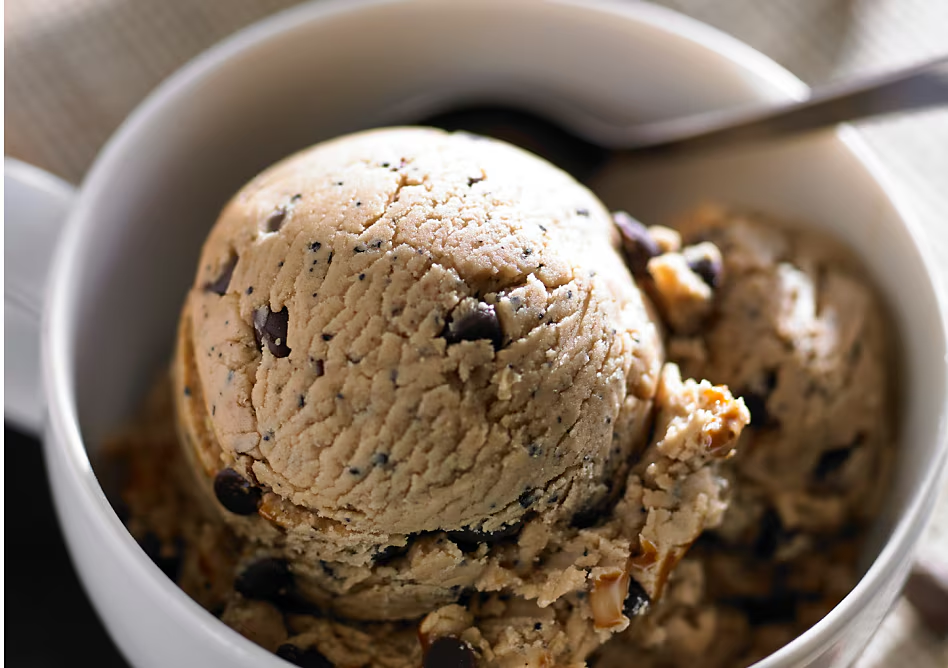
Chocolate ice cream
Add cocoa powder to a basic ice cream recipe to begin building a chocolate ice cream base. Melt in your favorite type of chocolate from sweet milk chocolate to rich and bitter dark varieties along with additions like candy pieces, tart cherries and more for a satisfying custom creation. Learn more about how to make homemade chocolate ice cream with this guide.
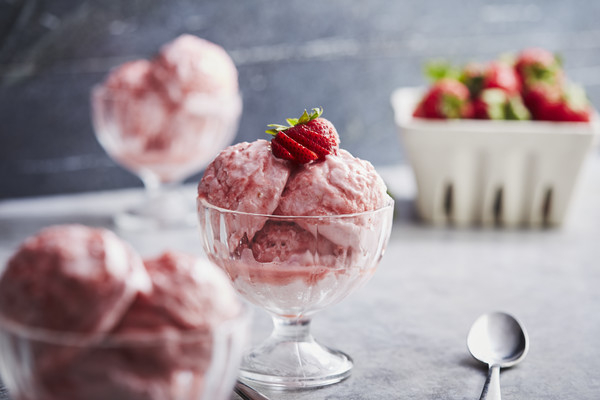
Strawberry ice cream
Add pureed or mashed fresh strawberries to your ice cream base for a homemade frozen treat that captures the flavors of summer. Layer in bright lemon and nutty poppy seed with strawberry poppy seed ice cream using the KitchenAid® Ice Cream Maker Attachment, or add some sophistication with fresh herbs and wine for a refreshing basil and strawberry riesling sorbet.
Keto ice cream
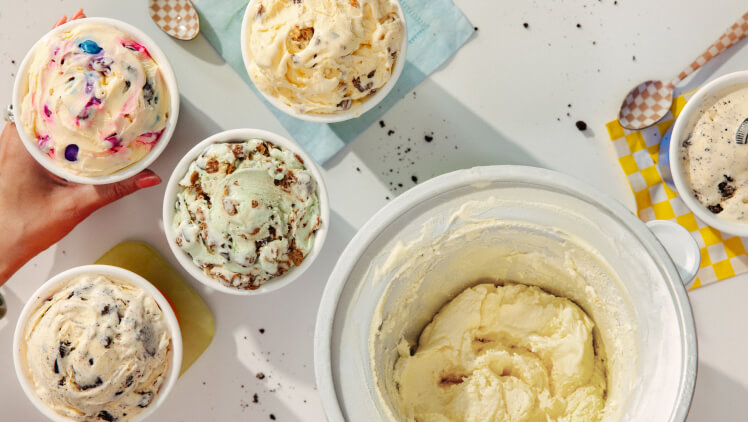
To convert a basic ice cream recipe for a keto version, swap the dairy for full-fat coconut milk and remove the sugar. Coconut milk will add just a bit of sweetness, but you can also add in xylitol, erythritol or another sugar alternative. Then mix in your favorite keto-friendly flavorings and toppings such as chopped nuts, mint extract and more.

Gelato
Gelato is typically made with a milk-forward base, sugar, egg yolks or stabilizing ingredients and flavorings like chocolate, fruit, espresso, vanilla or nuts. It’s often churned and frozen in a similar overall process as ice cream, though recipes can vary in fat content, texture and serving style.
For a KitchenAid® Ice Cream Maker Attachment recipe, try chocolate chili gelato, which uses a cooked custard base, cocoa, bittersweet chocolate and ground chilis for a rich frozen dessert with gentle heat.
New Zealand-style ice cream
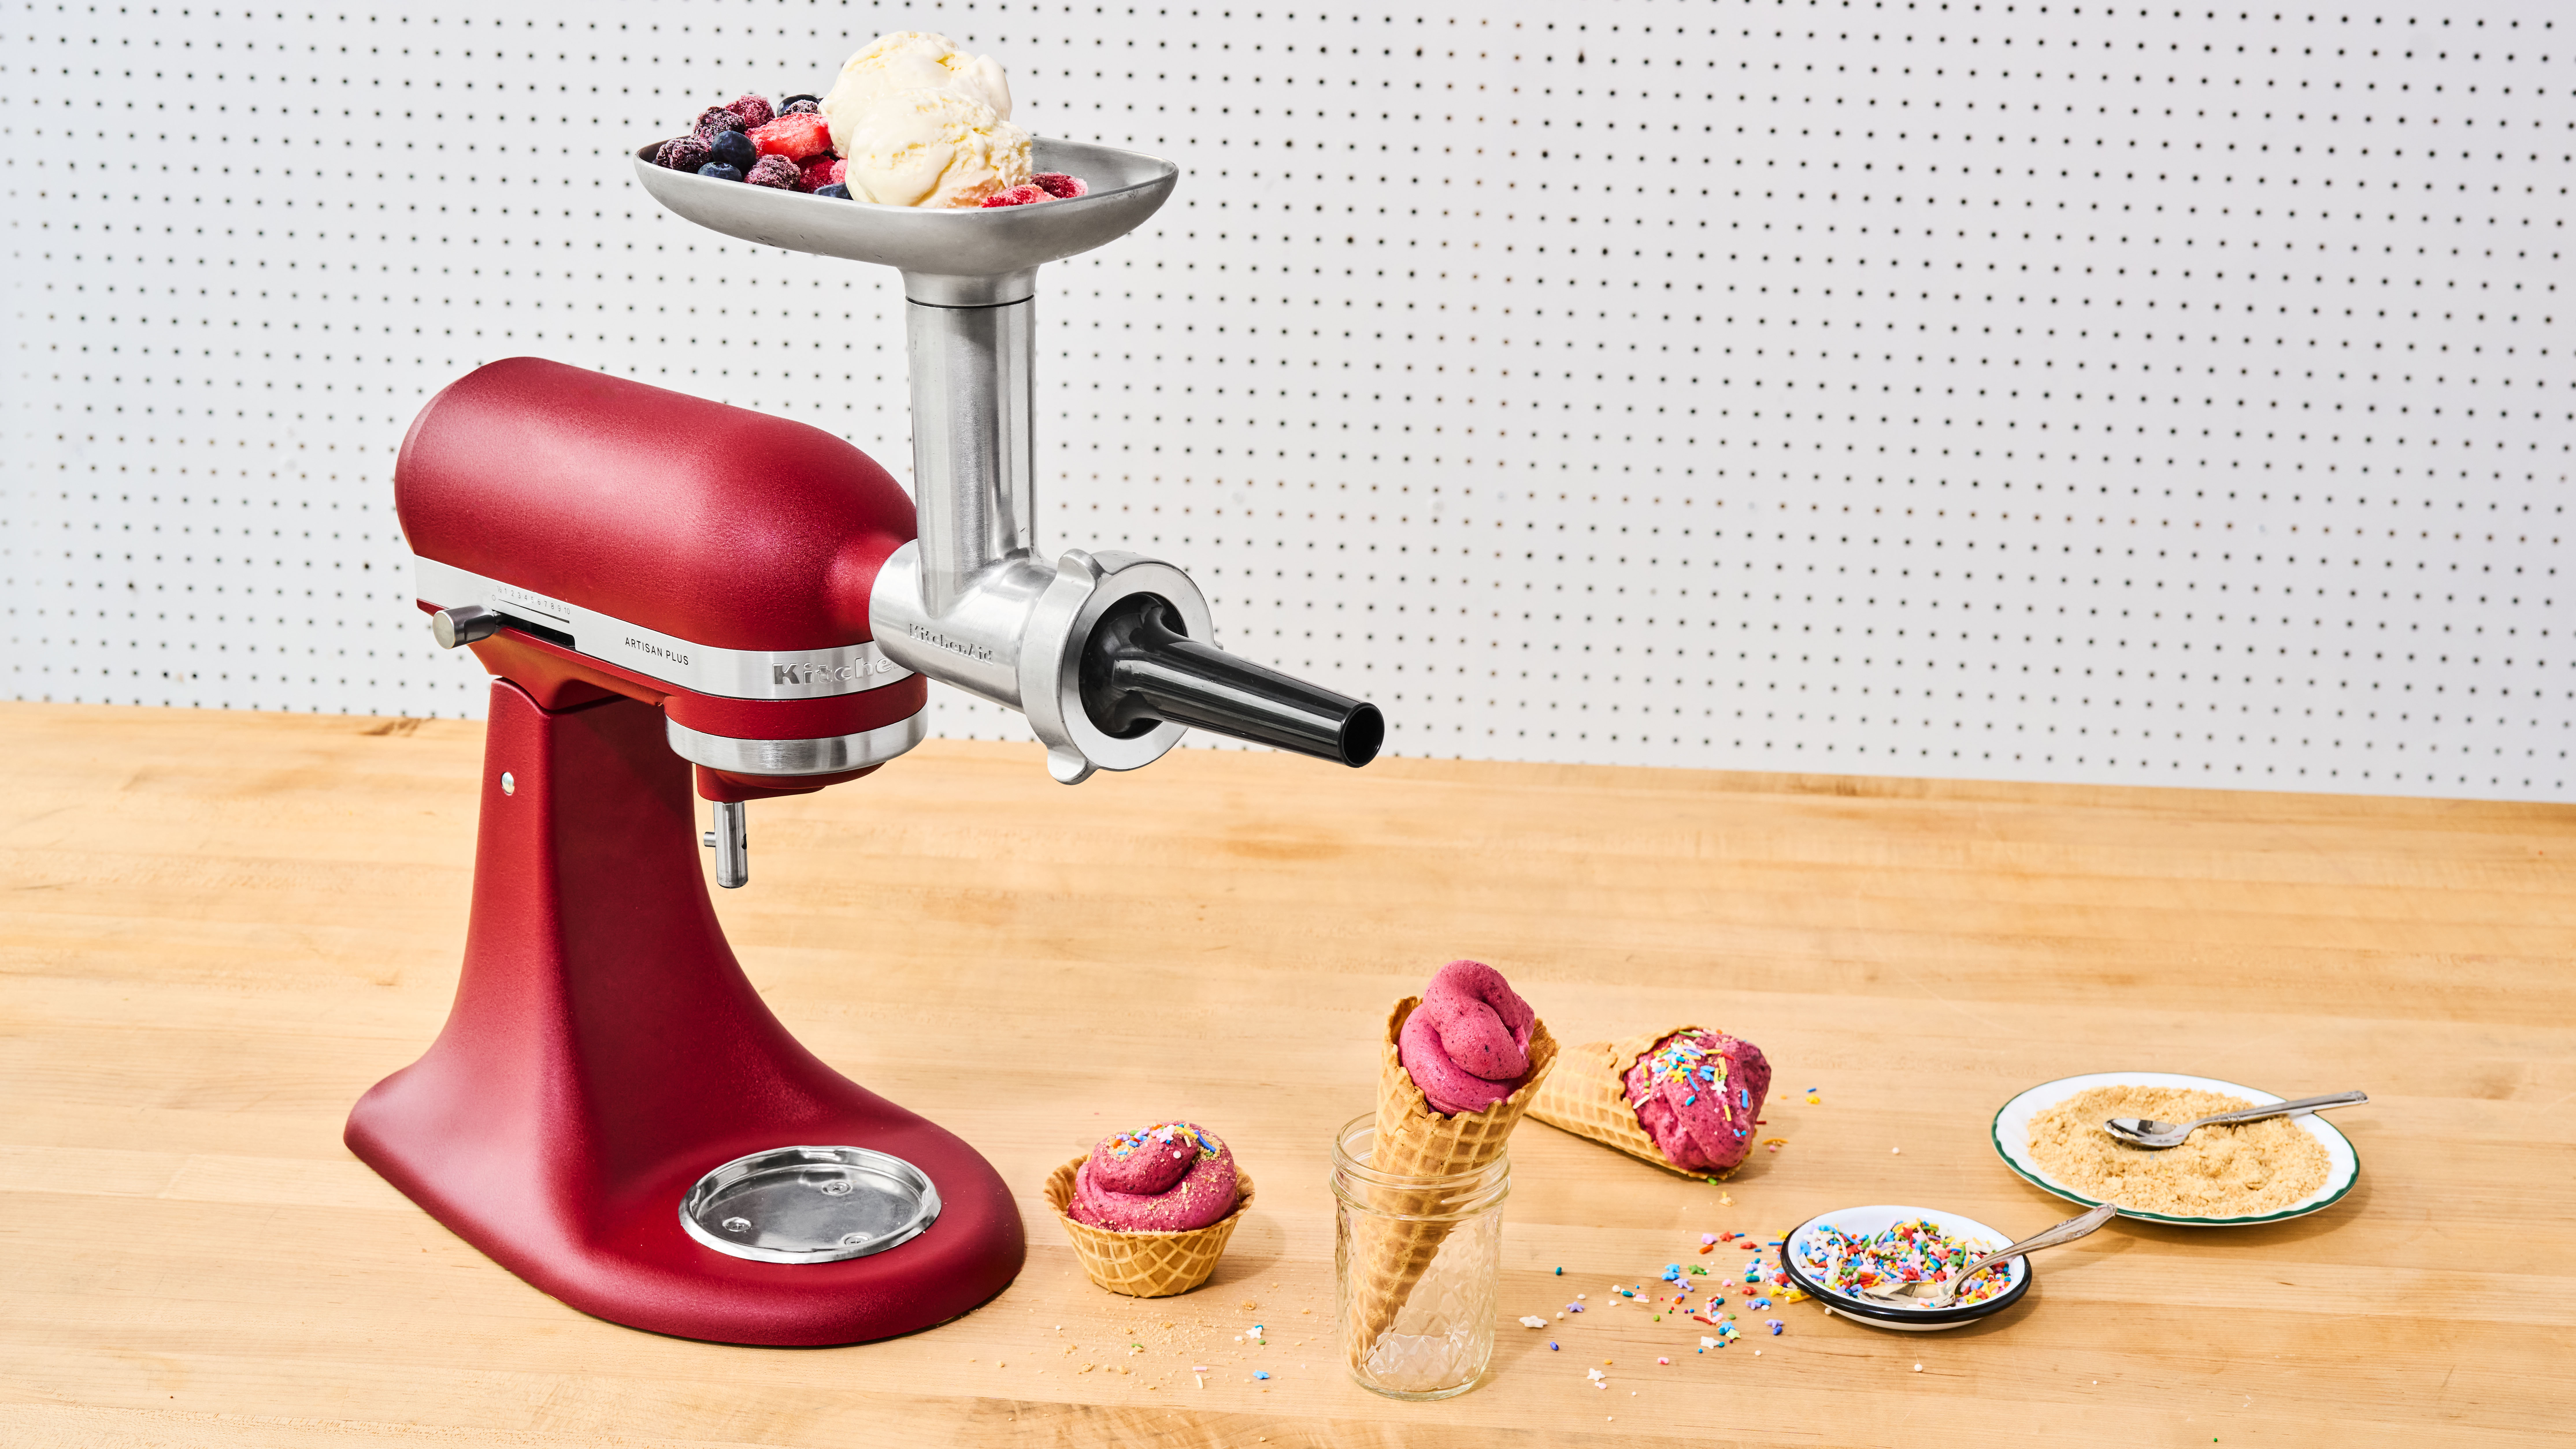
New Zealand-style ice cream, also called real fruit ice cream, combines firm ice cream with frozen fruit for a colorful, soft-serve-style frozen dessert. To try a KitchenAid® stand mixer variation, add ice cream and small pieces of frozen fruit to the tray of the KitchenAid® Food Grinder Attachment fitted with the Sausage Stuffer Kit, both sold separately, so the fruit becomes integrated throughout the ice cream as the mixture runs through the attachment.
Serve it right away for the freshest texture, and experiment with combinations like vanilla and berries, sweet cream and mango or chocolate and cherries.

Homemade ice cream FAQs
Homemade ice cream can be simple once you understand the timing, texture cues and storage basics. These answers cover common questions about storing ice cream, adding mix-ins, freeze time and preventing icy texture.
How long is ice cream good for in the freezer?
Ice cream is best enjoyed as fresh as possible. However, you can store most ice cream recipes in the freezer for around 2 weeks if kept in an airtight container. To help prevent freezer burn, you can place a layer of wax paper over the ice cream within your container.
What does it mean to infuse ice cream?
Infusing ice cream means flavoring the ice cream base by steeping ingredients like vanilla beans, coffee, herbs, spices or citrus zest in the liquid before freezing. This allows the flavors to blend into the base for a deeper, more complex taste.
When should mix-ins be added to homemade ice cream?
Add mix-ins like chocolate, nuts, fruit or cookie pieces during the last 1 to 2 minutes of churning so they stay evenly distributed without sinking or overmixing.
If you’re using a no-churn or freeze-and-stir method, fold mix-ins in once the mixture has thickened but before it fully hardens. Softer swirls like jam, caramel or fudge can be layered into the storage container before the final freeze.
How long does homemade ice cream take to freeze?
Homemade ice cream usually churns to a soft-serve texture in about 15 to 30 minutes, then needs 2 to 4 hours in the freezer to become firm and scoopable.
The full timeline depends on the recipe, how cold the base is, the method you use and how firm you want the final texture. Custard bases also need time to chill before churning.
Why is my homemade ice cream icy instead of creamy?
Homemade ice cream can turn icy when the base isn’t cold enough, freezes too slowly or isn’t stirred or churned enough to break up ice crystals.
For smoother texture, chill the base fully before freezing, churn or stir consistently, use a freezer-safe airtight container and press wax paper or parchment against the surface before storing. If you’re using the KitchenAid® Ice Cream Maker Attachment, make sure the bowl is fully frozen before you begin.