

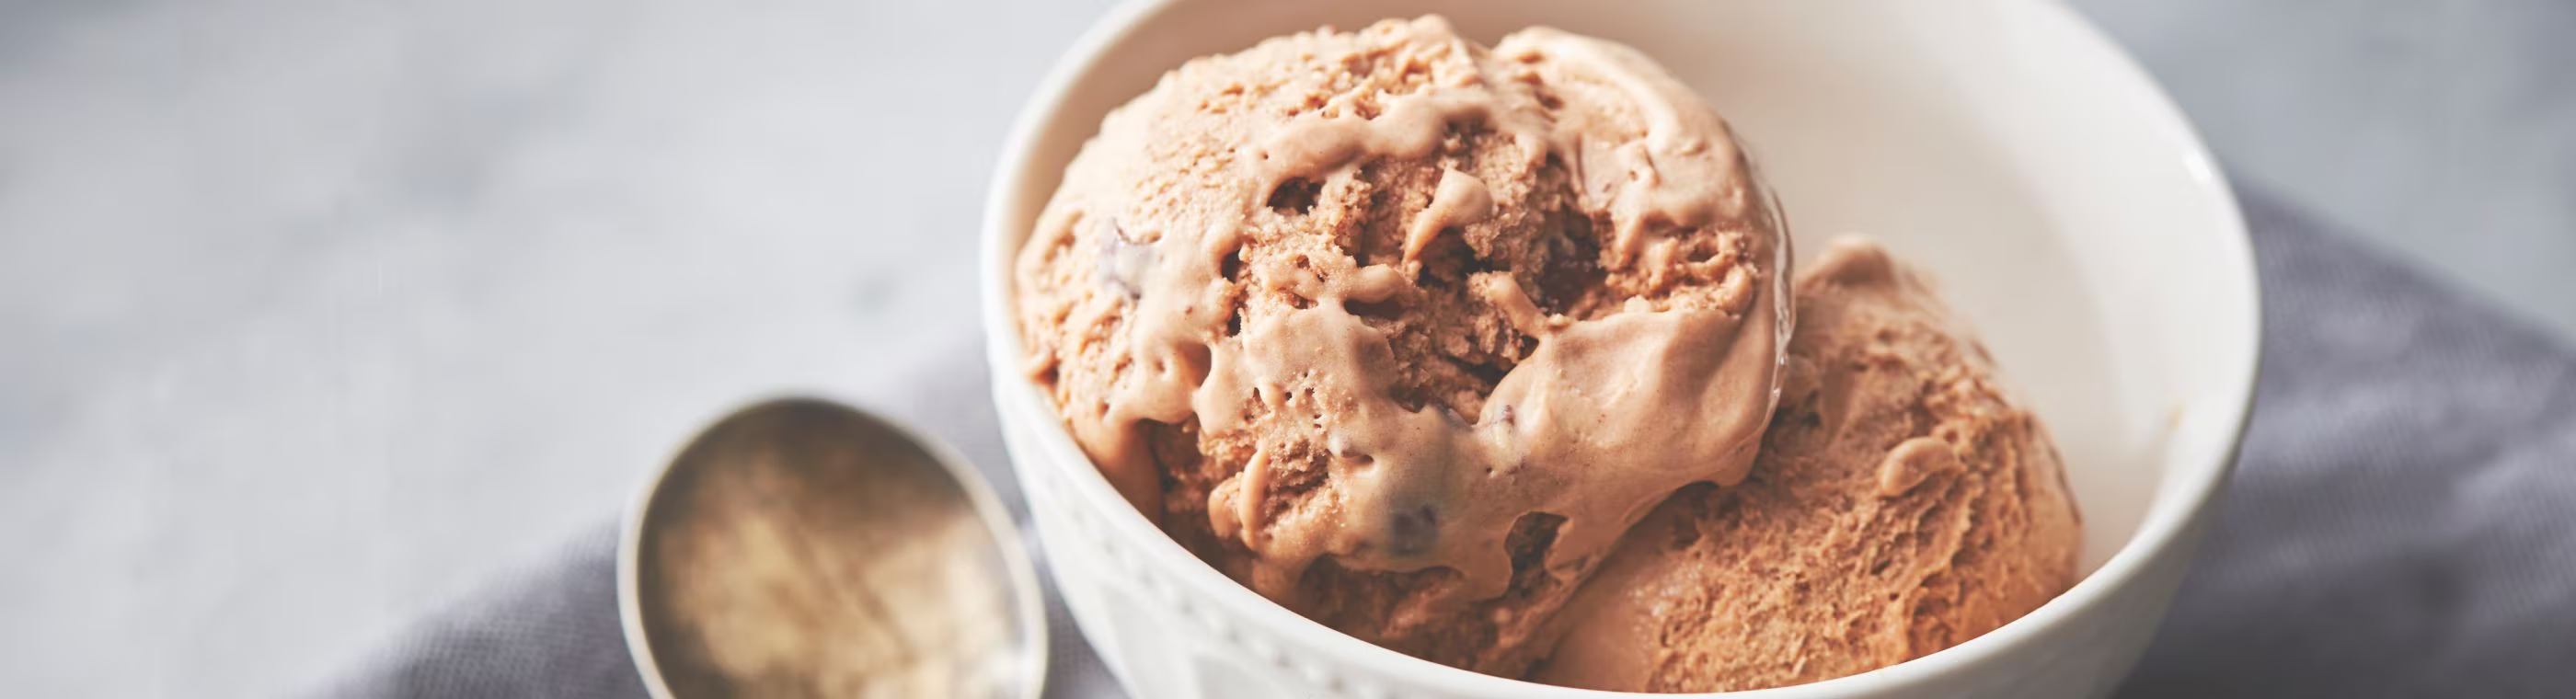
Chocolate ice cream starts with a rich chocolate base, then comes together through chilling, churning and freezing. With a KitchenAid® stand mixer and the Ice Cream Maker Attachment, sold separately, you can churn a chilled base into a soft, creamy frozen treat in less than 30 minutes.
This guide walks through essential ingredients, chocolate type selection, Ice Cream Maker Attachment setup, churning cues, texture tips, add-ins and common substitutions so you can create homemade chocolate ice cream from start to finish.
How to make chocolate ice cream: recipe & tips
How to make chocolate ice cream: recipe & tips

Chocolate ice cream recipe
While the variations of chocolate ice cream you can create with your stand mixer attachment are nearly endless, a chocolate custard-style base typically starts with dairy, egg yolks, sugar, cocoa powder and chocolate. From there, you can adjust the chocolate type, sweetness level and add-ins to create anything from chocolate cherry chip to chocolate chili gelato.
Yields
1 quart (about 8 half-cup servings)
Ingredients:
3/4 cup whole milk
6 large egg yolks
3/4 cup (150 grams) granulated sugar
3 teaspoons Dutch-processed dark cocoa powder
3 teaspoons unsweetened cocoa powder
1/4 teaspoon kosher salt
3 ounces (85 grams) semi-sweet chocolate, melted and cooled slightly
2 1/4 cups heavy cream
1 tablespoon vanilla extract
2 teaspoons almond extract
2 teaspoons chocolate extract
Tools:
KitchenAid® stand mixer
KitchenAid® Ice Cream Maker Attachment, sold separately
Small saucepan
Small mixing bowl
Whisk
Fine-mesh strainer
Heat-safe bowl
Loaf pan or airtight freezer-safe container
Rubber spatula, plastic spoon or wooden spoon for transferring
Prep time:
15 minutes, not including the 24 hours needed to freeze the KitchenAid® Ice Cream Maker bowl before churning.
Cook Time
10 minutes
Total Time
5 hours 40 minutes, including cooking, chilling, churning and 3 hours of hardening time. Freeze longer if you prefer a firmer texture.
A basic chocolate ice cream recipe can come together quickly once the bowl and base are fully chilled. For harder, scoopable ice cream, plan for additional freezer time after churning.

1. Make your chocolate ice cream base
In this custard-style base, you’ll start by combining egg yolks, sugar, cocoa powder and salt together, then slowly add heated whole milk.
Heat the milk: Place the milk in a small saucepan and heat over medium-low until barely simmering.
Whisk the custard ingredients: In a small bowl, whisk the egg yolks, sugar, Dutch-processed cocoa powder, unsweetened cocoa powder and salt together.
Temper the yolks: When the milk is very hot, slowly pour it into the yolk mixture in a thin stream while whisking constantly. This helps bring the yolks up to temperature gradually.
Cook until slightly thickened: Transfer the mixture back to the saucepan and continue cooking over medium-low heat while whisking for about 3–5 minutes, or until the base thickens slightly.
Strain the base: Pour the mixture through a fine-mesh strainer into a heat-safe bowl to help create a smoother texture.
Add chocolate, cream and extracts: Whisk in the melted semi-sweet chocolate, heavy cream, vanilla, almond and chocolate extracts.
Chill overnight: Cover and refrigerate the base overnight so it’s fully cold before churning.

2. Set up your ice cream maker attachment
The KitchenAid® Ice Cream Maker Attachment has three main parts: The freeze bowl, dasher and drive adapter. It connects to compatible full-sized tilt-head and bowl-lift KitchenAid® stand mixers, but the setup process varies slightly by model. Consult your owner’s manual for instructions for setting up your specific stand mixer, and review this guide on how to use the KitchenAid® Ice Cream Maker Attachment for additional setup and usage guidance.
Freeze the bowl: Place the freeze bowl in the freezer for 24 hours before use and leave it there until you’re ready to add the chilled ice cream base.
Attach the bowl: Secure the freeze bowl to the stand mixer base the way you would attach a regular stand mixer bowl.
Insert the dasher: Place the dasher inside the freeze bowl.
Connect the drive adapter: Attach the drive adapter to the stand mixer motor head, following the setup guidance for your tilt-head or bowl-lift model.
Engage the dasher: Lower the tilt-head or raise the bowl, depending on your model, until the drive adapter connects with the dasher.
3. Churn the ice cream
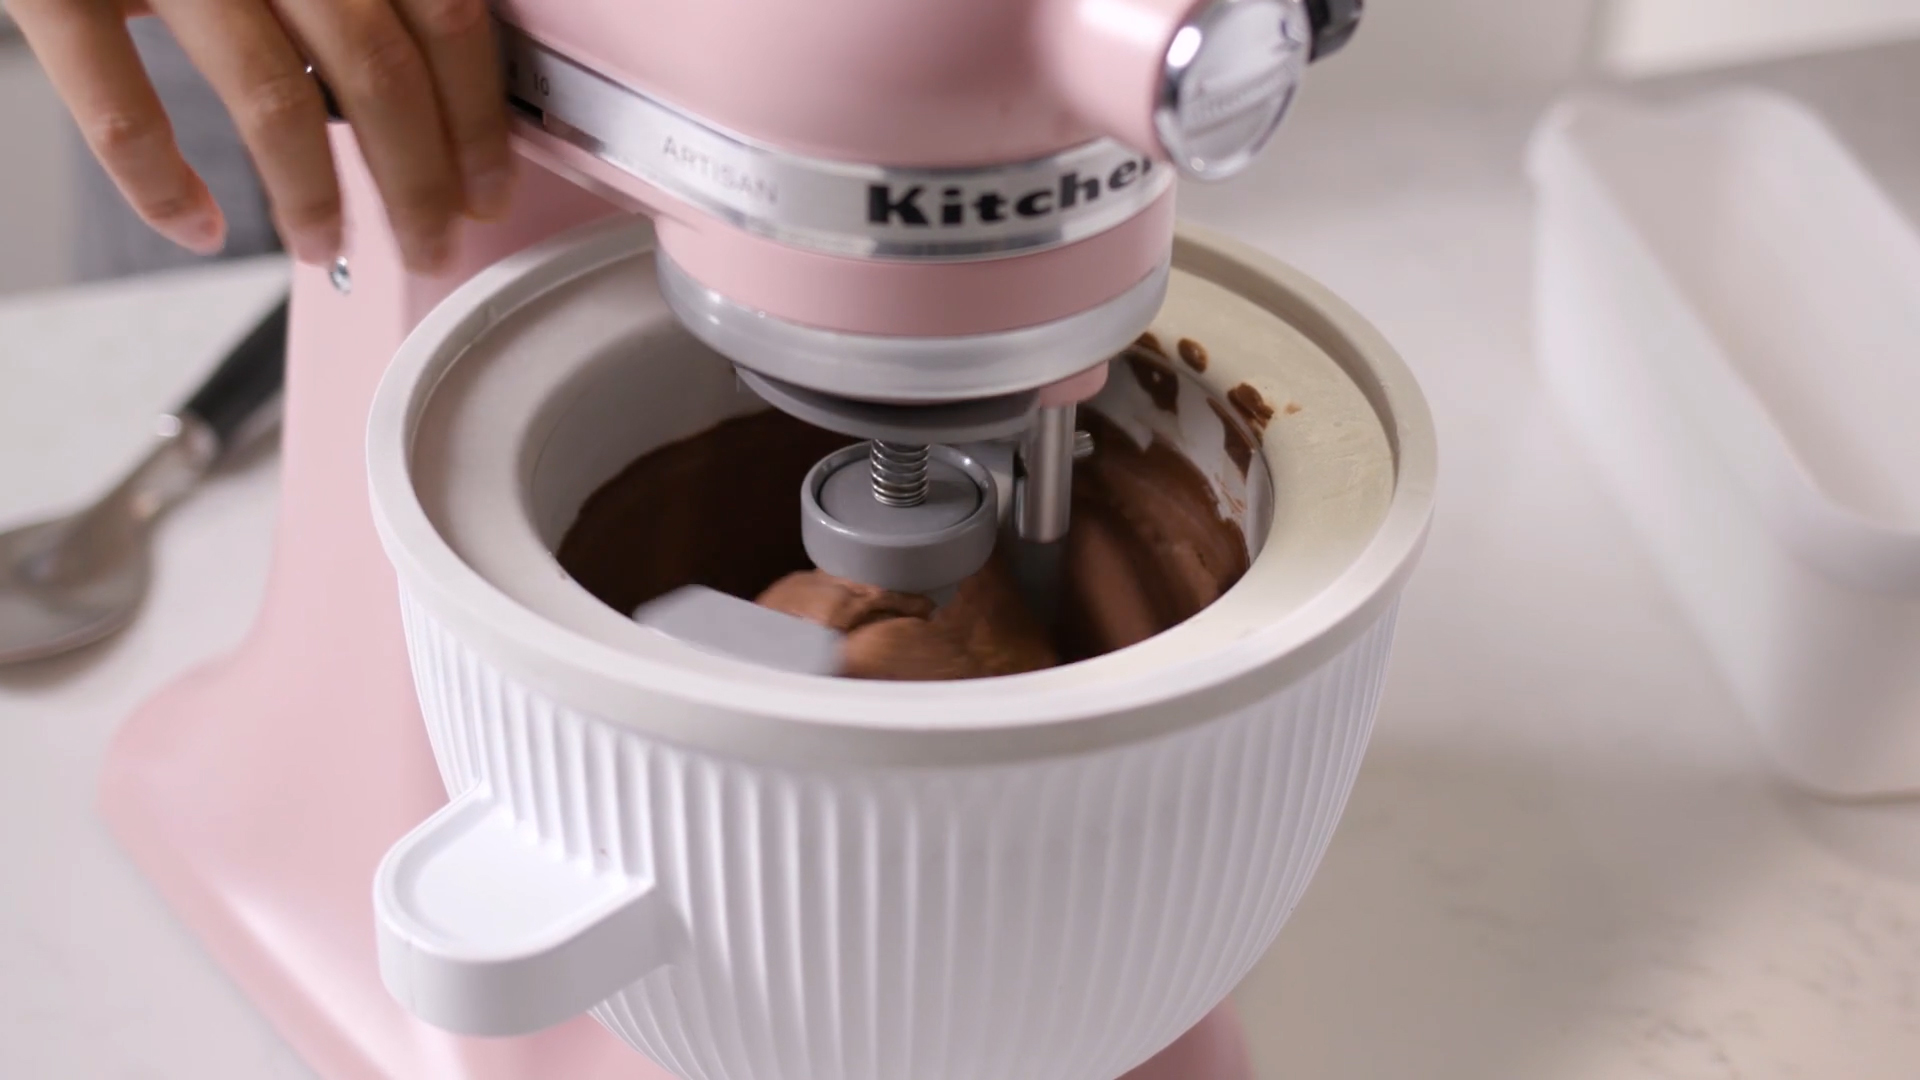
Churning helps freeze the base while incorporating air and keeping the texture smooth. The base should be completely chilled before it goes into the frozen bowl so it can thicken properly as the dasher turns.
Start the mixer before adding the base: Turn the stand mixer to Stir or speed 1 before pouring in the chilled ice cream mixture.
Pour while churning: Slowly pour the chilled chocolate ice cream base into the freeze bowl while the dasher is moving.
Watch the texture: Let the mixer run until the ice cream has increased in volume and reaches a thick, soft-serve consistency, usually around 20-30 minutes.
4. Add mix-ins (Optional)
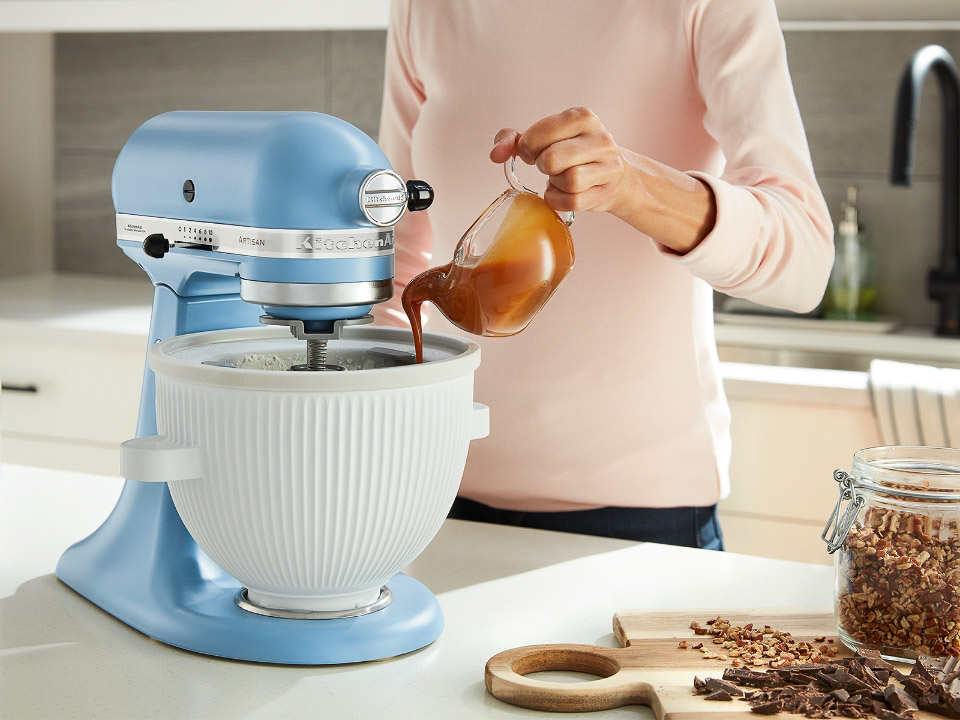
Add your choice of mix-ins if desired. Mix-ins like fruit, chopped chocolate, nuts or candies are best added once the base has thickened, while sauces like chocolate, fudge, caramel, jam or peanut butter are usually best layered in after churning to create ribbons or swirls.
Add toward the end or layer after churning: For simple add-ins like chocolate chips, nuts or candies, add them during the final minutes of churning.
Keep pieces small: Chop candies, nuts or chocolate into small pieces so they’re easier to scoop and distribute.
Watch moisture levels: Juicy fruit, syrups or wet add-ins can change the texture, so fold or layer them in carefully when a recipe calls for it.
Layer sauces after churning: To create swirls, spoon a layer of churned ice cream into your storage container, drizzle with chocolate sauce, caramel, fudge, jam or another thick sauce, then repeat the layers. Gently swirl with a knife or spatula if desired.

5. Freeze or serve
Freshly churned ice cream will have a soft consistency and can be served right away if you prefer a softer scoop. For firmer ice cream, transfer it to a freezer-safe container and allow time for it to harden.
Remove the dasher: Stop the mixer, then remove the dasher from the freeze bowl.
Transfer gently: Use a rubber spatula, plastic or wooden spoon to move the ice cream into serving dishes, a loaf pan or an airtight container.
Serve soft: Spoon the ice cream into dishes right away for soft-serve texture.
Freeze for firmer scoops: For hard ice cream, freeze in an airtight container for 2-4 hours before serving.
Making chocolate ice cream FAQs
Once you know how to make the base and churn it, you can start adjusting texture, sweetness and add-ins to match your favorite kind of chocolate ice cream. These quick answers cover common questions about making chocolate ice cream with and without the KitchenAid® Ice Cream Maker Attachment.
How long does it take to churn ice cream in a KitchenAid® stand mixer?
When using the KitchenAid® Ice Cream Maker Attachment, most ice cream bases churn in about 20–30 minutes. For best results, freeze the bowl for 24 hours before use so it’s completely frozen before you begin churning. Churning is complete when the mixture reaches a thick, soft-serve consistency.
Can you make chocolate ice cream with just a stand mixer?
Yes, even without the Ice Cream Maker Attachment, you can use your stand mixer to thoroughly combine ingredients for your ice cream base using a regular stand mixer bowl and a wire whisk. Once combined, transfer your mixture to a freezer bag and freeze flat. Then, break up the frozen mixture and process in a blender or food processor until smooth.
You can also pour the mixture into a freezer-safe container like a glass loaf pan, cover it with plastic wrap and freeze for 4–6 hours, though the texture may be slightly less smooth without post-freeze blending or processing.
For guidance on more ways to make ice cream, explore this guide on how to make homemade ice cream.
What are some chocolate ice cream add-ins and flavor ideas?
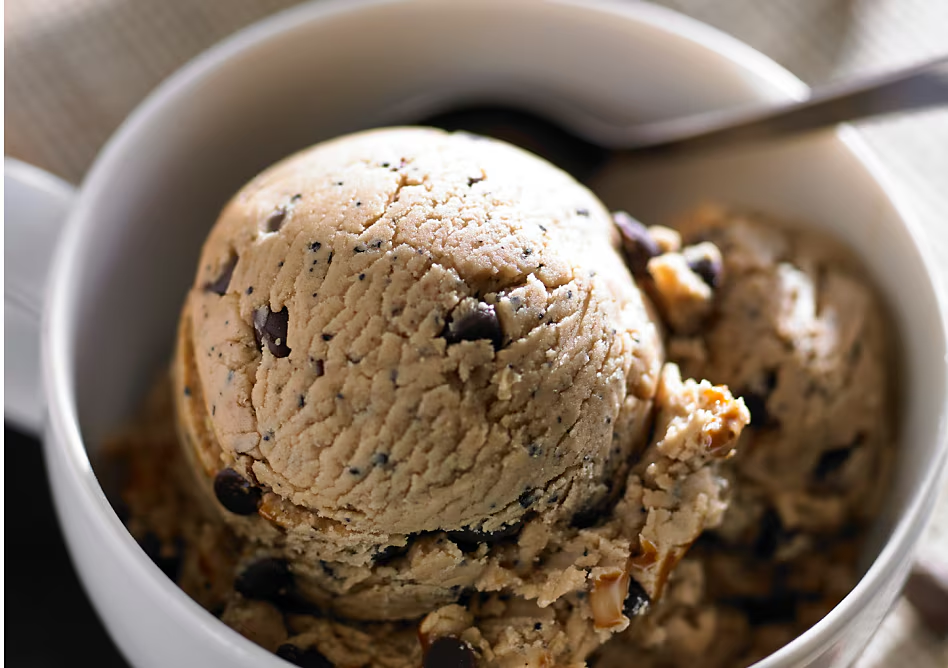
Chocolate ice cream is easy to customize with mix-ins that add crunch, chew, sweetness or contrast. Add solid pieces late in the churning process or layer them into the churned ice cream before freezing so they stay distinct rather than breaking down into the base.
Chocolate cherry chip: Layer chopped cherries and chopped semi-sweet chocolate into the churned chocolate base for a fruit-and-chocolate combination inspired by this KitchenAid® Chocolate Cherry Chip Ice Cream recipe.
Chocolate malt: Add malt powder and vanilla to the base for a malt shop-inspired flavor, then mix in chopped chocolate malted candies near the end of churning.
Rocky road: Fold in mini marshmallows, toasted walnuts and chocolate chunks for a classic mix of soft, crunchy and chocolatey textures.
Brownie or toffee crunch: Add small brownie pieces, toffee bits or chopped candy bars near the end of churning so they stay intact.
Ice cream cake: Take homemade chocolate ice cream recipes further by layering them into an ice cream cake.
How can you make chocolate ice cream more or less sweet?
You can adjust chocolate ice cream sweetness by changing the type of chocolate, the amount of sugar or the mix-ins you add. Just keep in mind that sugar affects texture as well as flavor, so major adjustments can make the finished ice cream softer, firmer or icier.
Choose darker chocolate for less sweetness: Chocolate with a higher cocoa percentage, such as dark or semi-sweet chocolate around 60% cocoa or higher, can create a deeper, more bittersweet flavor.
Use milk chocolate for a sweeter base: Milk chocolate typically has more sugar and less cocoa than dark chocolate, making it a good choice if you want a sweeter, creamier chocolate flavor.
Adjust cocoa powder and sugar together: Unsweetened cocoa powder can help build chocolate flavor while letting you control how much sugar goes into the base.
Balance sweetness with bold or tart ingredients: Espresso powder, salted caramel, tart cherries, raspberries or strawberries can help offset a sweet chocolate base.
Add sweeter mix-ins for a dessert-style finish: Marshmallows, toffee pieces, brownie chunks, cookie pieces or chocolate candies can make homemade chocolate ice cream feel more indulgent.
The best part of homemade ice cream is that you can adjust the base and add-ins to match your taste, whether you prefer a rich dark chocolate scoop, a sweeter milk chocolate version or a chocolate ice cream layered with sauces, fruit and mix-ins.
What type of chocolate is best for making chocolate ice cream?
Semi-sweet or dark chocolate is often best for chocolate ice cream because it adds deeper cocoa flavor without making the base overly sweet. Milk chocolate works well when you want a softer, sweeter flavor.
For a more intense chocolate profile, combine unsweetened cocoa powder with chopped semi-sweet or dark chocolate. Cocoa powder helps build a concentrated chocolate base, while melted chocolate adds richness and body. If you prefer a mild, sweeter scoop, use milk chocolate and balance it with cocoa powder so the flavor still comes through after freezing.
How do you keep homemade chocolate ice cream creamy?
Keep homemade chocolate ice cream creamy by using enough dairy fat and sugar, chilling the base completely, churning it until thick and freezing it in an airtight container. Avoid over-reducing sugar, which can make the texture firmer or icier.
A fully frozen ice cream maker bowl also matters. If the bowl or base isn’t cold enough, the mixture may take longer to churn and may not thicken as smoothly. For firmer scoops, transfer freshly churned ice cream to a shallow airtight container and freeze it for 2-4 hours.
Can you make dairy-free chocolate ice cream?
Yes, you can make dairy-free chocolate ice cream with plant-based milk, coconut milk, dairy-free cream alternatives and vegan-friendly chocolate. For the creamiest texture, choose higher-fat ingredients, chill the base well and follow your recipe’s thickening guidance.
Coconut milk is a common choice because it contributes body and richness, while oat, almond or soy-based ingredients can work in recipes developed for those substitutions. Since dairy-free bases vary widely, follow the recipe closely before adjusting sweetness, thickeners or chocolate type.
For a vegan-friendly version, make sure every ingredient is plant-based, including the chocolate, sweeteners and any mix-ins. You can also explore chocolate “nice cream,” a dairy-free frozen dessert often made by blending frozen bananas with cocoa powder and other flavor additions for a naturally creamy, scoopable treat.