Sourdough bread in a stand mixer: recipe and tips
8 min read time
24 October 2025
Rustic, flavorful and delightfully crusty, sourdough bread is an artisan classic you can use to create hearty sandwiches and melts or pair with fresh, flavorful toppings like basil, mozzarella or tomato for a bruschetta appetizer. Using your KitchenAid® stand mixer, you can skip manual kneading to make delicious homemade loaves with ease. Read the recipe below to start making delicious creations like sweet French toast or soup in a homemade bread bowl easily with your stand mixer.
Sourdough bread in a stand mixer: recipe and tips
Sourdough bread in a stand mixer: recipe and tips
What is sourdough bread?
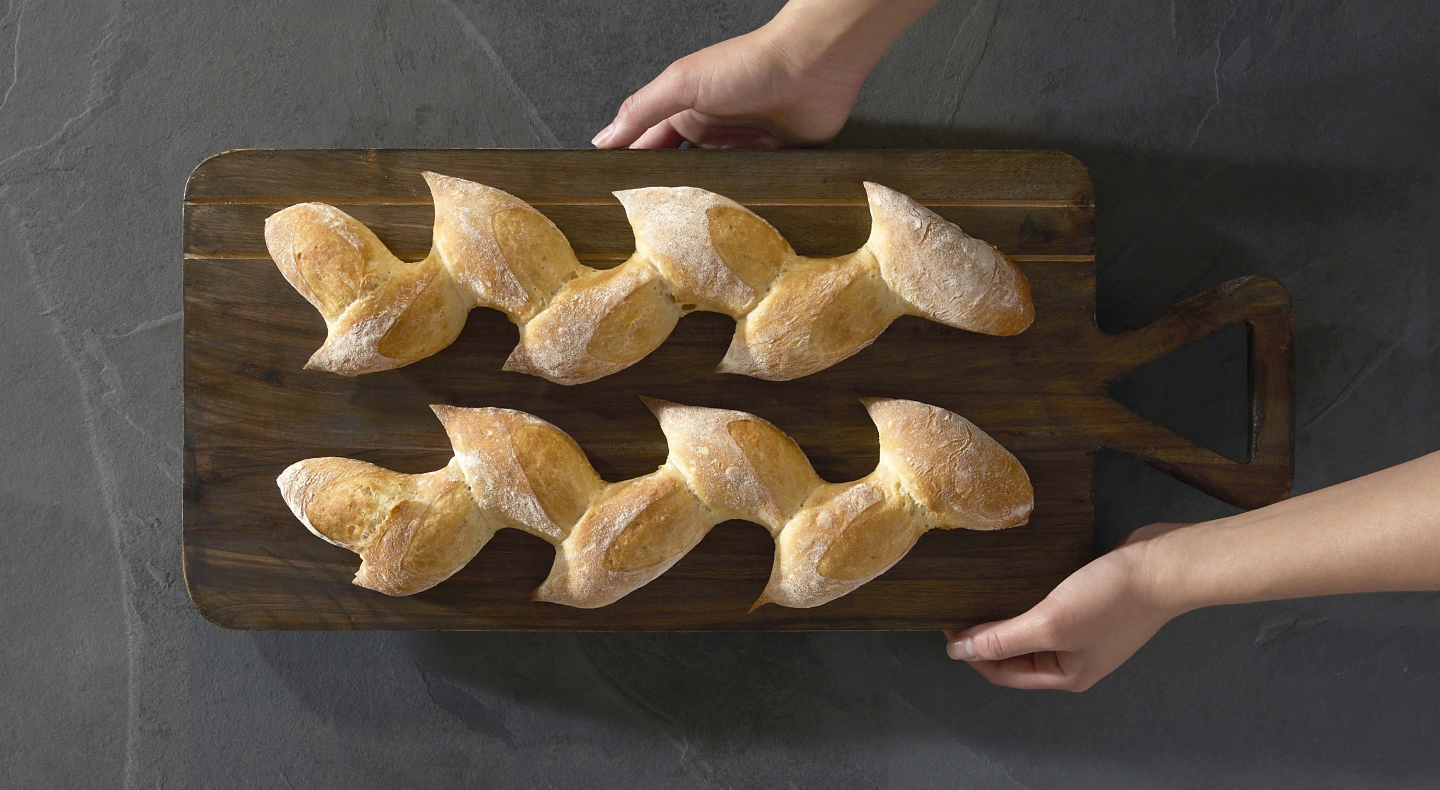
Sourdough bread is a biologically leavened loaf that can require a slower ferment in order to rise, typically made from a mixture of flour, water, salt and sourdough starter. After baking, the result is a hearty loaf with a distinct tangy flavor and slightly chewy texture.
Sourdough is a naturally yeasted bread, meaning you won’t need to use commercial yeast for your dough to rise as you would when making other types of yeast-risen bread.
Homemade sourdough bread recipe
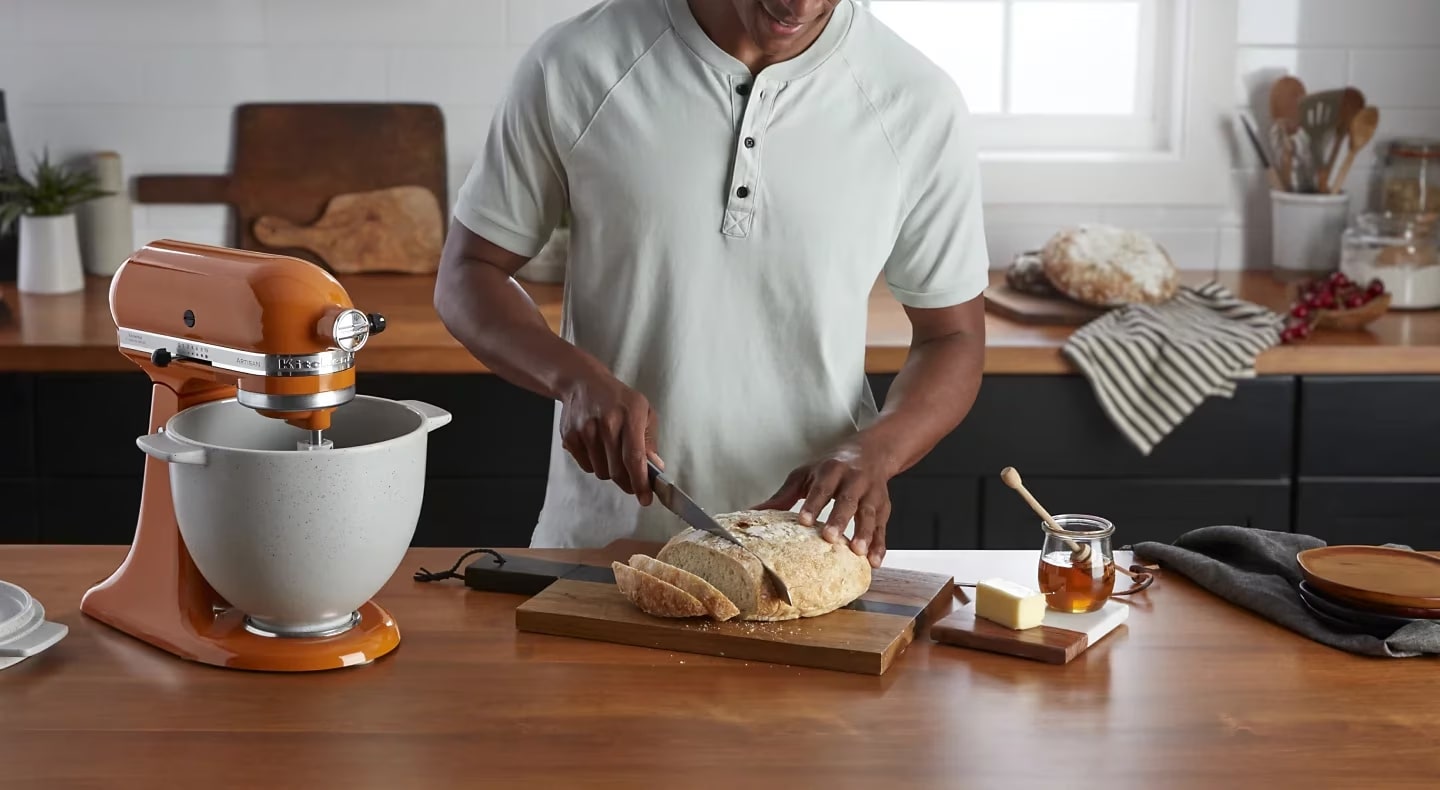
Sourdough bread made from a basic recipe is a great canvas for exploring the many recipe possibilities for this chewy, crusty artisanal favorite. Once you get familiar with the basic recipe, you can start experimenting with different add-ins like sage, thyme, oregano and rosemary for an even more flavorful bite. Using a KitchenAid® stand mixer for this basic recipe can help you with mixing and kneading, saving you preparation time so you can focus on other making tasks.
Yields
One loaf
Ingredients
Sourdough starter
Bread flour
Water
Grapeseed oil
Salt
Tools
Proofing basket
Cling film
Parchment paper
Prep time
About 8 hours
Bake time
20 minutes
Total time
8 hours and 20 minutes
Step 1: Preheat the oven
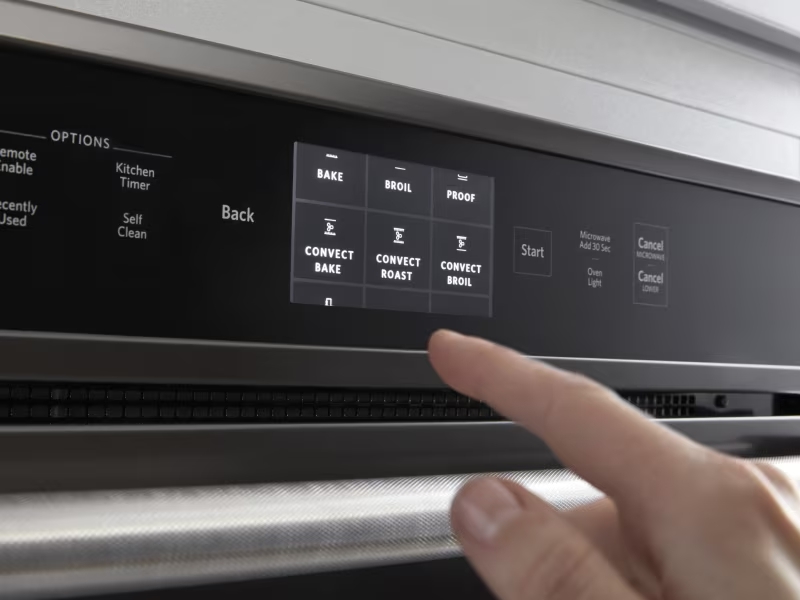
Preheat the oven to 500º F.
Step 2: Prep the stand mixer
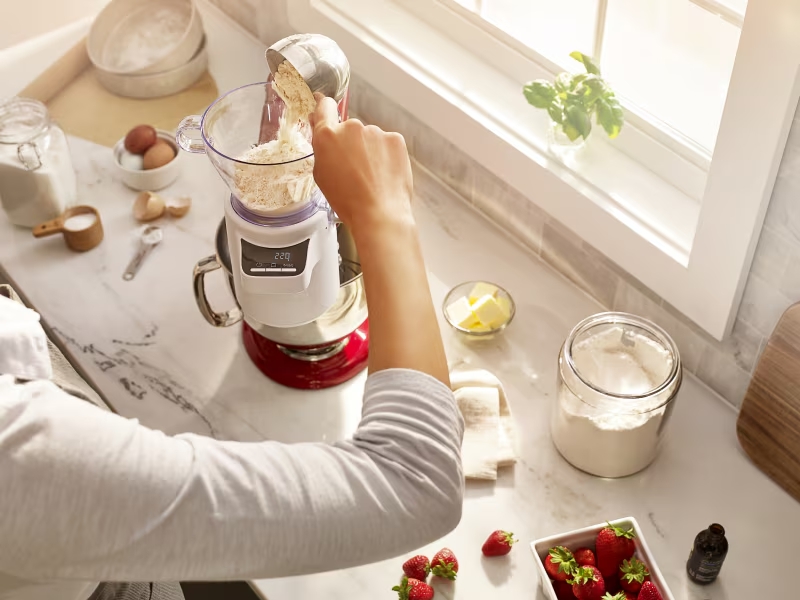
Attach the Sifter + Scale attachment to your KitchenAid® stand mixer1. Turn on the scale and add flour to the ingredient hopper.
1. Sold separately.
Step 3: Mix in the ingredients
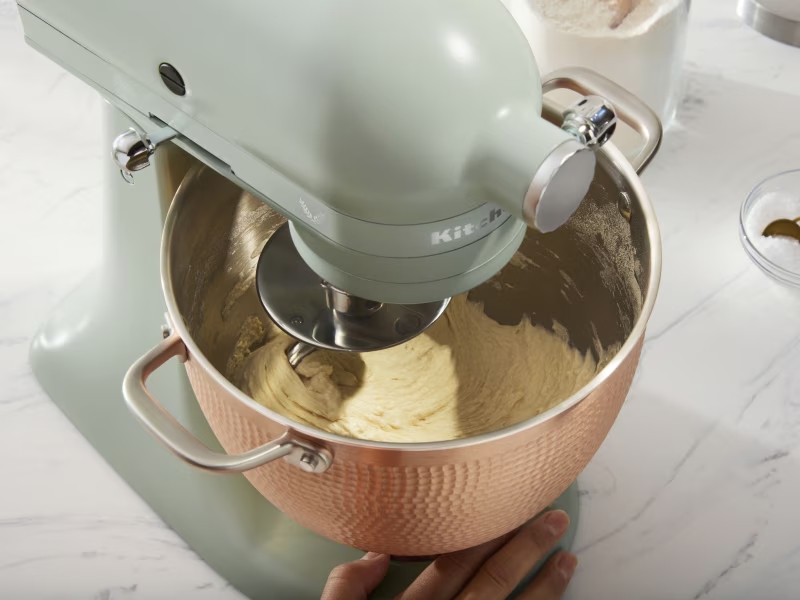
Set the mixer to speed 2 and sift in the flour by turning the dial. While the flour is sifting, pour the water and grapeseed oil into the stand mixer bowl. Next, add the sourdough starter to the bowl and allow the mixture to sit. You can use the autolyse method to let it rest for 20-60 minutes. Then, replace the Sifter + Scale attachment with the Flat Beater accessory and mix in the salt.
Step 4: Knead the dough
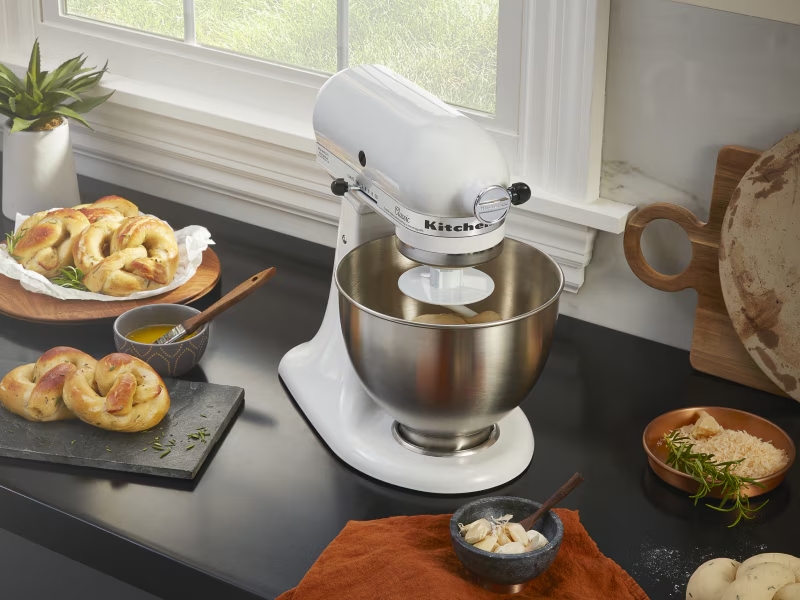
Replace the Flat Beater accessory with the Dough Hook accessory. Set the mixer to speed 2 and knead the dough until it’s soft, smooth and springy. If it’s dense and rips apart easily, it may be overkneaded.
Step 5: Proof the mixture
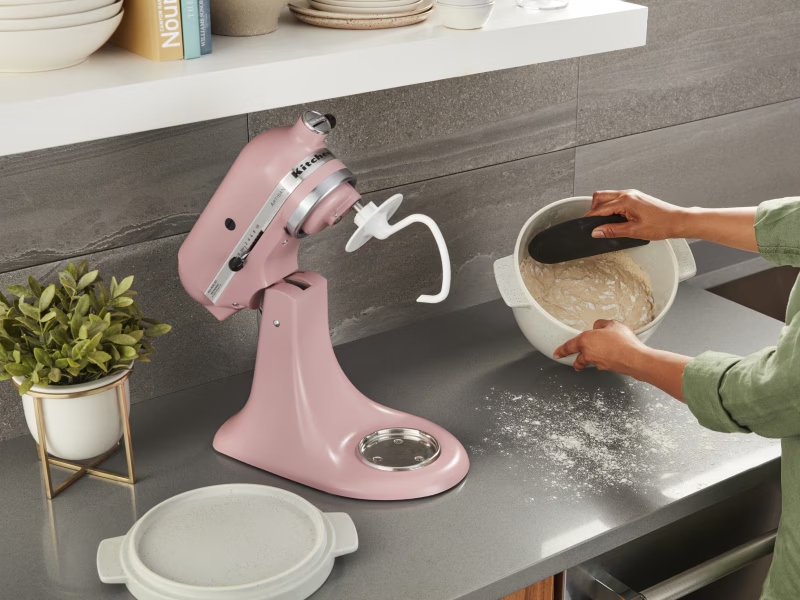
Cover the bowl and let the mixture rise for about 6–7 hours.
Step 6: Prepare and proof again
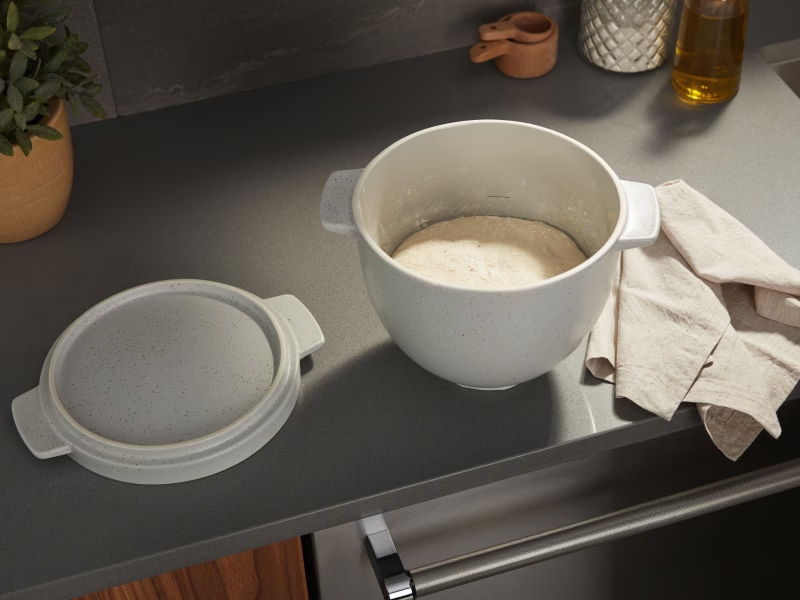
Remove the dough from the bowl and form into a loose mound before gently punching down. Then, place the dough into a floured proofing basket and let it rise again.
Step 7: Bake the bread
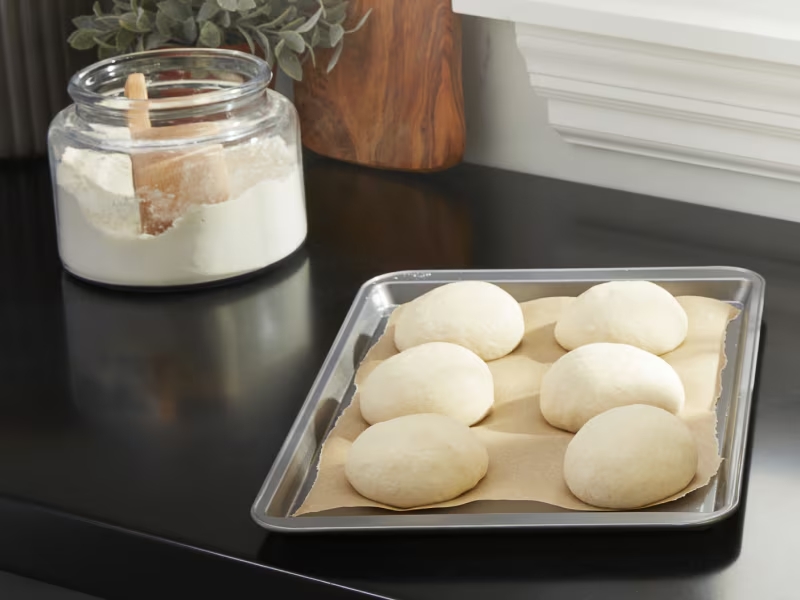
Transfer the dough to parchment paper and bake until golden brown, about 20 minutes.
How do I know if my sourdough bread starter is ready?
Sourdough bread starter is made via a process called "feeding" which involves mixing a portion of the starter with flour and water before allowing it to rise and bubble. The starter is then added to the dough once it's ready.
If using a homemade starter from a recipe, check its readiness by floating some of it in a container of room-temperature water—if the small piece floats, your sourdough starter should be ready for baking. If it sinks, you may have to let the starter sit for a bit longer for the dough to rise.
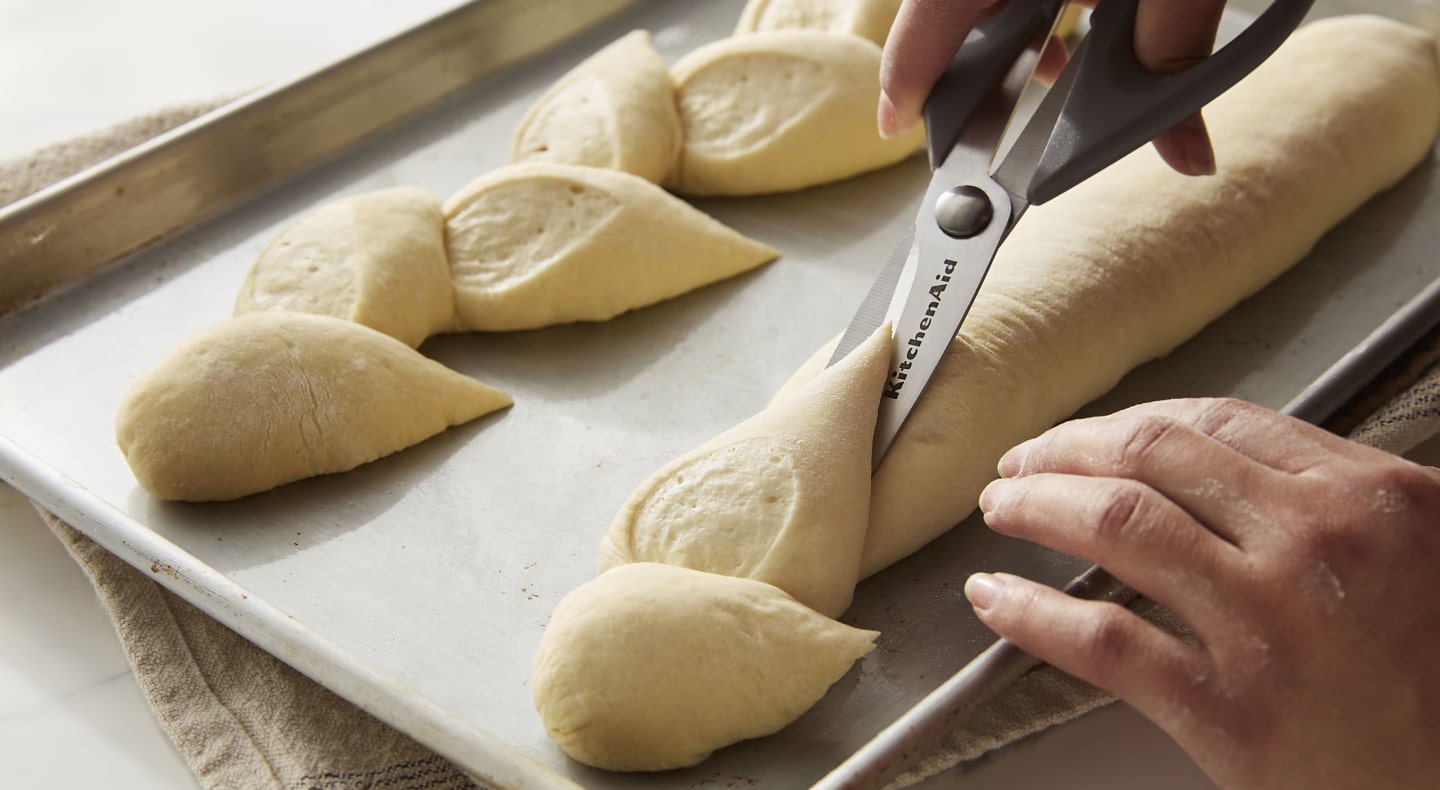
How do I score sourdough bread?
Scoring the exterior of your homemade bread prior to baking can help you add personal flare to recipes with beautiful designs. To score your sourdough bread, gently make cuts into the dough with a sharp knife after placing the bread in its final position on a baking sheet or parchment paper prior to cooking.
Not only is scoring bread an excellent way to exercise your culinary creativity with customized designs, but it also helps ensure the loaf can expand fully as it bakes. As you score, be sure to cut deep enough to penetrate the crust to help with expansion. Scoring allows you to control where the breaks in the bread will occur during the baking process, giving you the power to choose where you’d like to cut the dough for your design.
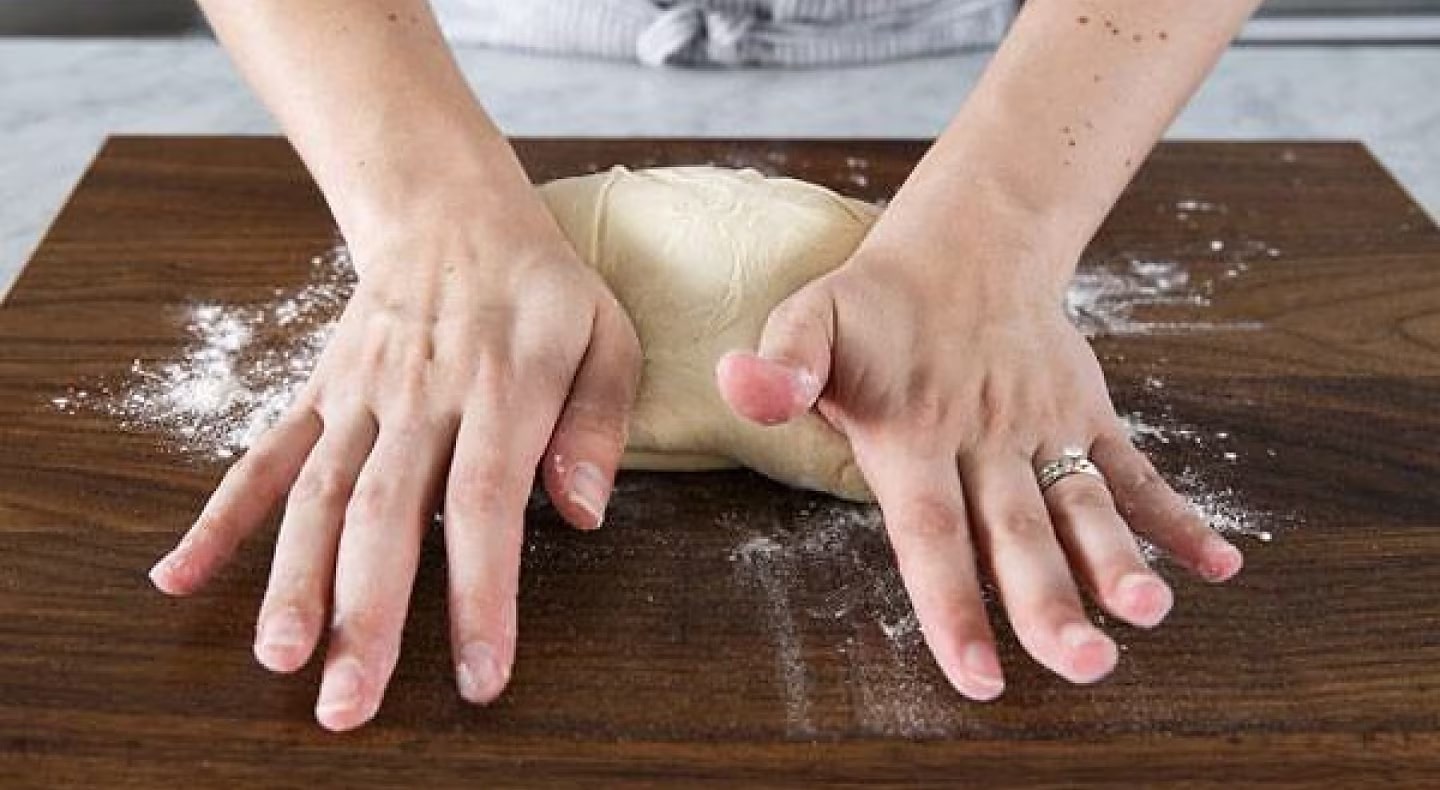
Is it better to knead sourdough by hand or machine?
Using a machine like a stand mixer, hand mixer or food processor is great for achieving even, less manual kneading for soft, flexible results. Machines can also help you focus on other making tasks by saving you valuable prep time.
How long do you knead sourdough bread?
Kneading your sourdough by hand is a time-consuming process that can take about 8–10 minutes for a single loaf of bread. If using a stand mixer with a dough hook or a hand mixer, the process can take about 3–7 minutes, or until the dough is smooth, soft and springy. A food processor makes for the quickest prep, taking about 50–60 seconds.
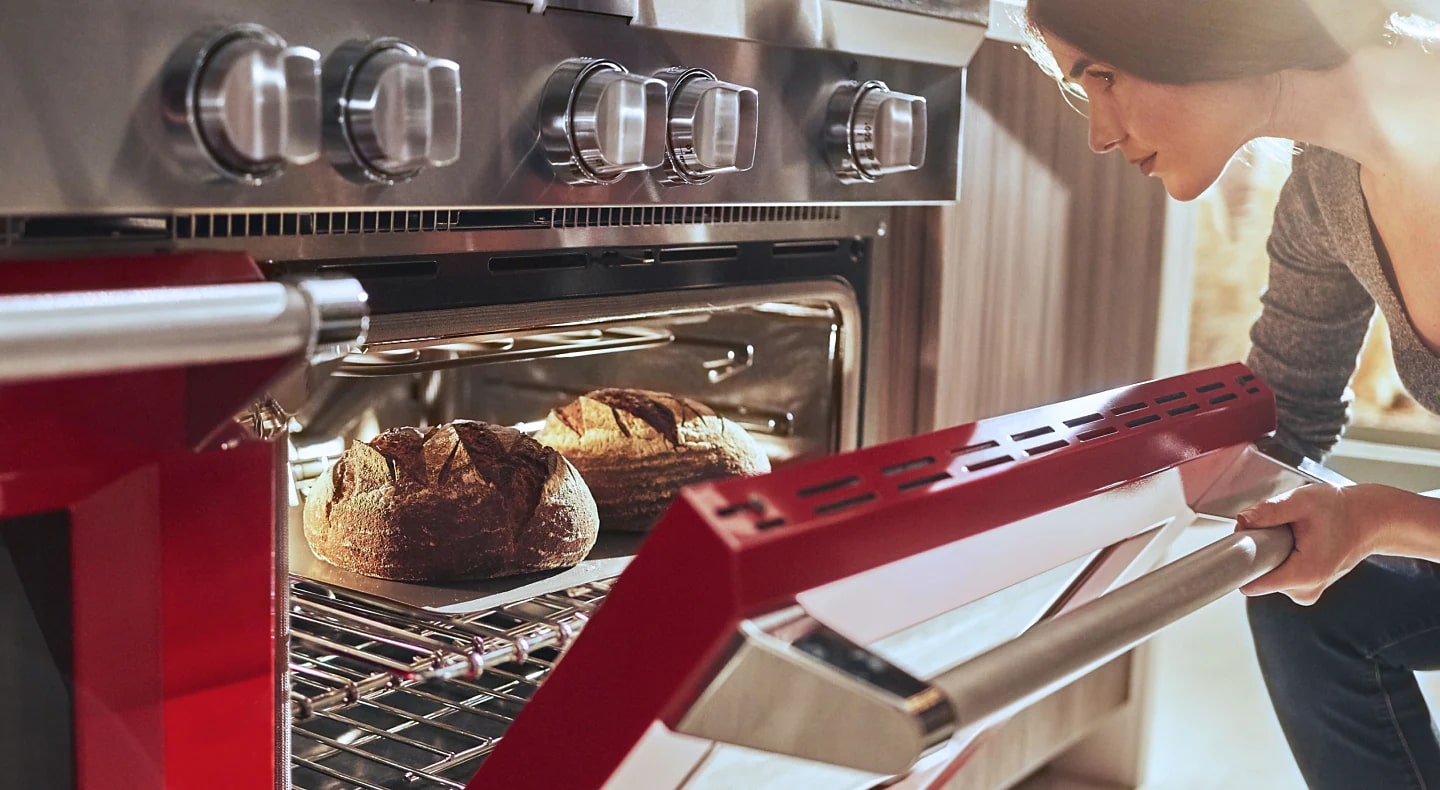
Do I need to let sourdough bread rest overnight?
After kneading, sourdough bread can either be baked immediately after proofing for the duration required by the recipe or placed in the fridge to rest overnight. There are several potential benefits to overnight resting, such as increased flavor or, if desired, a darker crust.
How long does sourdough bread last?
While eating a loaf fresh is the best way to enjoy all the qualities of its robust and distinct flavor, sourdough bread can usually last 3–5 days outside of the freezer. To help keep bread fresh longer, use a bread box or store in a paper sack to help maintain a soft inside and crusty exterior.
KitchenAid Chef
— Sharing our passion for making
At KitchenAid, we unite people who love cooking and baking, brewing and creating. For over 100 years, KitchenAid has worked on behalf of every Maker out there. Our iconic tools are made with you in mind — opening the door to new possibilities and helping you to get most out of making.

