
Crusty bread stand mixer recipe
There are few things in life that warm the soul better than a crusty loaf of fresh-baked bread. Use this guide as a refresher on how to make the perfect loaf of crusty bread, including tips on how to create steam—the key to crusty bread—with or without a dutch oven. And find a simple crusty bread recipe that you can use as a springboard for your culinary creativity in recipes like bruschetta and garlic bread. Learn how to make delicious homemade bread with a crisp exterior and soft, chewy interior with your stand mixer.
Crusty bread stand mixer recipe
Crusty bread stand mixer recipe
What is crusty bread?
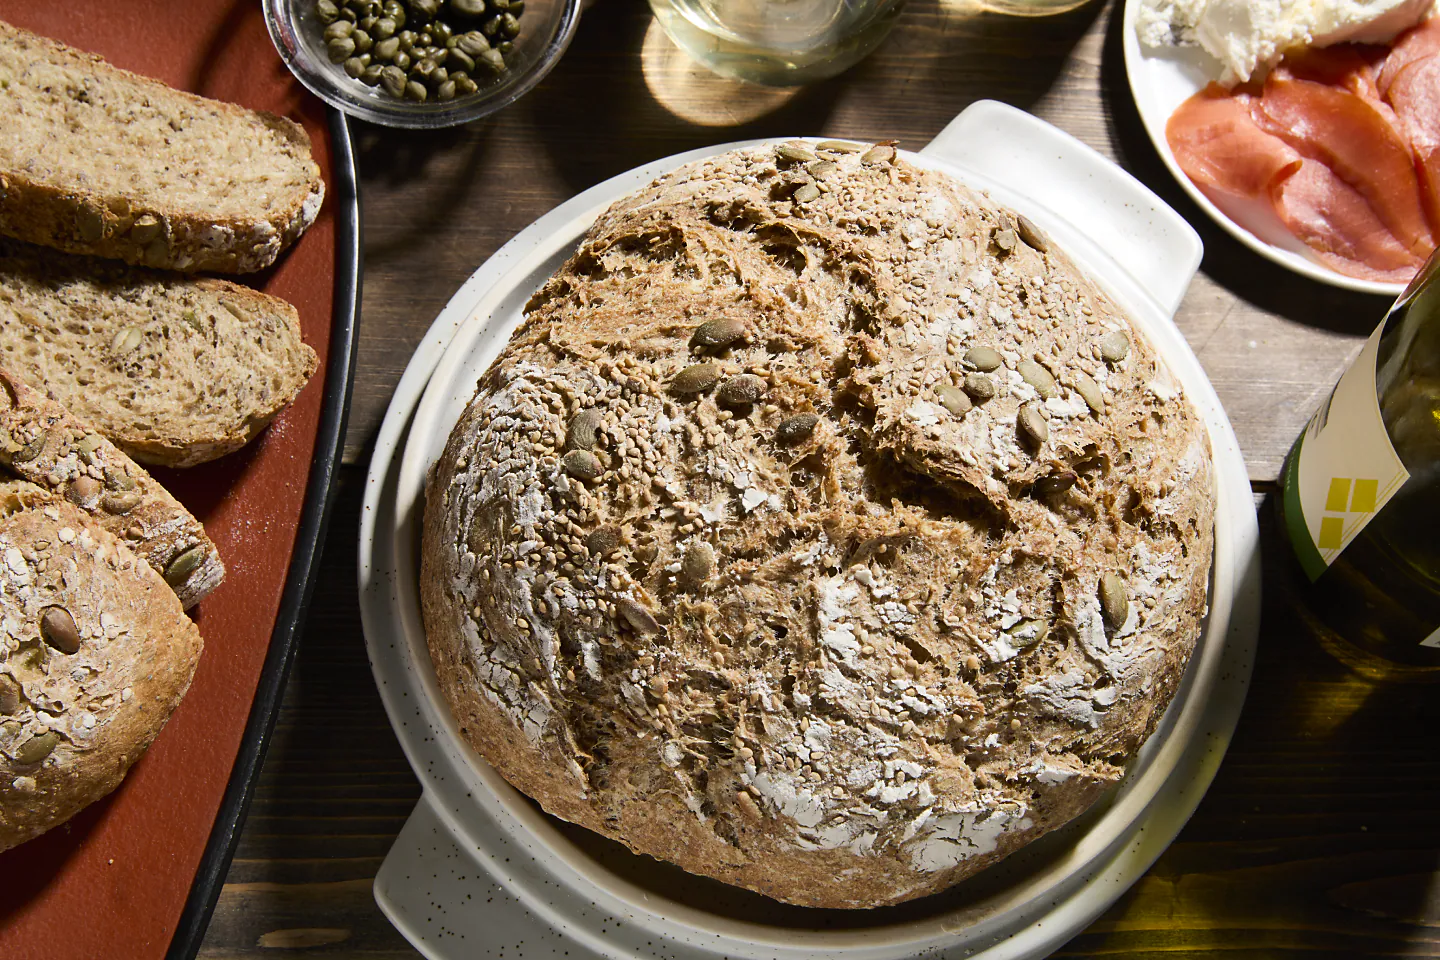
A crispy, crumbly exterior and tender inside are the keys to an ideal slice of crusty bread. Some common types of crusty bread include ciabatta, Italian sesame bread and classic baguettes.
With carefully-curated dough and an optimal bake for a delectable golden brown loaf, you can create your own version of crusty bread at home.
How to make crusty bread in your oven
Every great loaf of crusty bread begins with a handful of simple ingredients that you probably already have in your pantry – flour, salt, yeast and filtered water. Some recipes might include herbs or other flavorings, a little sugar to keep the inside tender—or if you’re making sourdough—a sourdough starter. But as a general rule, crusty breads don’t contain eggs, sour cream, butter, cream or any other “softening” ingredients, unlike softer breads like challah.
Flour tip:
Because there are so few ingredients in crusty breads, it’s essential to use the best ingredients possible. All-Purpose Flour will work for a crusty bread but using Bread Flour can help create a stronger, chewier bread.
The ideal way to create crusty bread is by creating steam in your range or wall oven from KitchenAid brand. As bread bakes, starches on its surface burst and eventually harden, forming a crispy crust. This is facilitated when steam comes in contact with the baking bread’s surface. Baking crusty bread without steam may cook the bread too quickly, creating a burnt, dense bread. There are several ways to create steam in your oven – let’s take a look at three of the most popular – a dutch oven, a spray bottle or a water bath.
1. Dutch oven
A dutch oven is a heavy cast iron pot with a lid. Because it’s made from cast iron it can withstand high temperatures and can be used on a stove top or in an oven. The heavy metal lid will trap the moisture that evaporates from your baking bread and turn it into steam. To replicate the extreme radiant heat that’s used in professional ovens simply preheat your dutch oven before you place your dough in it to bake.
2. Spray bottle
If you don’t have a dutch oven, no worries, you can create a steamy bath for your bread with a spray bottle. Simply preheat your oven (to compensate for the air that’s lost from repeated openings and closings of the oven door add 25º to the temperature your recipe recommends). Spray the preheated oven with water. Wait 30 seconds and repeat. Return the oven to the recommended temperature and load your dough in the steamy oven. Spray the sides of the oven one more time and bake bread according to your recipe’s instructions.
3. Water bath
Another popular way to create steam for your crusty bread is by placing a cast iron frying pan in the bottom of your oven as it’s preheating. Fill the preheated pan with a cup of boiling water and load your dough into the oven; if you have a pizza stone, this is an ideal surface for this method.
Tips for keeping bread crisp after it's baked

After your bread is baked you’ll want to limit its exposure to moisture as this is the enemy of baked artisan bread. Many bakers like to leave their bread in the oven to cool after it’s baked. Just turn off your oven, remove your bread from its pan to a middle rack and crack the oven door open. This will keep any leftover moisture from moving to the bread’s surface and mingling with room temperature air which can condense on the bread, creating a soggy crust. The warm air in the cooling oven will just evaporate and your crust will stay crunchy.
Simple crusty bread recipe: sourdough bread
This Sourdough Bread Loaf recipe requires only a few simple ingredients, a KitchenAid® stand mixer and a Sifter+Scale Attachment to create a bakery-worthy, crusty sourdough loaf.
Ingredients
Sourdough starter
Bread flour
Water
Grapeseed oil
Salt
Tools
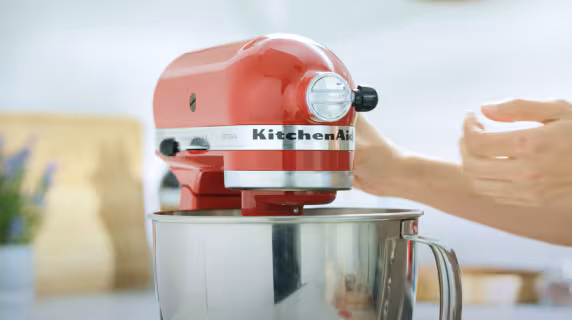
KitchenAid® stand mixer
KitchenAid® Stand Mixer Sifter + Scale Attachment
KitchenAid® Dough Hook Accessory
Proofing basket
Cling film
Parchment paper
Yields
One loaf
Step 1:
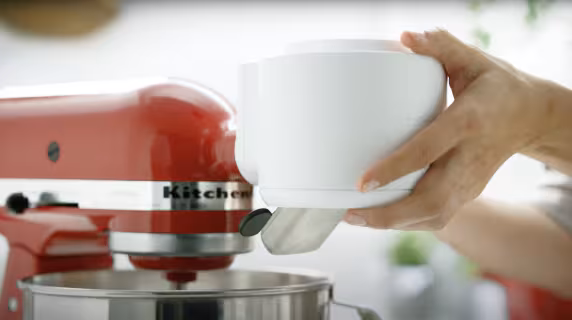
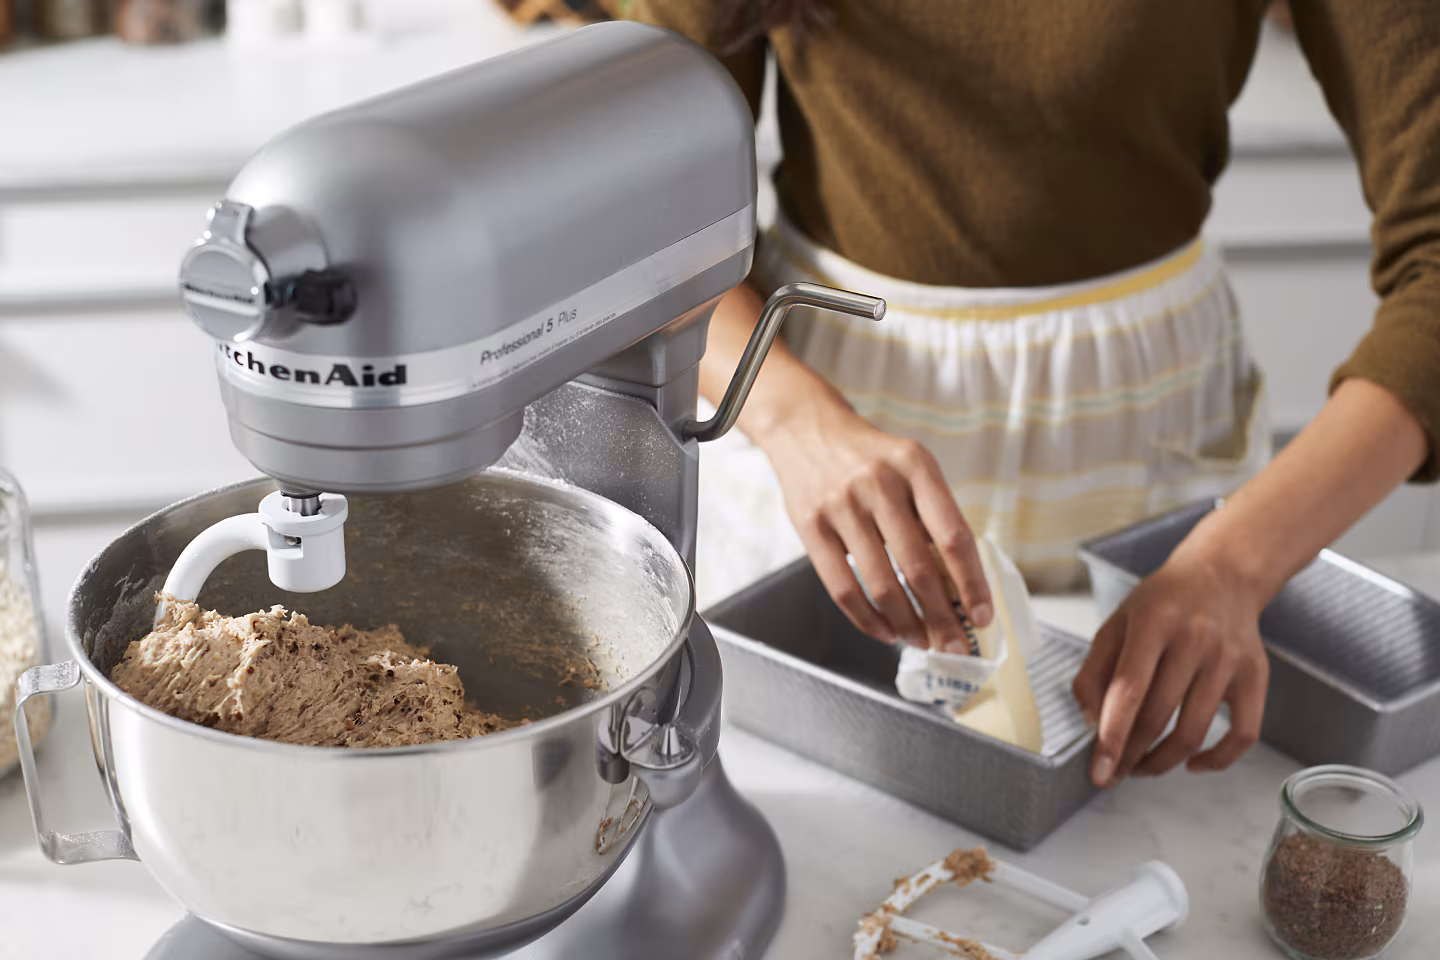
Attach the Sifter + Scale attachment to your KitchenAid® stand mixer.
Step 2:
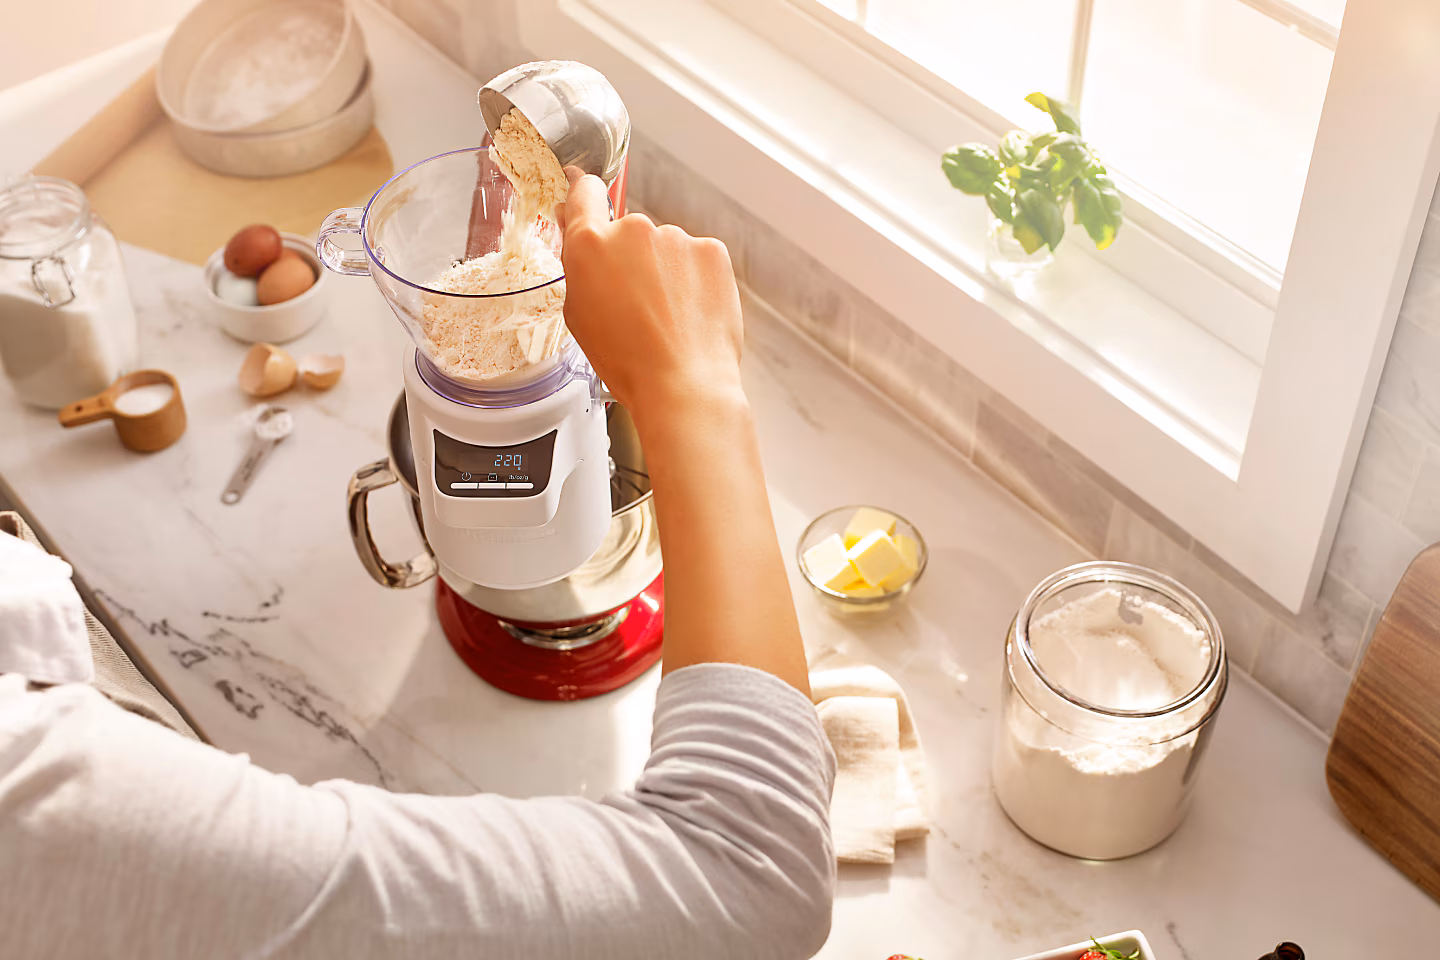
Turn on the scale and add flour to the ingredient hopper.
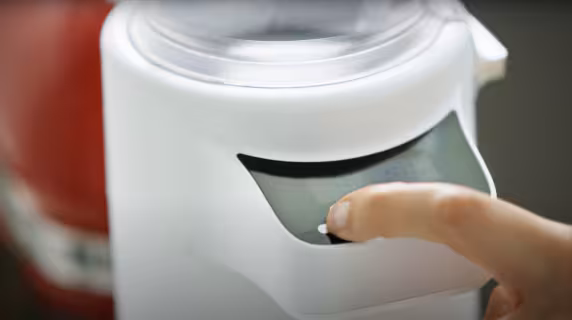
Step 3:
Set to speed 2 and sift in the flour by turning the dial.
Step 4:

While flour is sifting, pour water and grapeseed oil into the stand mixer bowl.
Step 5:
Next, add sourdough starter to the bowl.
Step 6:
Let the mixture sit. You can use the autolyse method to let it rest for 20-60 minutes.
Step 7:
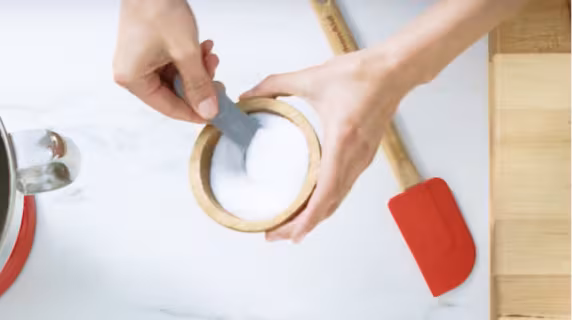
Add salt.
Step 8:
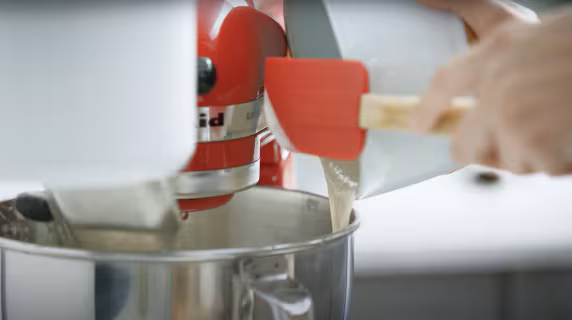
Stir the mixture.
Step 9:
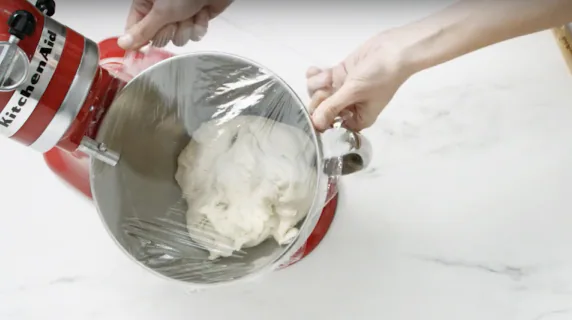
Cover the bowl with cling film and let it ferment.
Step 10:
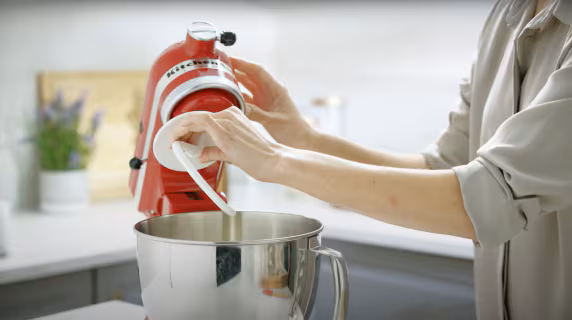
Remove the cling film and attach the Dough Hook Accessory.
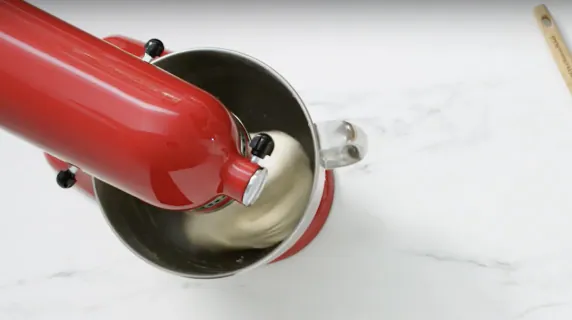
Step 11:

Set to speed 2 and knead the dough.
Step 12:
Remove the dough from the bowl and form into a loose mound. Let it rise.
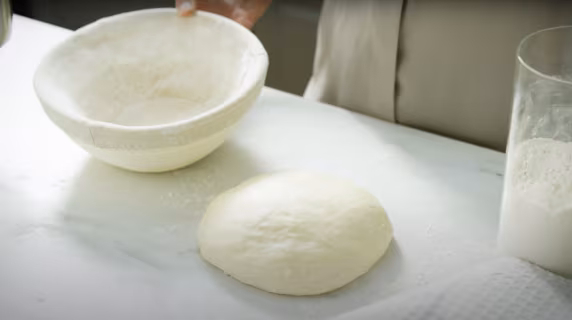
Step 13:
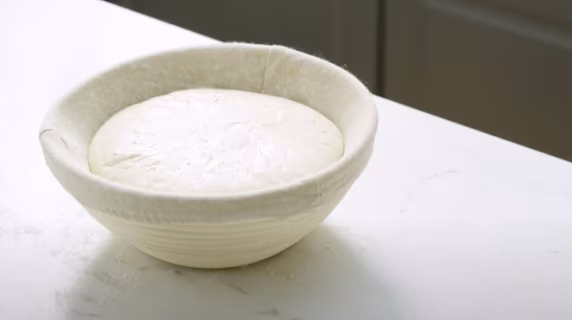
Place the dough into a floured proofing basket and let it rise.
Step 14:
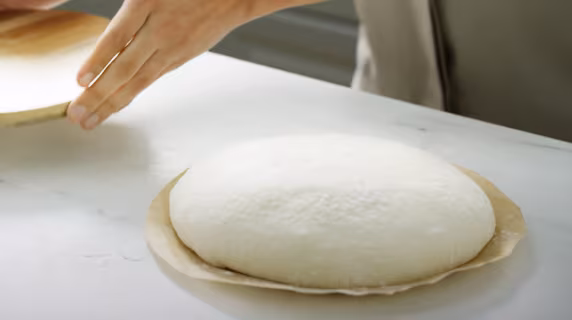
Transfer the dough to parchment paper.
Step 15:
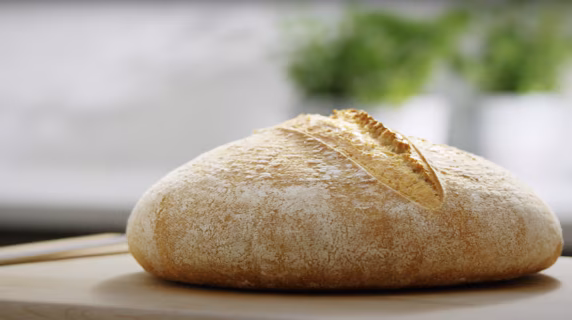
Bake until golden brown.
After your bread is done baking, slice into your artisan creation and enjoy the best of both worlds with a crispy crust and chewy interior. Enjoy the convenience of using one bowl from mixing to proofing to baking with the KitchenAid® Bread Bowl accessory.
This bowl pairs seamlessly with all KitchenAid® 4.5 and 5 Quart Tilt-Head Stand Mixers and features a lid that traps steam when baking to create an environment similar to a traditional steam oven. The ceramic mixing bowl retains and delivers even heat throughout the baking process, giving your bread a crispy crust and thorough bake.
Additional crusty bread recipes
Now that you know how to make a loaf of sourdough bread, experiment with other homemade bread creations. This delicious No Knead Italian Semolina Bread recipe calls for rosemary but the dough is basic enough to accommodate other herbs or flavorings. Just think of this recipe as a blank canvas. It will take all the creativity you throw at it and suddenly that basic bread recipe isn’t so basic anymore. Strike the creativity iron while it’s hot and level-up your bread making skills with this cinnamon roll bread, sandwich bread or chocolate cherry rye.