


 New Code Sent!
How to install a range hood: a step-by-step guide
While the scent of a delicious meal can be mouthwatering and enjoyable as you cook, lingering smoke and odors in the rest of your home can be less than desirable. A range hood can help keep smoke, grease and odors out of your home, and you can install a new one with the right tools and help.
This guide will walk you through some tips and tricks on how to install a range hood, so you can continuously create in a fresh space.
What is a range hood?
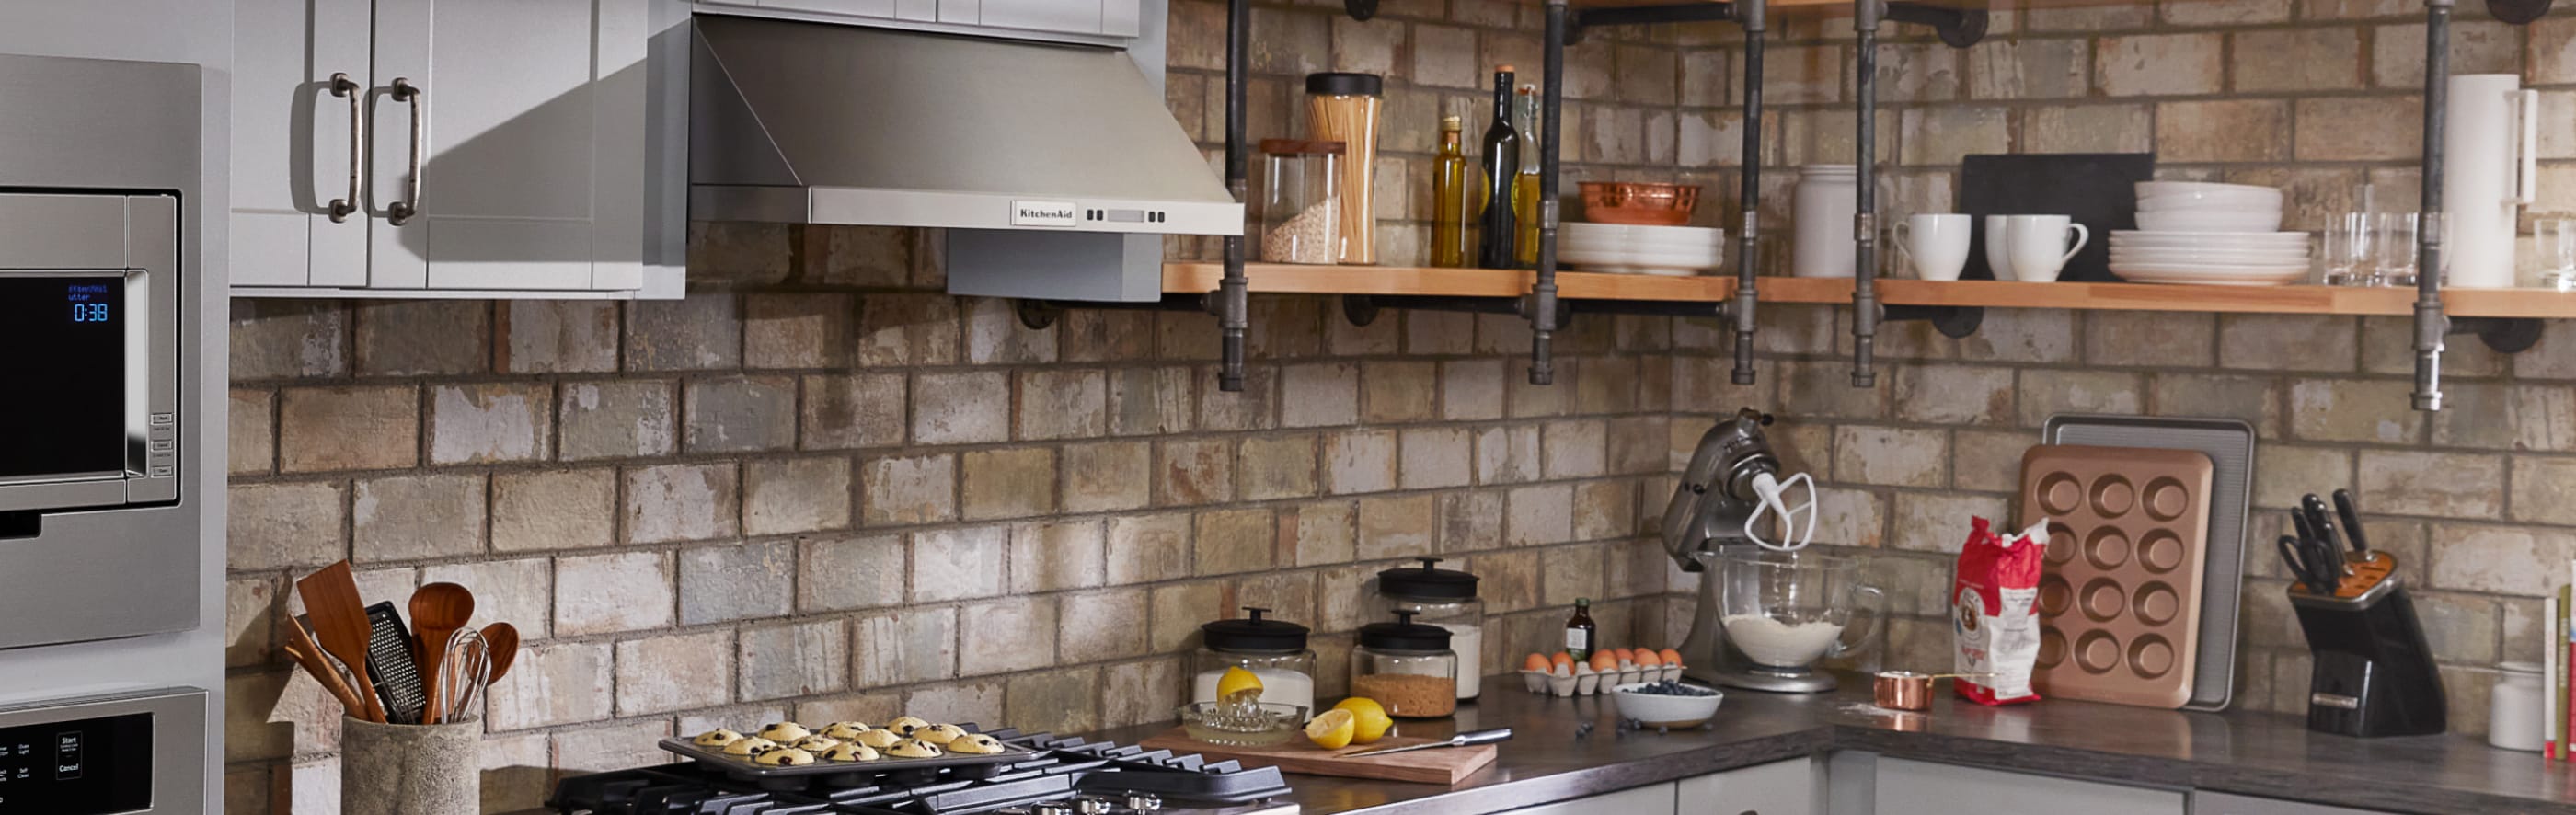
A range hood is an essential kitchen appliance that helps remove odors, smoke and grease from the air as you cook. Typically situated above ranges or cooktops, range hoods come equipped with an integrated fan to help clear the air above your cooking surface.
You may also hear range hoods referred to as vent hoods or kitchen hoods, and they come in a variety of types and sizes designed to help keep the kitchen air clear as you make your favorite recipes. Consider options like ducted range hoods that send air outside the home through ducts, or ductless range hoods that filter and recycle air back into the kitchen.
KitchenAid brand offers a wide selection of range hoods meant to help you focus on your culinary creations, including wall-mounted options, island hoods, under cabinet hoods and microwave combination models.
When choosing your new range hood, you’ll notice that there are two types—vented and ventless. Vented range hoods circulate odors directly to the outside, while ventless hoods recirculate clean air back into your kitchen with the help of a filter. The ideal range hood for your kitchen depends on a number of factors. Get help choosing the right one for you with this guide to 5 types of range hoods and be sure you know the proper hood height above the stove before you begin.


What to consider before installing a range hood
When shopping for a new range hood, consider power, lighting, venting and configuration to find the appliance that’s right for your kitchen.
Power: Whether you have a gas or electric stovetop or cooktop will affect the kind of range hood you purchase. For example, gas stovetops will usually require a range hood with a higher CFM (cubic feet-per-minute) for venting as opposed to electric ranges. The CFM measurement will determine how much air your ventilation system can move around the kitchen in a single minute.
Configuration and pairing: Make sure the size of your hood matches the size of your cooking surface to ensure the right fit and optimal performance.
Lighting: Certain models may come with lighting options that help illuminate your cooking surface as you make.
Venting: Check your local and state regulations for venting requirements, and take into consideration the recommended maximum vent length for the ideal results. If your home doesn’t allow for outdoor ventilation, you may need to invest in a recirculating hood.
Vent hood installation instructions
Before installing your range hood, please note that this guide is an overview of the installation. You should always consult your owner’s manual for specific information and requirements needed to complete the process. Additionally, this should be a two-person job, and if you haven’t worked with electrical wiring or are unfamiliar with this kind of installation, hiring an electrician is strongly recommended.
If you are installing a KitchenAid® range hood, you can access product manuals here.
Supplies
Caps
Wire connectors
Metal ducts
Wall mount range
Building wire
Weatherproof caulking compound
Tools
Level
Drill with 1 1/4", 3/8" and 5/16" drill bits
Wire stripper or utility knife
Tape measure
Pliers
Caulking gun
Vent clamps
Jigsaw or keyhole saw
Flat-blade screwdriver
Metal snips
Phillips screwdriver
Metric hex key set
Step 1: Shut off power and disconnect wiring
Turn off the switch at the breaker box that powers the range hood. Next, unplug the range hood and disconnect all electrical wiring.
Step 2: Remove old range hood
With the help of a second person, unscrew the support screws while the second person supports the weight of the range hood.
Step 3: Locate and mark vent location
Your vent location will be determined by the measurements of your range hood. If the hood came with a paper template, you can tape it to the wall as a reference point to see where the new vent location will be.
Step 4: Check wall where vent will be installed
There should be no plumbing or electrical wiring behind the wall of where the vent location will be, so first cut a small hole to check that nothing will interfere with the venting. If you find any plumbing or wiring, you'll want to consult with a professional, since you may have to vent through the roof.
Note: If your vented range hood is going to be installed above a kitchen island, the vent will have to be installed in the ceiling and through the roof. Venting through the roof is a different process and may require a professional installation.
Step 5: Cut interior hole of the vent
If, after checking through the small hole you don't find any plumbing or wiring, you can proceed to cut out the bigger hole for your vent. With a jigsaw or keyhole saw, cut a hole that's at least six inches wide or slightly bigger if you want more room to work with. Next, with a long drill bit, place locator holes on the edges of the vent hole that extend to the exterior of the home.
Step 6: Cut exterior vent pipe hole
Using the locator holes as reference points, connect each dot with the pencil to form the circle that you'll be cutting out with the jigsaw. If the exterior of your home is paneled, you can use a piece of PVC trim to create an even surface to cut the hole through.
Step 7: Attach the duct/range hood vent cap
Attach the vent cap into the exterior opening, making sure that it's long enough to reach the range hood. Attach with screws and use the caulk gun and weatherproof caulking compound to get a tight seal.
Step 8: Prepare the damper
Some vent hoods are equipped with a damper. If yours has one, measure it against the interior hole to see how much space you need for the duct size. First, use a small piece of duct to make sure you have the correct measurements prior to cutting the bigger piece of duct.
Step 9: Run electrical wiring
Run the electrical wiring from the hood to the electrical box. If necessary, you can drill holes next to each side of the vent to make it easier to run the wiring. There should be enough conduit and wires from the breaker to the hood's electrical terminal box.
Step 10: Position new range hood and secure mounting screws
With the second person that helped you remove the old range hood, place the mounting screws through the mounting slots of the hood. Next, remove the grease filter to give you better access to the screws when you tighten. Level the hood first, and tighten the upper screws before securing the bottom screws.
Step 11: Finish electrical connection
Strip back the wires to connect them with wire connectors, making sure to clip any excess wiring. Match the color of the wiring to the corresponding color connector and the copper ground wire to the grounding wire connector.
Step 12: Install vent covers
Once the wiring has been connected, turn the power back on at the breaker box to make sure that the hood is working properly. Install the vent covers using your owner's manual for specific instructions. After this, your installation is complete!

Can I install a range hood myself?
Installing a range hood yourself is a task that you can take on as long as you have the right supplies, full installation instructions for your model and feel comfortable with this kind of home project. Keep in mind that if your installation requires any rewiring, drilling a hole through the roof or moving plumbing, then hiring a professional is recommended.
Do range hoods have to be vented outside?
Range hoods can either be vented outside or the air recirculated back into the home. Which one you choose depends on your kitchen setup and personal preferences. Vented hoods remove the air from your home, but ventless range hoods will also do a great job recirculating filtered air back into your home as you cook.
Do you need a vent hood for an electric stove?
When cooking on a gas or electric range, particles like grease, food, water and smoke vaporize into the air. It’s recommended that you have a vent hood regardless of the range or stove type you have.

Do you need an electrician to install a range hood?
If you’re experienced with some home renovation projects and working with electrical wiring, then you may be able to install the range hood without hiring an electrician. However, if you’re not familiar with electrical work or don’t feel comfortable doing this kind of installation, then hiring an electrician is encouraged.
Are range hoods plugged in or hard-wired?
While hardwiring your range hood is recommended, if your hood came with a three-pronged plug, it technically does not need to be hardwired.
Can range hoods be vented through the wall?
You can certainly vent both wall range hoods or under cabinet hoods through the wall as long as there is a pathway to the exterior of the home. As a general rule, if you're using an interior wall and are creating a pathway, there should be no more than two elbows to your duct run and the length should not exceed 30 inches.
Shop for range hoods from KitchenAid brand
Complement your cooktop or stove with range hoods and kitchen ventilation systems that help clear the air while you cook. Browse options that effectively reduce steam, grease and odor so you can focus on making your next masterpiece. Choose from a range of features and finishes to match your kitchen and cooking style.


Your subscription was successful
Thank you for signing up. Keep an eye on your inbox for our next newsletter.
Stay Connected – Join the List
Enjoy articles like this? Get helpful guides and appliance care tips sent straight to your inbox.
