

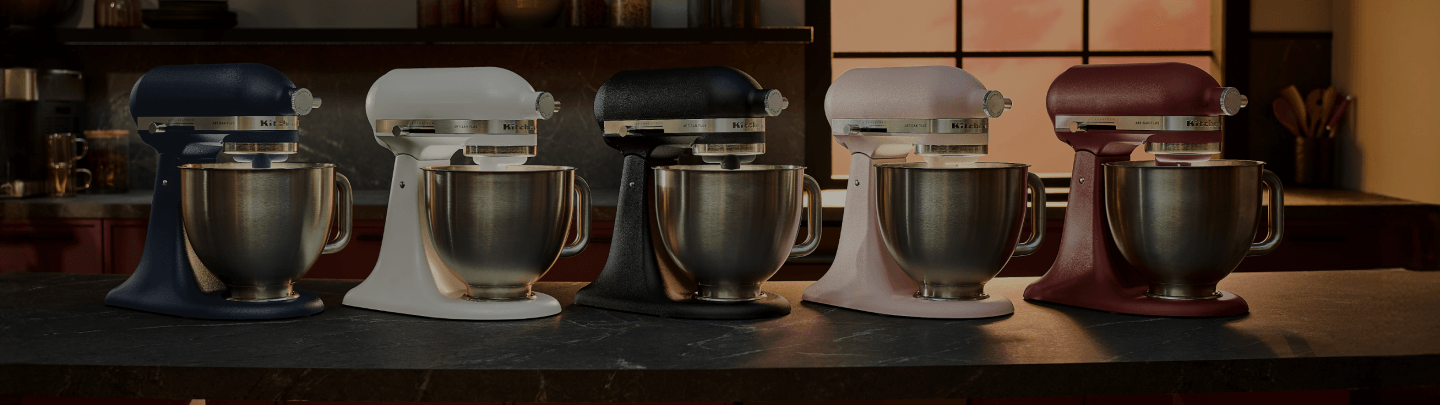
Congratulations on your new Artisan Plus stand mixer
Register your stand mixer with us and we’ll send you a free digital starter guide. You’ll also get help quickly if you ever need it. Let’s go!
How to set up your new mixer
From fluffy cakes to golden loaves, your Artisan Plus stand mixer is ready for action. The integrated bowl light keeps your mix in sight, so you can see your recipes take shape. But first things first – let’s get you set up.
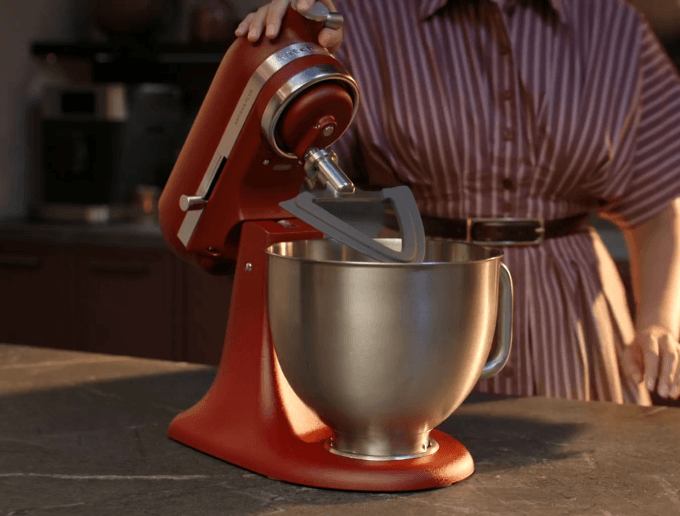
Tilt the head back
Unplug the mixer from the power supply, make sure it’s turned to the OFF (0) position. Slide the release knob to ‘unlocked’. Raise the head of the mixer to tilt it back. This allows you to access the bowl and swap accessories.
Attach the bowl
Your mixing bowl is secured to the stand mixer by turning clockwise to lock and counter clockwise to unlock from the clamping plate.
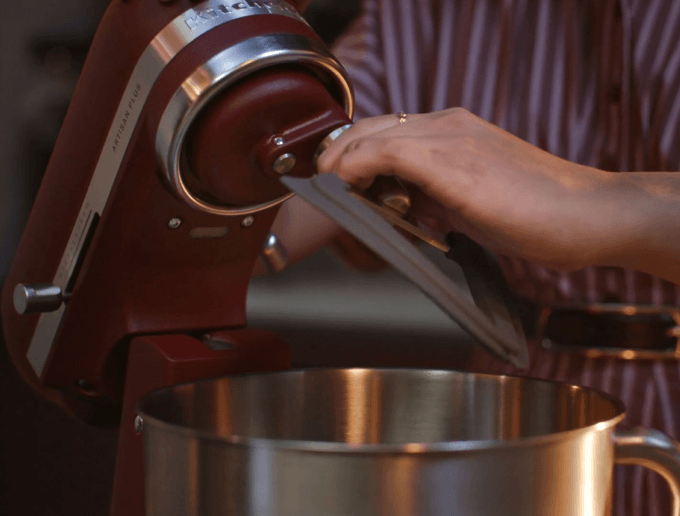
Swap accessories
You can switch between accessories (double flex edge beater, dough hook, wire whip and flat beater). Slip it upward onto the shaft and turn right to hook over the lock pin.
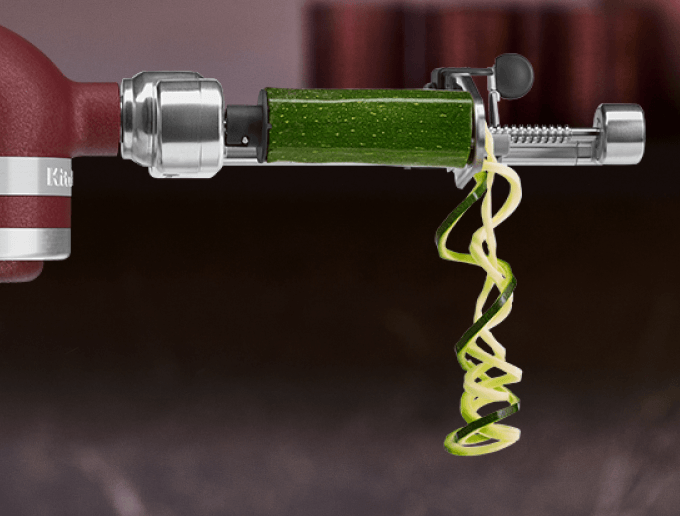
Add attachments
Turn the mixer off and remove the bowl. Unscrew the hub cover knob to remove the hub cover. You can then insert optional attachments into the hub and tighten. *Attachments sold separately.
Light up your bowl
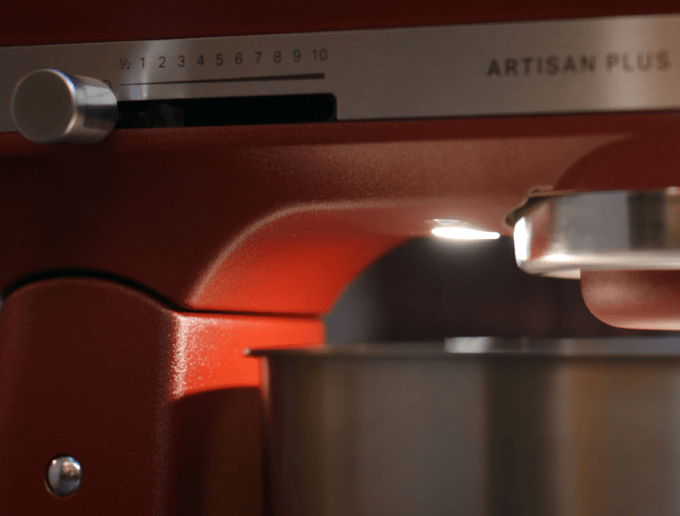
The integrated bowl light automatically activates when the bowl is attached, the stand mixer is turned on and you lower the tilt-head. You can also turn it on manually at any time just by twisting the mixer speed knob.
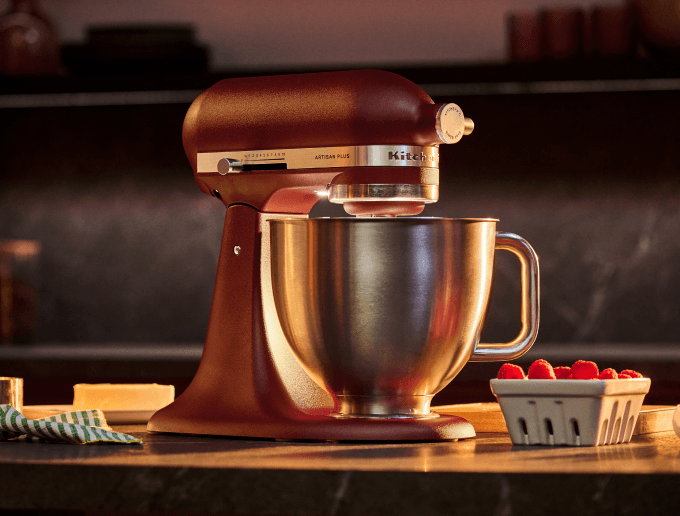
What can I make with my stand mixer?
Brighten up your baking. With the bowl light revealing the folds, swirls, and changes in texture, you can see how each ingredient transforms your mix. From butter softening into sugar to color deepening, it’s fascinating to watch recipes take shape. Here are just some of the creations you’ll enjoy bringing together:

Cakes & cookies
Sweet treats are simple to master in your mixer, from carrot cake and lemon cupcakes to chocolate chip cookies and warm churros that taste like home. Watch the ingredients swirl together into sweet perfection.

Bread
Few things beat the smell of bread fresh from the oven. Mix up a classic white loaf, sourdough, brioche, rye or gluten-free dough, and enjoy that first slice while it’s still warm. Even better when you’ve made your own butter in the mixer to spread on top. Yum!

Pizza bases
Mixing up your own pizza base turns dinner into a fun get-together — everyone can roll, add their toppings, and customize their own creations before digging in.

Pasta dough
Fresh pasta is easier than you think. Let the dough hook handle the dough, then use our pasta attachment to roll, cut, and shape. Bring the table together for a meal that feels like a tradition you’ll want to repeat. *Attachments sold separately.

Pastry & pies
Flaky, buttery pastry in a flash. From apple pies and quiches to pastelitos with sweet fillings, every creation is ready to share and enjoy straight from the kitchen.

Power switch
The on/off switch is at the side, just give it a press and watch your machine spring into action.

Scrambled egg
Frothy, fluffy scrambled eggs are ready in no time. Stir in a little butter or herbs, and you’ve got a quick breakfast, brunch, or midnight snack that hits the spot.
Get to know your mixer accessories
Your new Artisan Plus stand mixer comes with a set of stainless steel accessories ready to turn ingredients into pure magic – cakes, bread, doughs, meringues, and beyond. From the first mix to the final masterpiece, you’ll get consistent results that make every creation feel effortless and fun.

Double flex edge beater
With built-in bowl scraping edges, this beater reduces the need to stop and scrape manually* while still keeping mixtures silky smooth. It’s just the thing for buttercream, brownie batter, muffin mix, and anything that deserves a flawless finish. *Compared to our Single Flex edge beater

Wire whip
This whisk adds air as it mixes, giving your creations a light, delicate texture. Think glossy meringues, billowy whipped cream, silky smooth dips, or pancake batter ready for a weekend stack.

Flat beater
This beater takes care of the everyday mixing. From smooth cake batter and chewy cookie dough to flaky pastry, it keeps everything evenly blended and ready to enjoy.

Dough hook
This hook makes kneading fun. Bread, pizza, pasta, or sourdough – it handles the work, so you can focus on the joy of baking (and eating).

Pouring shield
This shield, also known as a splash guard, guides ingredients neatly into the bowl. It keeps your counter clean and your mix on track. No clouds of flour, sugar, or cocoa, and no spills from milk, eggs, or oil – just easy additions and a calmer kitchen.
Speeds ½ -10: which to choose
You have 11 speeds to choose from on your Artisan Plus tilt-head stand mixer. This puts you in control, from gentle folding to kneading, beating and whipping.
Speed 1/2
For folding delicate ingredients like egg whites or cream, and avoiding overmixing. Good to use for gently mixing berries, like raspberries and blueberries, without breaking the fruit.
FOLDING

Speed 1
For slow stirring, combining, mashing, and for starting all mixing procedures. Use it to add flour and dry ingredients to batter, and to add liquids to dry ingredients. NOTE: Do not use speed 1 to mix or knead yeast dough.
STIRRING

Speed 2
For slow mixing, mashing and stirring. Use to mix and knead yeast doughs or heavier batters, start mashing potatoes or other vegetables, cut shortening into flour, and to mix thin or splashy batters. NOTE: Do not exceed speed 2 when kneading yeast doughs or you may damage the mixer.
SLOW MIXING

Speed 4
For mixing semi-heavy batters, such as cookies. Use to combine sugar and shortening, and to add sugar to egg whites for meringues. It’s a good medium speed for cake mixes. You can also shred cooked meats with the beater.
MIXING, BEATING

Speed 6
For medium-fast beating (creaming) or whipping. Use to finish mixing cake, doughnut and other batters. A high speed for cake mixes.
BEATING, CREAMING

Speed 8
For whipping cream, egg whites and boiled frostings.
FAST BEATING, WHIPPING

Speed 10
For whipping small amounts of cream, egg whites or for the final whipping of mashed potatoes.
FAST WHIPPING

How to clean and care for your stand mixer and attachments
Your stand mixer will be your trusty companion for years to come. Keep it looking its beautiful best with a simple routine of care.

Dishwasher-safe parts
You can put the stainless steel accessories and the mixing bowl in the dishwasher. The pouring shield is also dishwasher safe, but on the top rack only.

Wipe over body
Wipe over the mixer body with a soft, damp cloth. Wipe over the beater shaft regularly to avoid residue build-up. Do not immerse the mixer body in water.

Don’t use harsh cleaners
Avoid using harsh cleaners, commercial cleaners or scrubbing pads, as they can damage the enamel finish on the stand mixer or cause discoloration.
Stand mixer recipes to try
Product documentation
Download resources like product manuals an documents related to your product.

Any questions?
Visit our FAQ for answers to all your most commonly asked questions about the Artisan Plus stand mixer and its accessories.