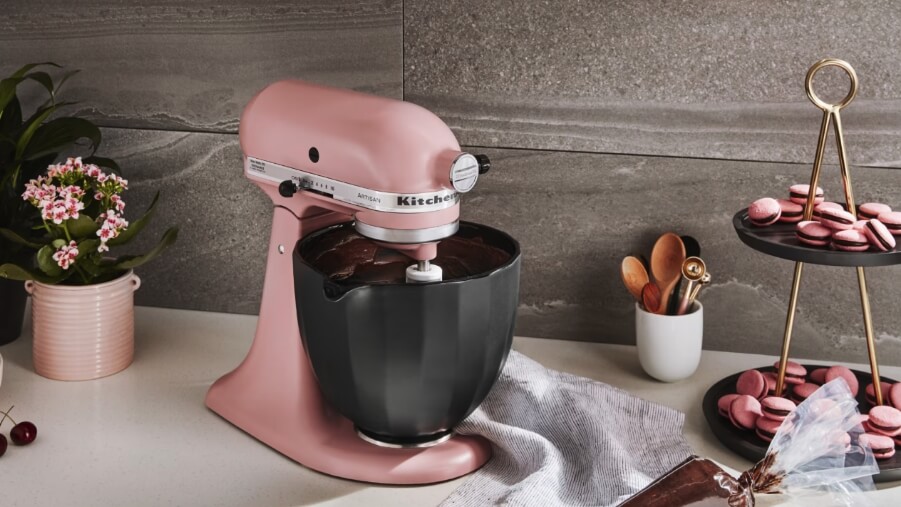
Brownies are a rich, sweet and fudgy crowd pleasing dessert that any baker can create regardless of skill level. With the help of a stand mixer, you can make brownies without the extra time and elbow grease it takes to mix the batter by hand. Use this article to learn how to make brownies with a stand mixer so you can keep these sweet treats on hand whenever you get a craving.
How to make brownies with a stand mixer
Storage and freezing
Homemade brownie recipe
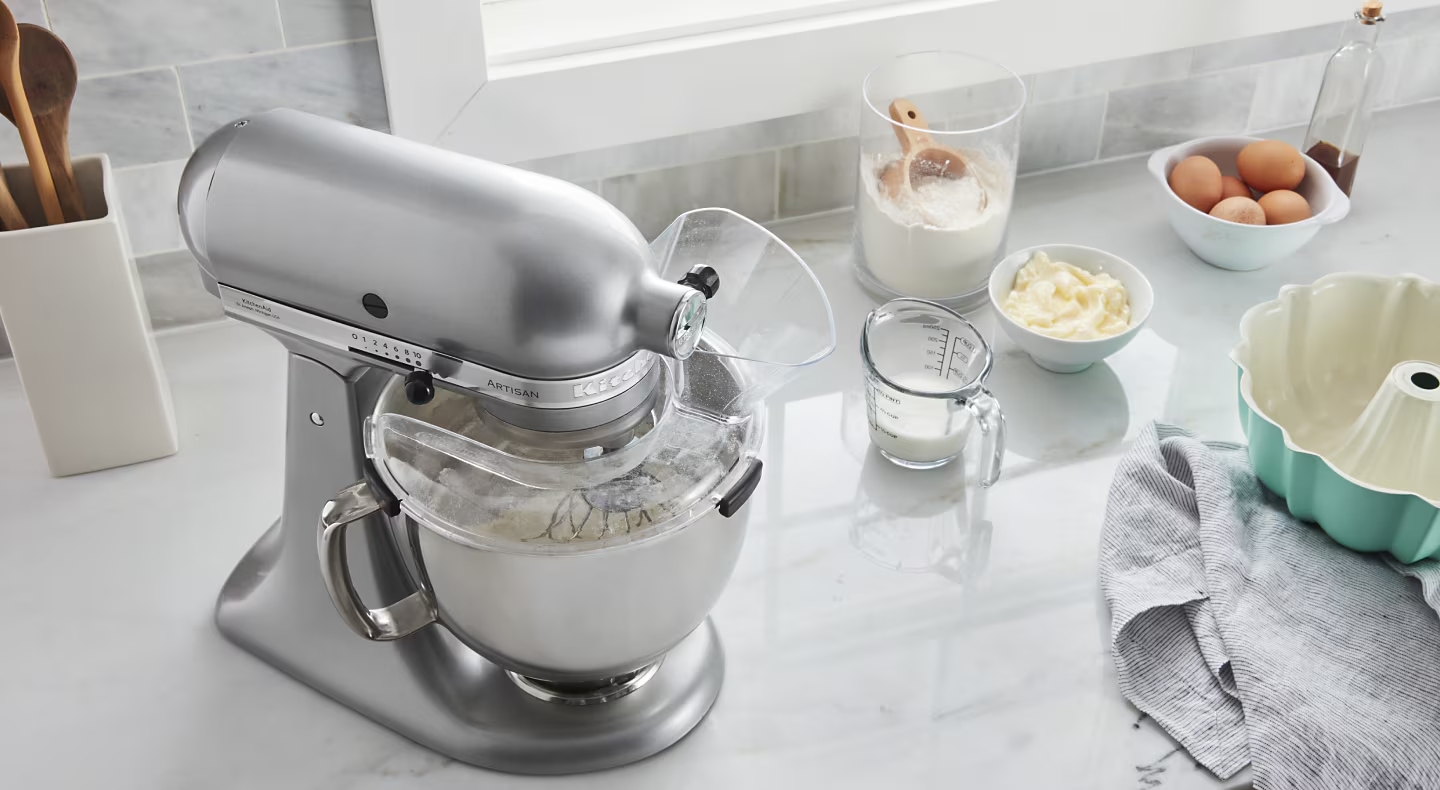
KitchenAid® stand mixers help make baking easy by doing the hard work of stirring in your wet and dry ingredients so you can spend more time experimenting with creative toppings and flavor combinations to add to your favorite brownie recipe. The following instructions are a general overview for baking homemade brownies. You can customize this recipe by adding ingredients like walnuts, caramel, chocolate frosting or even a fruit compote topping.
Ingredients
Unsalted butter
Sugar
Eggs
Flour
Unsweetened cocoa powder
Vanilla extract
Pinch of salt
Chocolate chips (optional)
Tools
Stand mixer, like the KitchenAid® Professional 5™ Plus Series 5 Quart Bowl-Lift Stand Mixer
Sifter, like the KitchenAid® Sifter + Scale Attachment
Measuring cups and spoons
Square baking pan
Rubber spatula
Prep Time
15 minutes
Bake Time
45–55 minutes
Total Time
90 minutes
Yields
8 servings (1 brownie per serving)
Step 1: Preheat oven
Before you begin making your brownies, preheat your oven per recipe instructions, usually around 350 ºF and grease your baking pan generously. Then, gather all of your ingredients and baking tools.
Step 2: Cream butter and sugar with your mixer
Plug in your stand mixer and attach the flat or flex edge beater. Add sugar and butter to the mixing bowl and turn your stand mixer on medium-high. Let the ingredients mix until a creamy texture is achieved, then scrape the sides of the bowl with your rubber spatula.
Step 3: Add eggs and vanilla extract
Once you’ve combined the butter and sugar, crack the eggs into the mixing bowl and continue beating the batter until they are fully incorporated. Then, pour in extracts like vanilla, almond or hazelnut to mix with the rest of the wet ingredients.
Step 4: Add flour, cocoa powder and salt
Turn your stand mixer settings to medium-low and sift the flour, salt and cocoa powder into the mixing bowl. You may need to turn your stand mixer off intermittently to scrape the sides of the bowl. Continue mixing until your dry ingredients have been fully incorporated. If you are adding ingredients like chocolate chips or walnuts, gently stir them into the batter.
Step 5: Bake brownies
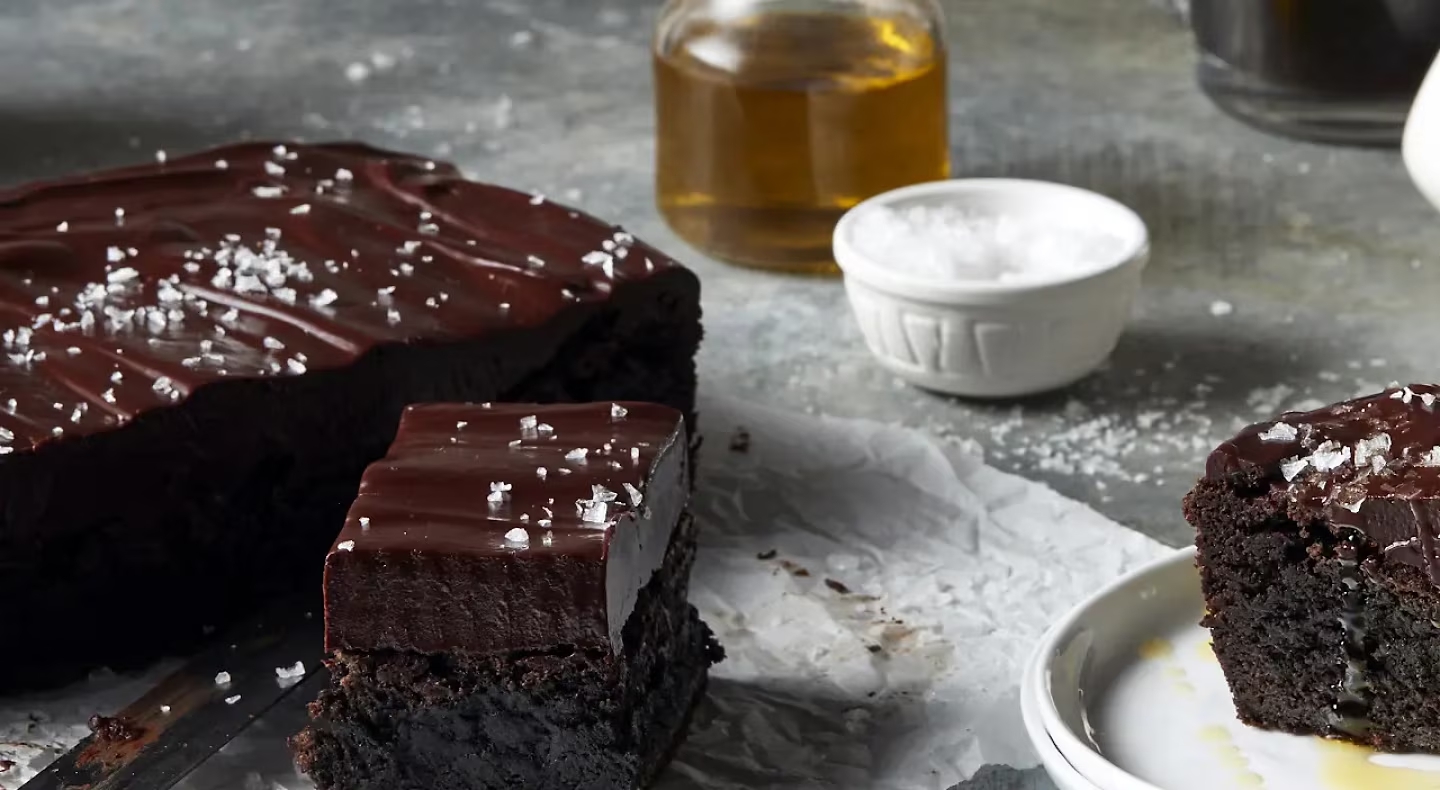
Once you’ve mixed your brownie batter, remove the bowl from the stand mixer and pour it into your greased baking dish, making sure to scrape any excess from the sides of the bowl with a rubber spatula. Place your brownies in the oven and bake for 45–55 minutes per your recipe, then let them cool completely before cutting into them. Once your brownies have cooled, you can top them with frosting, ganache, caramel or with a scoop of vanilla ice cream.
Brownie recipe substitutes
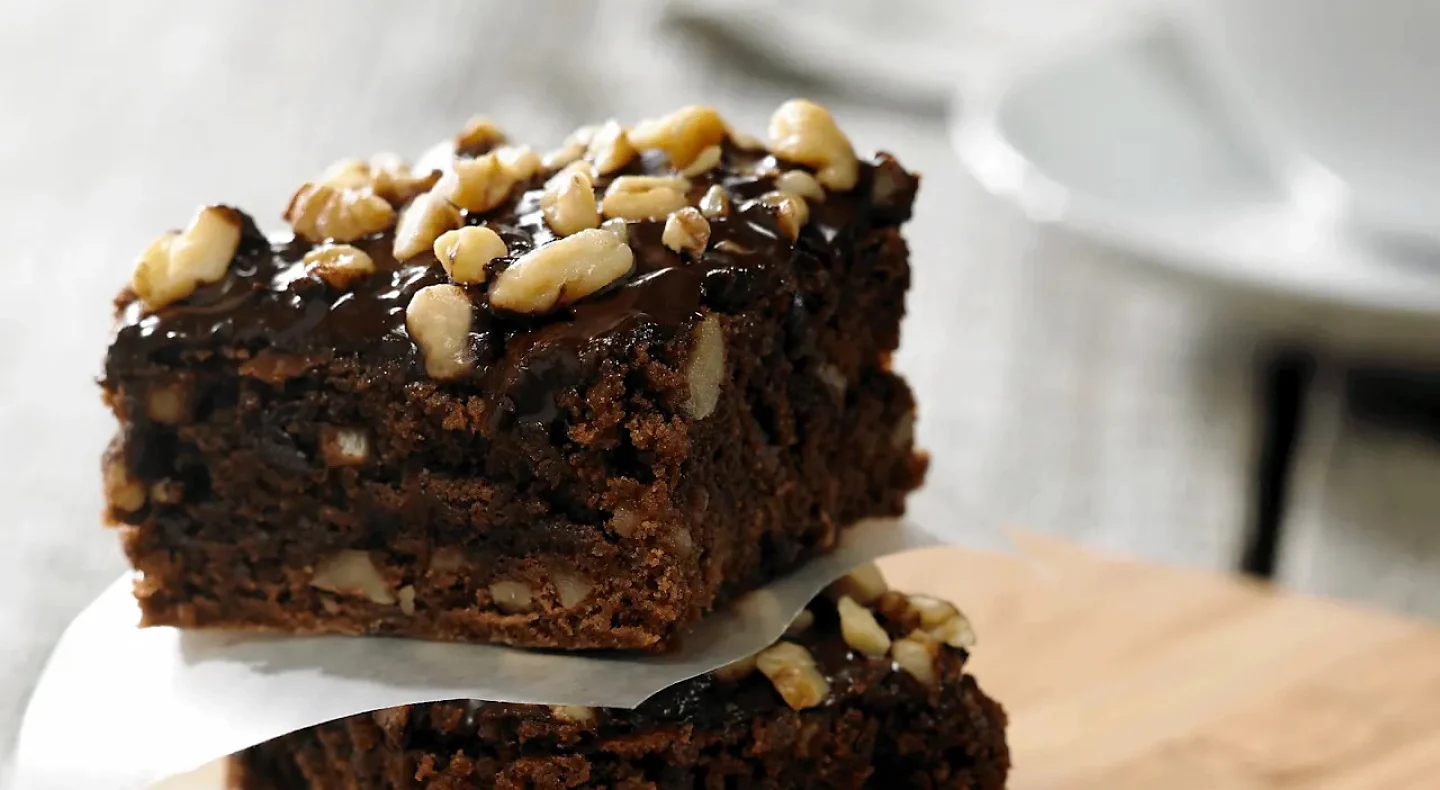
There are several ways to customize your brownie recipe to fit most dietary restrictions like gluten-free, vegan, vegetarian and dairy-free diets. You can still enjoy your favorite chocolate confection by making a few simple swaps. Substitutes like using rice or almond flour can make your favorite brownies gluten-free, and dairy-free bakers can enjoy homemade brownies by replacing butter with coconut oil or a dairy-free butter alternative. If you follow a vegan or vegetarian diet, you can use applesauce or silken tofu in place of eggs.
Can you use brownie mix in a KitchenAid® stand mixer?
Yes, you can use your KitchenAid® stand mixer to make boxed brownie mix. Simply follow the recipe on the back of the box as some steps and ingredients may vary depending on the brand of mix you use. Add in extra flavorings like fresh raspberries or white chocolate chunks to make it your own.
Which KitchenAid® attachment is needed for brownies?
To make brownies in a stand mixer, you’ll only need a flat or flex edge beater. Most stand mixers come with a variety of mixing accessories, including the flat beater. Though not required, the KitchenAid® Sifter + Scale Attachment can lend a helping hand when making brownies and other sweet confections. This attachment offers automatic, hands-free sifting that can measure, sift and add your dry ingredients directly into the mixing bowl in one easy step.
How do you make brownies more chewy or fluffy?
Using the same ingredients in different ratios can change the texture of your brownies. Chewy brownie recipes use more flour and the sticky molasses in brown sugar to create a fudgy texture. Adding an additional egg and leaveners like baking powder can make your batter more fluffy.
How should you store brownies?
You can store sliced homemade brownies for 1–2 days at room temperature in an airtight container. Unsliced brownies wrapped in plastic wrap can last up to 4 days when stored at room temperature.
Can you freeze brownies?
Although it’s recommended that you enjoy your brownies fresh out of the oven, you can store brownies in the freezer for up to 3 months using the proper technique. Place your brownie slices in rows in an airtight storage container, using wax or parchment paper to separate layers stacked on top of each other.
KitchenAid Chef
— Sharing our passion for making
At KitchenAid, we unite people who love cooking and baking, brewing and creating. For over 100 years, KitchenAid has worked on behalf of every Maker out there. Our iconic tools are made with you in mind — opening the door to new possibilities and helping you to get most out of making.

