


 New Code Sent!
How often should you clean your oven?
You should generally deep clean your oven every three months, but you may need to clean it more frequently if your oven is heavily used. You can extend the time between deep cleans by wiping up any spills as soon as your oven cools after each use. Read on to learn more about how to keep your oven clean.


What happens if you don’t clean your oven?
Stuck-on foods inside an oven can cause the oven to smoke while heating and lead to unpleasant odors. These odors may even result in undesirable flavors that taint your favorite dishes as they cook. Plus, some food residues left on the outside of your oven may damage the finish.


When to clean your oven
While it’s always best to clean up messes as soon as possible, you should generally aim to deep clean an oven every three months for average use. If you're an avid cook or baker who uses your cooking appliances heavily, more frequent cleanings may be necessary to prevent the build up of grease and grime, as well as keep your oven looking its best. As a best practice, it’s recommended to wipe up spills and splatters while the oven is slightly warm, but not hot, which may make the residue easier to clean.
Learn how to along with cleaning ranges you can also do a seasonal cleaning for your house.
Other indicators of when to clean your oven are the amount of residue that you can see on the inside or outside of the oven, such as oven grease, as well as strange smells or smoke escaping from the oven.
Learn more about factors contributing to smoke or gas-like odors emanating from your oven.

What can I clean my oven with?
Every model is different so be sure to follow instructions in your owner’s manual. In general, you can usually clean the interior of your oven with a baking soda paste made from 3 parts water and 8 parts baking soda. Once you’ve applied the paste and allowed it to sit for about 20 minutes, spray it down with white vinegar or lemon juice before wiping the paste away.
You can soak oven racks in warm water with dish soap or laundry detergent, then use vinegar or glass cleaner to wipe down the exterior oven door glass. For cleaning the exterior of stainless steel ovens, consider using a dedicated solution like affresh® Stainless Steel Cleaning Spray.1
Another method for cleaning your oven is to use a self-cleaning cycle or steam-cleaning cycle. Learn the ins and outs of self-cleaning ovens with this guide.
1. affresh brand products and the recommending brands’ products are all owned and distributed by Whirlpool Corporation.
How long after cleaning my oven until I can cook?
Whether you've chosen to clean your oven by hand or use a self-clean cycle, you should be able to continue cooking your favorite recipes as soon as oven surfaces are dry or once the self-clean cycle has completed and you've wiped down the interior. The cleaning process and how long it takes will depend on the method you use.
If you choose to manually clean your oven, you can keep your appliance looking sleek and ready to cook by creating mild solutions with household items like dish soap, vinegar and baking soda that can help protect the surfaces of your oven from damage, depending on the material. Using the manual method, you can begin cooking once the oven racks, the oven interior, the door and the cooktop have been cleaned and are completely dry. If you choose to clean your oven using its self-cleaning function, you can begin cooking as soon as the cycle has completed, the oven has cooled and any ash has been wiped away. Depending on your oven, the cool-down time may take about 30 minutes.


Why you should clean your oven
One of the most significant benefits of cleaning your oven is the decreased likelihood of food contamination through the elimination of grease and fat build up inside the appliance. In addition, keeping your oven clean can help increase visibility through the removal of grease, grime and food debris from the oven door glass.
Proper and frequent oven maintenance can enhance the creative process in your kitchen by ensuring your appliance is ready to cook any food you place inside, from meats and vegetables for roasting to baking fluffy and sweet desserts.


How to keep oven glass clean
To keep your oven clean, each of the following elements should be incorporated into your oven maintenance routine: oven racks, the oven interior and the cooktop. Clean up oven spills as soon as your oven has cooled so it is just warm to the touch, as waiting until the spill has dried can make it harder to remove later on.
Clean oven racks
Clean your oven racks before cleaning the cooled interior of your oven. To do this, slide the oven racks out and place them in a large tub with enough hot water to cover them. Then, pour in 1/2 cup of mild dish soap or 3/4 to 1 cup of laundry detergent. Let the oven racks soak for at least two hours before scrubbing them gently with a cleaning brush. After rinsing, dry the racks completely using a soft cloth before sliding them back into the oven.
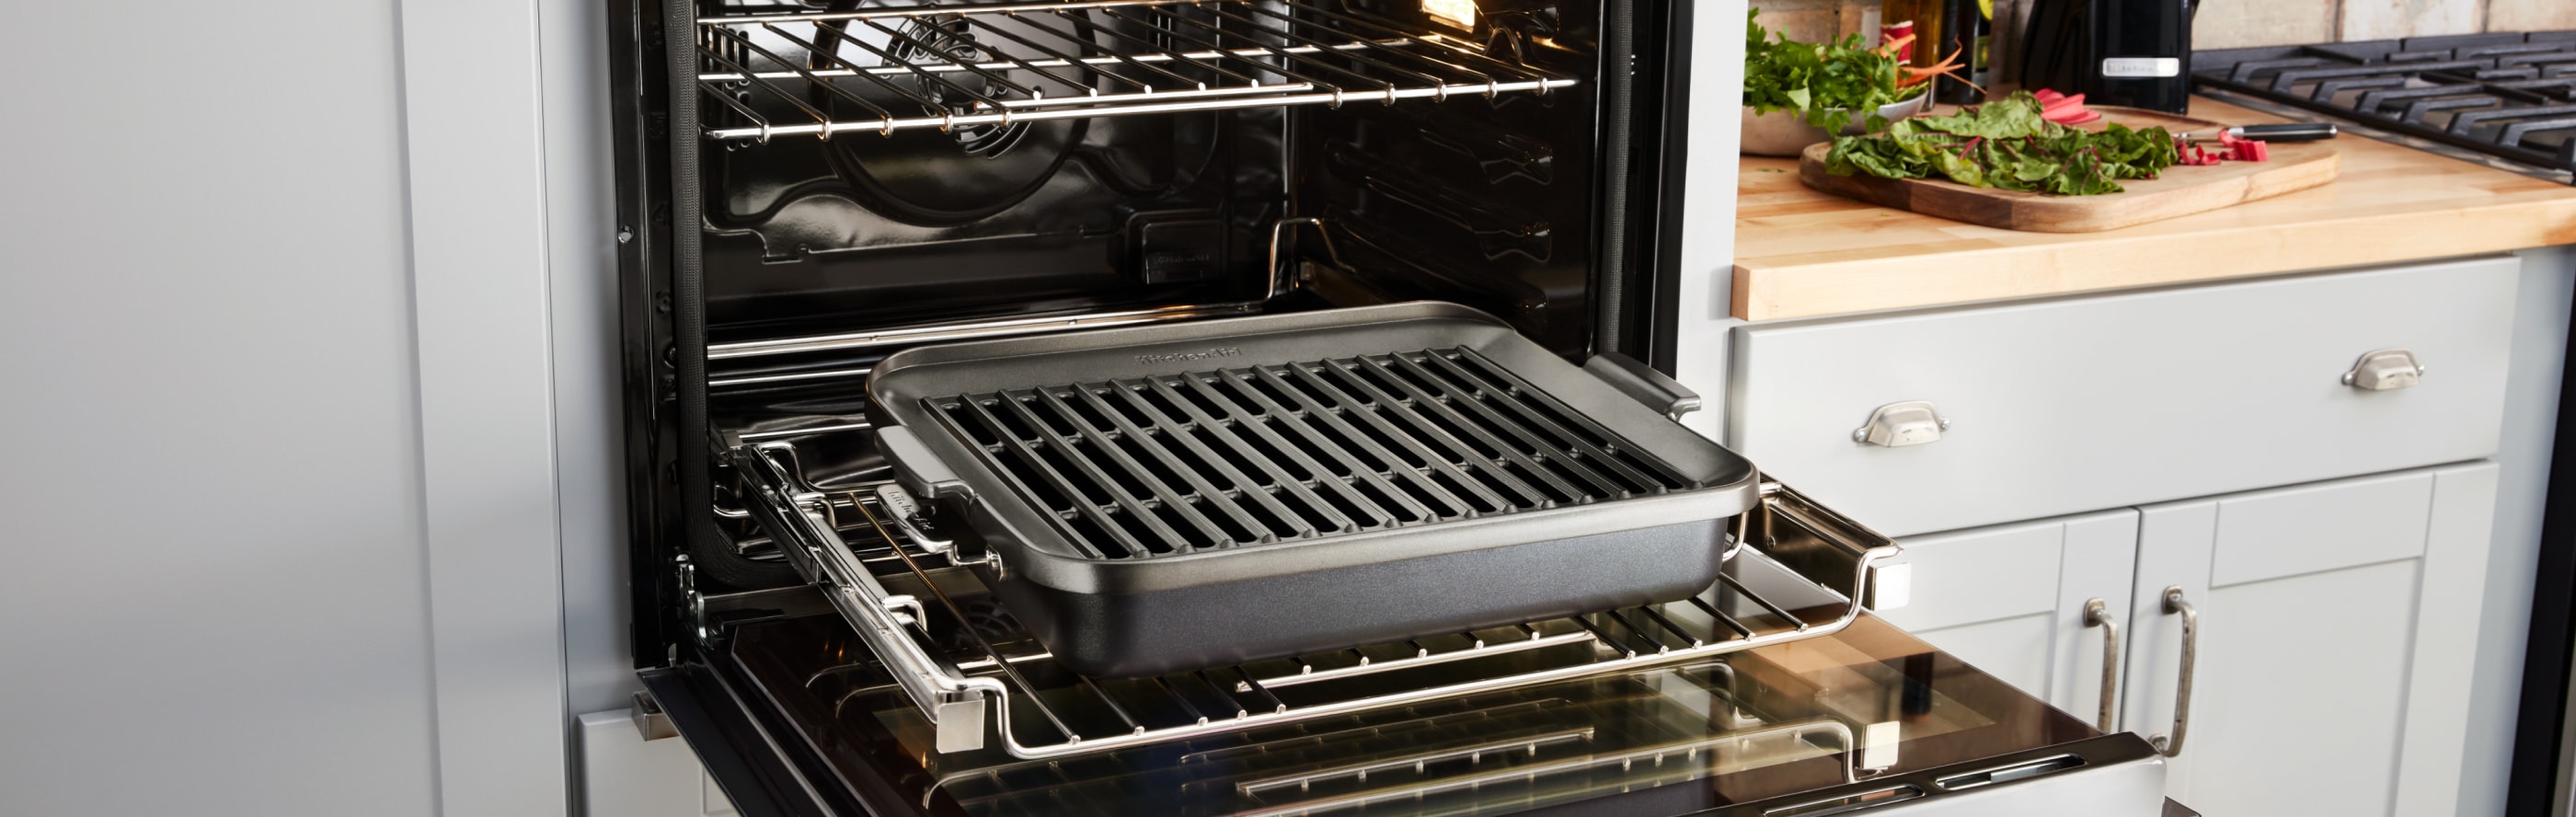
Clean oven glass and inside of oven
When manually cleaning the inside of the oven, make sure the appliance has cooled down completely and place towels or trash bags beneath the door to catch any drips. After removing all cookware and oven racks from the interior of the appliance, create a cleaning solution of baking soda and water by mixing until a paste has formed. Then, using a brush or flexible silicone spatula to spread the cleaning solution around the oven interior, coat the entire oven cavity and the door with the baking soda paste, avoiding any glass windows. Allow the solution to rest for at least 20 minutes (overnight, for large amounts of build up and grime) before spraying the interior with white vinegar or lemon juice. Use a cloth or rag to immediately wipe up the solution, and use a scraper to remove any stubborn spots. Repeat this process with the vinegar or lemon juice as needed. If you’re cleaning a glass door, wipe up the baking soda mixture before spraying with white vinegar or lemon juice.
Clean your oven’s cooktop
To clean your oven’s glass cooktop, begin by using a plastic scraper to remove food residue. From there, spray your cooktop with white vinegar or a cooktop cleaner like affresh® cooktop cleaner.1 Then, loosen stubborn spots with a soft plastic scrubber before removing the cleaning solution with a damp cloth. Continue rinsing the cooktop with the damp cloth until all of the cleaner has been removed from the appliance. To clean gas stove top grates and burners, consult your owner’s manual or user guide for product specific information before attempting to soak or scrub them.
If you have a self-cleaning oven model, you can use the feature instead of performing a manual clean. To clean your self-cleaning oven, follow these helpful tips:
Wipe down the interior of the oven with a damp cloth
Clean the oven window with glass cleaner and a very fine (000) steel wool pad
Remove oven racks and plastic items from the cooktop and storage drawer
Begin the self-cleaning cycle
1. affresh® and the recommending brand products are all owned and distributed by Whirlpool Corporation.
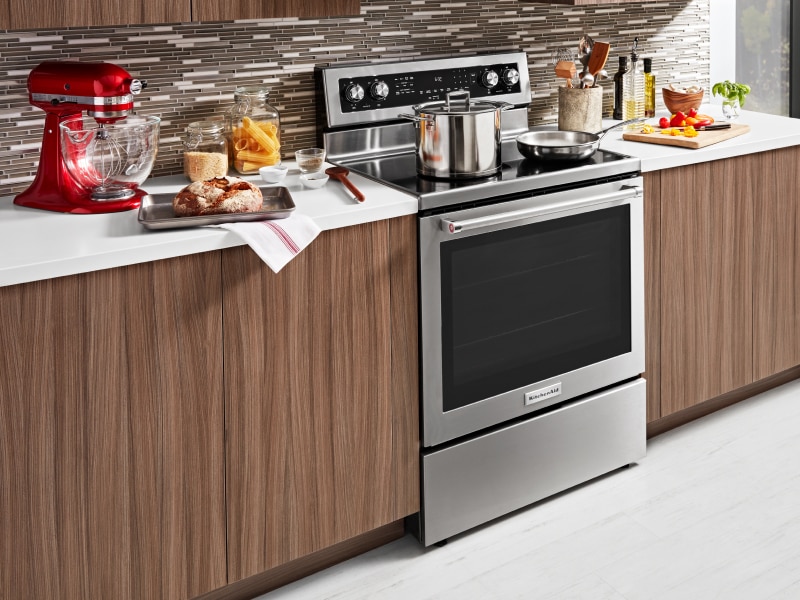
Explore KitchenAid®ovens
When your oven is clean, you can explore your culinary passions freely. With a KitchenAid® oven, you can rely on sleek and convenient designs that make oven maintenance more manageable so you can focus on your next culinary creation. Browse the full collection of ranges and ovens by KitchenAid brand to discover the appliance that’s right for your kitchen.


Your subscription was successful
Thank you for signing up. Keep an eye on your inbox for our next newsletter.
Stay Connected – Join the List
Enjoy articles like this? Get helpful guides and appliance care tips sent straight to your inbox.
