

Blenders are versatile kitchen appliances that allow you to create anything from homemade soups to refreshing smoothies. Keeping your blender clean ensures it will stay in good condition and remain ready to make creamy salad dressings, spicy Sriracha and homemade whipped cream whenever you desire. Read on for more tips on how to clean a blender.
How to clean a blender in 6 steps
How to clean a blender in 6 steps

How to clean a blender step by step
Cleaning is an important part of blender maintenance, and the process doesn’t have to take much time. Some blenders from KitchenAid brand even have self-cleaning cycles that will help keep the nooks and crannies of your blender’s jar clean. While cleaning your blender, be careful when working near the blades and double-check that it is unplugged before you start cleaning. Follow the steps below and your clean blender will be ready for your next batch of fresh almond milk or nut butter.
Supplies
Blender
Washcloth
Warm water
Dish soap
Vinegar (optional)
Baking soda (optional)
Step 1: Take the blender apart
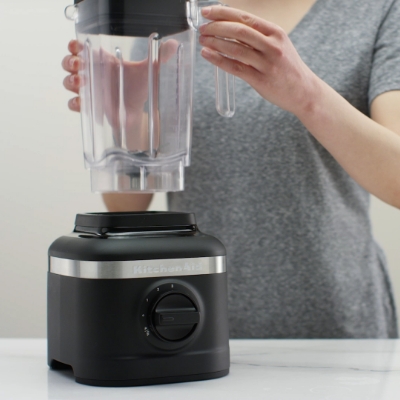
The first step to a clean blender is to separate out the removable parts. Start by unplugging it. Then, remove the jar from the base. Remove the lid from the blender jar and empty the contents of the jar into the sink, if necessary. Set the lid aside for now. You will need the lid during this process.
Step 2: Clean the blender base
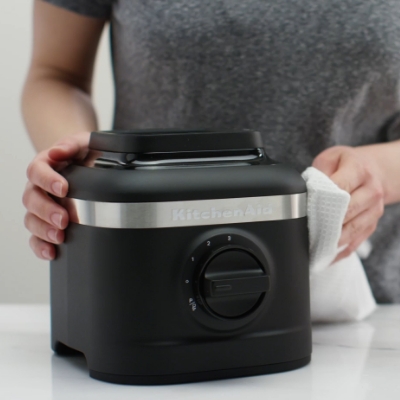
The next step to cleaning a blender is wiping the base with a warm, damp cloth. This will ensure that any spills or splatters are removed and food residue is not left on the base itself or the buttons or knobs.
Step 3: Prepare to clean the blender jar
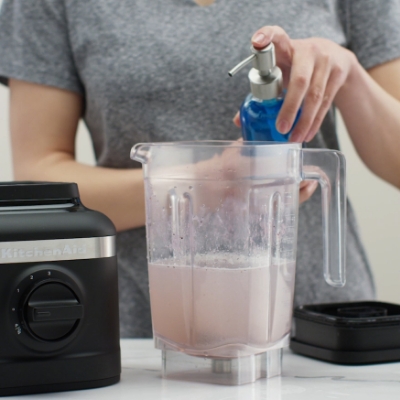
Next, fill the blender jar about 1/2 full with warm water. Once you have done this, you can dispense 1-2 drops of dish soap into the blender jar. Place the jar back onto the blender base, replace the lid securely and plug in the blender.
Step 4: Turn blender on to high speed

Let it run for about 15-20 seconds. You can also use quick pulses of power during this step. If your blender has a self-cleaning program, simply turn it to that setting at this time.
Step 5: Empty and rinse

After cleaning the jar, empty the soapy water and rinse it thoroughly. Be sure to get all the soap out of your blender so that it is ready for your next use.
How do I deep clean and sanitize my blender?
Sometimes a simple cleaning is not enough, and you are going to need to deep clean and sanitize your blender. Additionally, every so often, a deep clean is a good idea for your blender to ensure that you keep it in good condition. To deep clean your blender, you can run it on high power with ¼ cup of warm water and ¾ cup of white vinegar, or ¼ cup of baking soda, and ¼ cup of warm water.
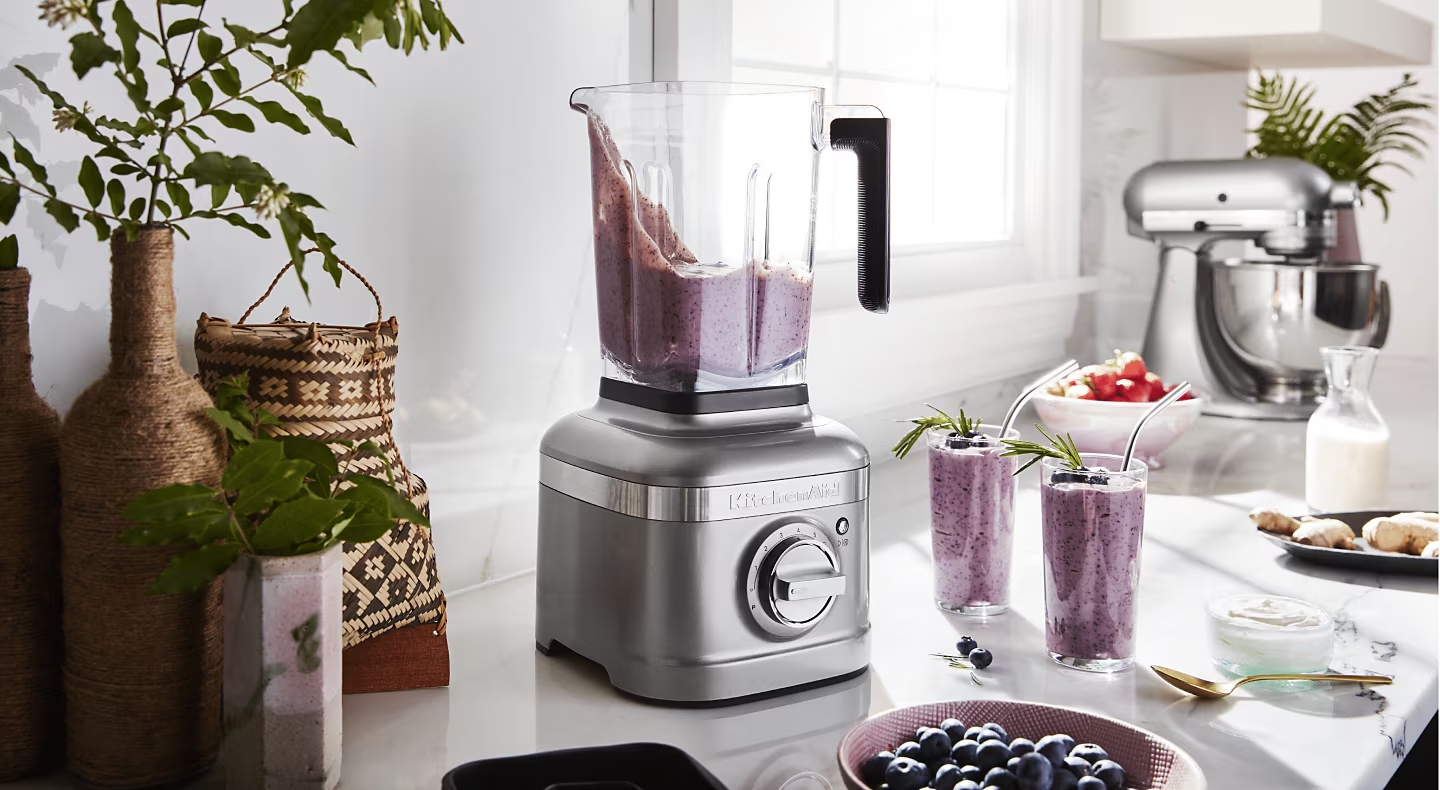
KitchenAid® blender jars feature rounded corners inside, making it simple to get your jar clean and ready for its next use.
How do I clean blender blades thoroughly?
The most effective way to clean blender blades is to either let the blender do the work by running it with warm, soapy water inside, or to carefully remove the blades from the pitcher and soak them.
KitchenAid® blenders have blades that are attached to the pitcher rather than removable. This means that you don’t have to handle them when cleaning your blender and you won’t have to worry about there being spaces or crevices that are missed in your cleaning.
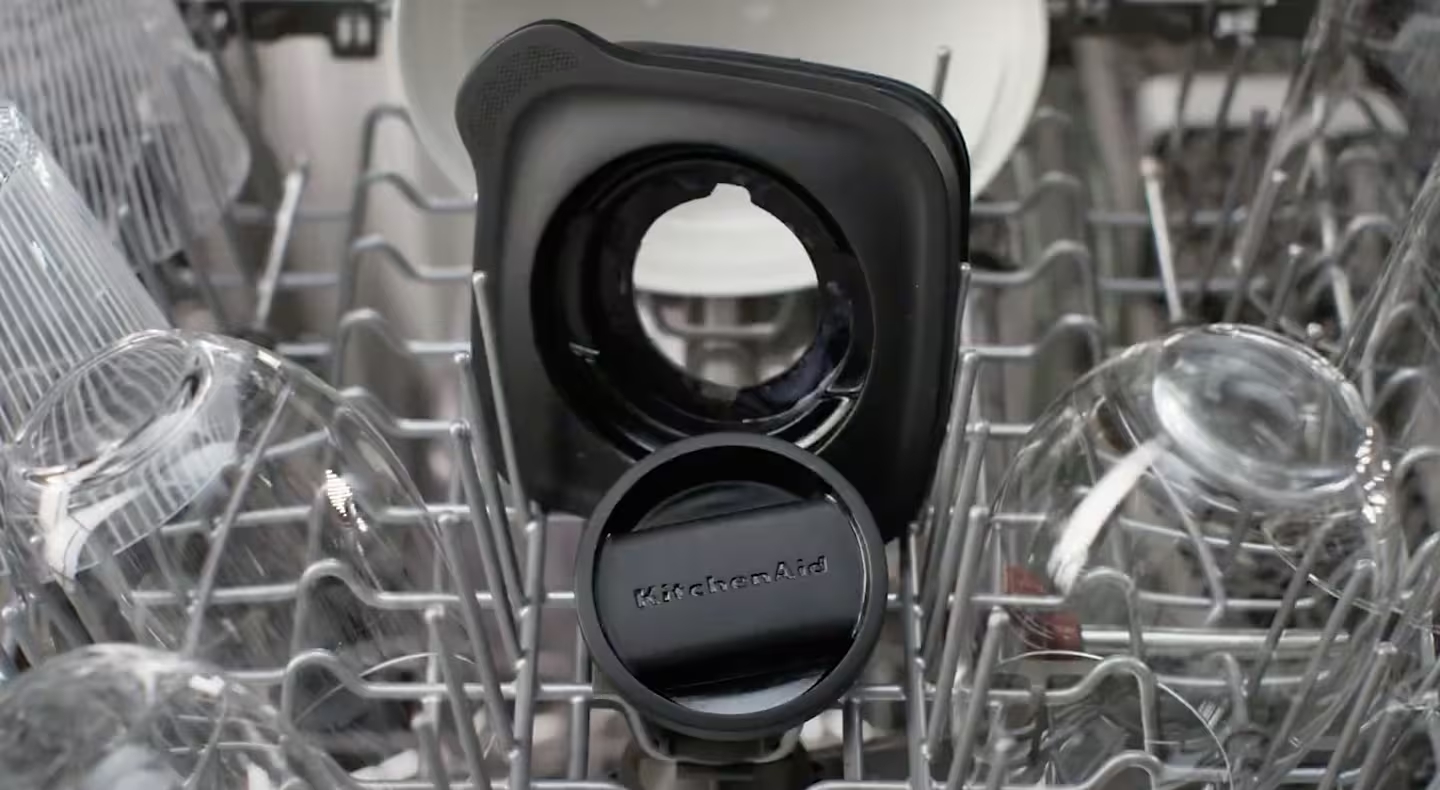
Are blenders dishwasher safe?
Whether your blender is dishwasher safe depends on the model and brand. KitchenAid® blenders feature dishwasher-safe lids and jars (including the blade). Of course, blender bases should only be wiped down by hand.