3 Ways to Knead Dough: By Hand, Mixer or Food Processor
7 min read time
15 October 2025
There are few things better than freshly baked bread. Kneading bread dough uniquely creates delectable breads that are both tender and soft while also having a pleasing chewiness and airy crumb structure. You can knead bread dough by hand or use a machine like a mixer or food processor for more even, efficient kneading. Below, learn how to knead dough three different ways for optimal bread results every time, no matter your kitchen tools.
3 Ways to Knead Dough: By Hand, Mixer or Food Processor
3 Ways to Knead Dough: By Hand, Mixer or Food Processor
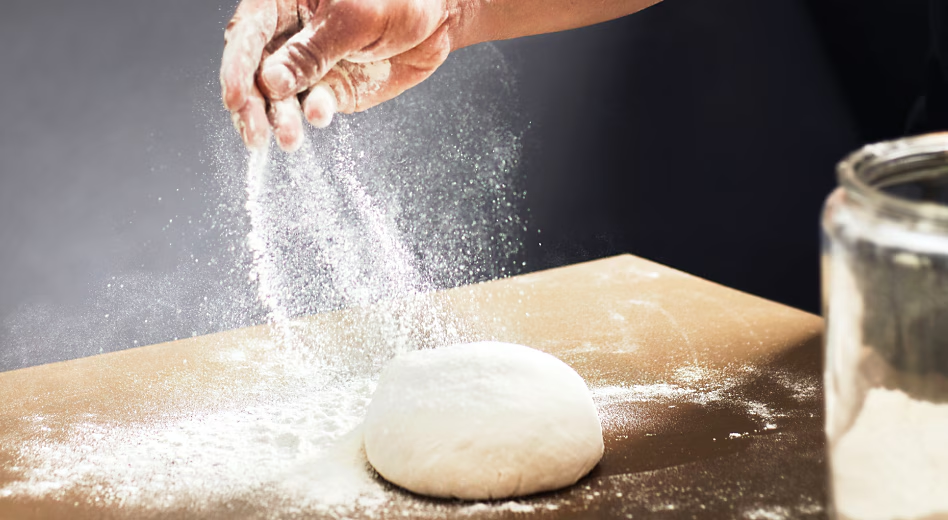
What does knead mean and why you knead dough
What does knead mean?
To knead dough is to turn a sticky lump of flour, water, yeast, salt, sugar, and sometimes a fat like butter, oil, or eggs into a smooth ball of dough, by evenly mixing all ingredients with repetitive pushing and pulling of the dough over several minutes.
Why is it necessary?
Kneading develops the gluten in the bread flour. Gluten is a protein that forms elastic-like strands in dough that give the bread dough strength and structure but also make bread light and fluffy as it bakes. Gluten development also gives dough enough structure to be braided and shaped, as with pretzels and challah.
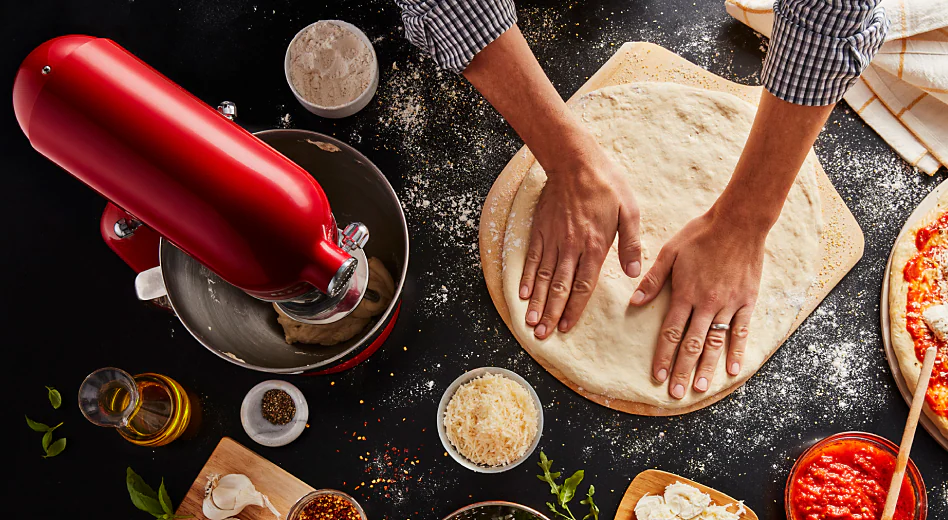
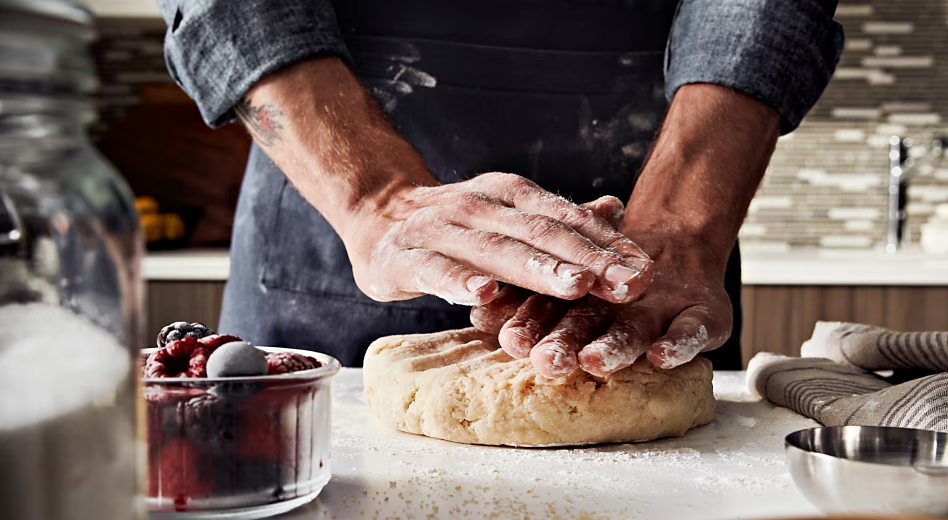
1. How to knead dough by hand for pizza or bread
Start with a clean countertop. If called for in your recipe, dust countertop lightly with flour and place the ball of dough down. To knead:
Push the heel of your palm into the ball of dough, stretching it away from you.
Lift the far side of the dough up.
Slightly stretch it upwards, then fold in half back towards you.
Continue rolling and folding for the time specified in your recipe, usually 8-10 minutes
It is important to check your recipe to see if it calls for a floured surface. Too much flour can create a dry, crumbly final product.
When dough is sticky, you may be tempted to add flour to reduce the stickiness, but sticky dough isn’t always a bad thing. Without it, there would be no cinnamon buns. Some recipes, like baguettes, call for more flour and a floured kneading surface to create a drier dough to achieve the right end product.
There are many different types of flour used for baking and bread making: all-purpose, whole wheat, pastry, bread, spelt, high gluten, rye, and many others. Choosing the best flour for your recipe is important because the protein content of each flour varies, which impacts the final product texture and taste.
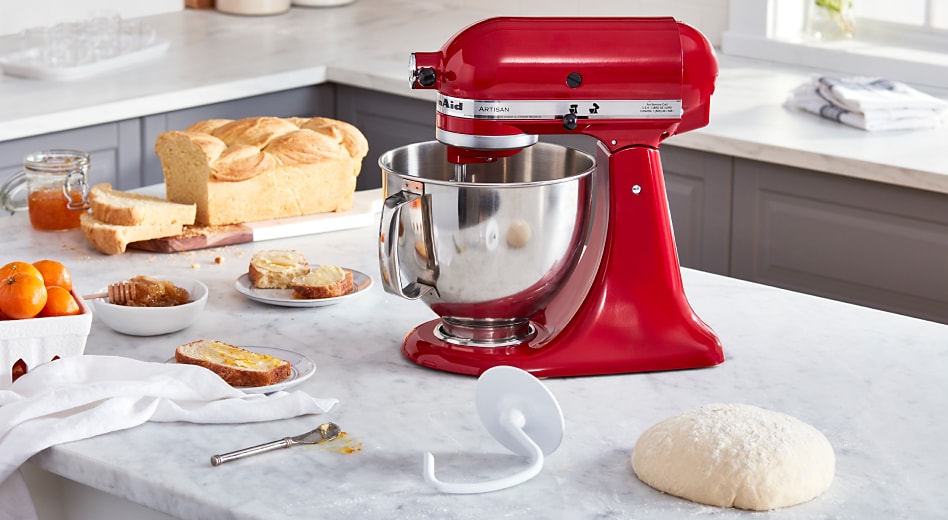
2. How to knead dough in a stand mixer with dough hook
While some enjoy the rhythmic motion of kneading by hand, there are advantages to using a stand mixer. Using a stand mixer takes less time because you can mix and knead the dough in the same bowl. Machine kneading is also easier on the wrists and hands.
To knead in your KitchenAid® stand mixer, you’ll need to have a compatible dough hook.
What is a dough hook and how to use for kneading
What is a dough hook?
A dough hook is a curved, hook-shaped attachment specifically made for kneading dough. It helps gluten strands develop quickly, making for easy and thorough kneading with quick clean up.
How to use a dough hook for kneading
Kneading with a KitchenAid® dough hook is easy. Pre-mix your ingredients, install the dough hook, turn your mixer on and watch your machine work.
KitchenAid® stand mixers use a spiral hook or a C-shaped hook, while hand mixers use C-hooks. If you need to purchase one, make sure it's compatible with your mixer.
Kneading dough with a stand or hand mixer
Mix ingredients according to recipe.
Remove mixing attachment: push up on the attachment so the spring is compressed, twist to unlock, and slide it off the pin.
Install the dough hook: slide the hook onto the pin, push up so the spring is compressed, twist the hook, and allow the spring to decompress while the hook locks into place.
When kneading yeast doughs with a dough hook, you can generally use speed 2 and knead for about 2 minutes to initially mix ingredients. However, be sure to focus on the texture of the dough, as kneading time can vary. Your dough may be finished when it is smooth, supple and elastic. The dough ball will clean the sides of the bowl and snap back into shape when pinched or pulled. Learn more about using a dough hook to knead bread dough.
With a hand mixer, you’ll knead at speed 2 for 3-5 minutes until your dough forms a ball and clings to the sides of the bowl. Hand mixers can be a convenient go-to as you whip, beat or mix the ingredients of your favorite creations with different hand mixer attachments.
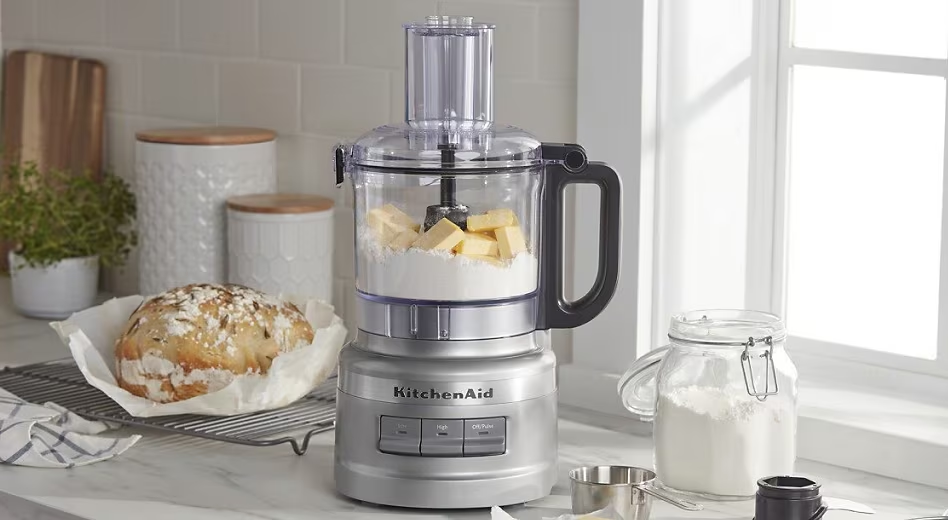
3. How to knead dough in a food processor
Mix ingredients according to recipe.
Turn the processor on high for 30 seconds until a dough ball forms.
Flip the ball over and place it back in the processor.
Pulse for 20-30 seconds.
This is a quick method, requiring only one tool and minimal time. While you can use the metal blade that comes with your processor, it's better to use a food processor dough blade if your product comes with one. This plastic blade with dull edges encourages mixing instead of chopping the dough. The plastic does not transfer heat, which can kill yeast and cause your dough not to rise. This method also runs the risk of over-developing the gluten in the dough, so take care to watch the time closely while the machine is running.
How do you know if dough is kneaded enough?
The dough will look smooth and shiny, feel soft and springy, and will pass the windowpane test. Tear off a piece of dough and stretch it between your fingers. If it tears, it fails. If it stretches and forms a translucent rectangle, it’s ready to shape into a loaf for proofing or baking.
It’s hard to over-knead dough by hand, but easy to do so by machine. Over-kneaded dough will be dense and rip easily, baking into a dense and flat loaf. If over-kneaded, you’ll want to start over.
KitchenAid Chef
— Sharing our passion for making
At KitchenAid, we unite people who love cooking and baking, brewing and creating. For over 100 years, KitchenAid has worked on behalf of every Maker out there. Our iconic tools are made with you in mind — opening the door to new possibilities and helping you to get most out of making.

